If you want to make your photos look professional, you really only need to master three things: composition, lighting, and editing. It's a common myth that you need expensive gear. The real secret is learning how to see and shape your image before you even think about pressing the shutter button.
By zeroing in on these fundamentals, anyone can turn a basic snapshot into something polished and compelling.
The Real Difference Between Amateur And Pro Photos
Ever scroll through an amazing Instagram feed and wonder, "Why don't my photos look like that?" even when you're using a brand new phone? The gap between an amateur shot and a professional photograph isn't about the camera—it’s about intention. Pro results come from a deliberate process, not just getting lucky.
This guide is here to break down that exact process into simple, actionable steps. We're going to move beyond just pointing and shooting to really understand the "why" behind what makes an image great. It’s all about learning to see the world like a photographer, whether you’re shooting a product for your Shopify store, a portrait for LinkedIn, or just a memory you want to keep.
The Three Pillars of Professional Photography
Every single stunning image you've ever admired is built on three core pillars. Get these right, and you'll consistently create professional-looking photos.
- Thoughtful Composition: This is the art of arranging everything inside your frame. It's how you guide the viewer's eye where you want it to go, create a sense of balance, and tell a story without saying a word.
- Strategic Lighting: Light is everything. It creates the mood, defines the shape of your subject, and adds that crucial depth. Honestly, understanding how to find or create good light is probably the most powerful skill you can learn.
- Smart Editing: Think of editing as the final polish that brings your vision to life. This is where you fine-tune colors, fix any small imperfections, and make sure your photo has the maximum possible impact.
This simple workflow shows how these three stages work together.
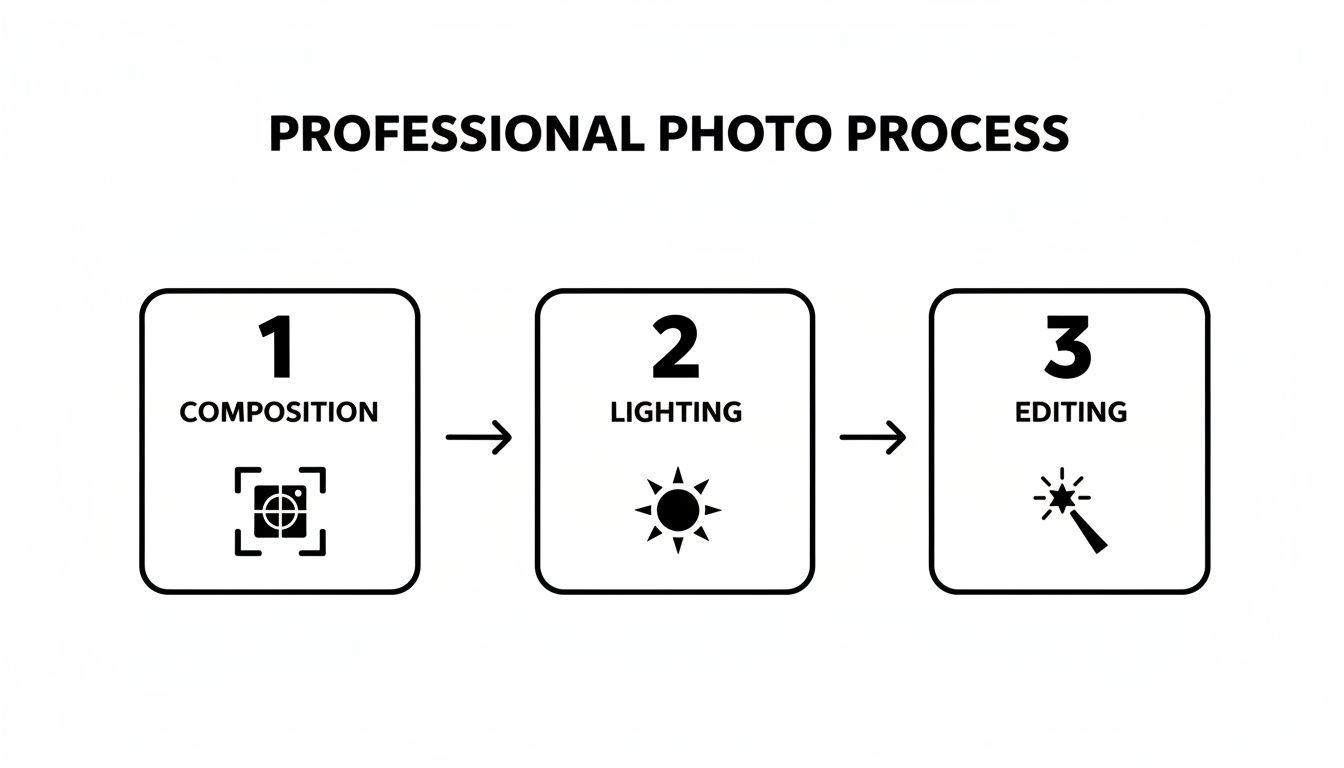
As you can see, each step builds on the last, turning a simple idea into a polished final image. The best part? Modern tools have made getting high-quality results easier than ever. You can even generate flawless, AI-powered professional headshots for your whole team without ever setting foot in a studio.
And if you're looking for more specific techniques, these actionable real estate photography tips are a great place to start.
Mastering Composition To Guide The Viewer's Eye
If you want to know the secret language of photography, look no further than composition. It’s the invisible framework that tells a viewer’s eyes where to go, creating balance and turning a simple scene into something that tells a story. Getting a handle on a few key composition principles is the fastest way to graduate from simple snapshots to photos with real, professional impact.
It’s really all about how you arrange things inside the frame. Imagine you're taking a photo of a coffee mug for your online store. Do you stick it right in the middle? Or do you shift it a little to the side, letting a notebook blur softly in the background to give it some context? That decision, right there, is composition in action.
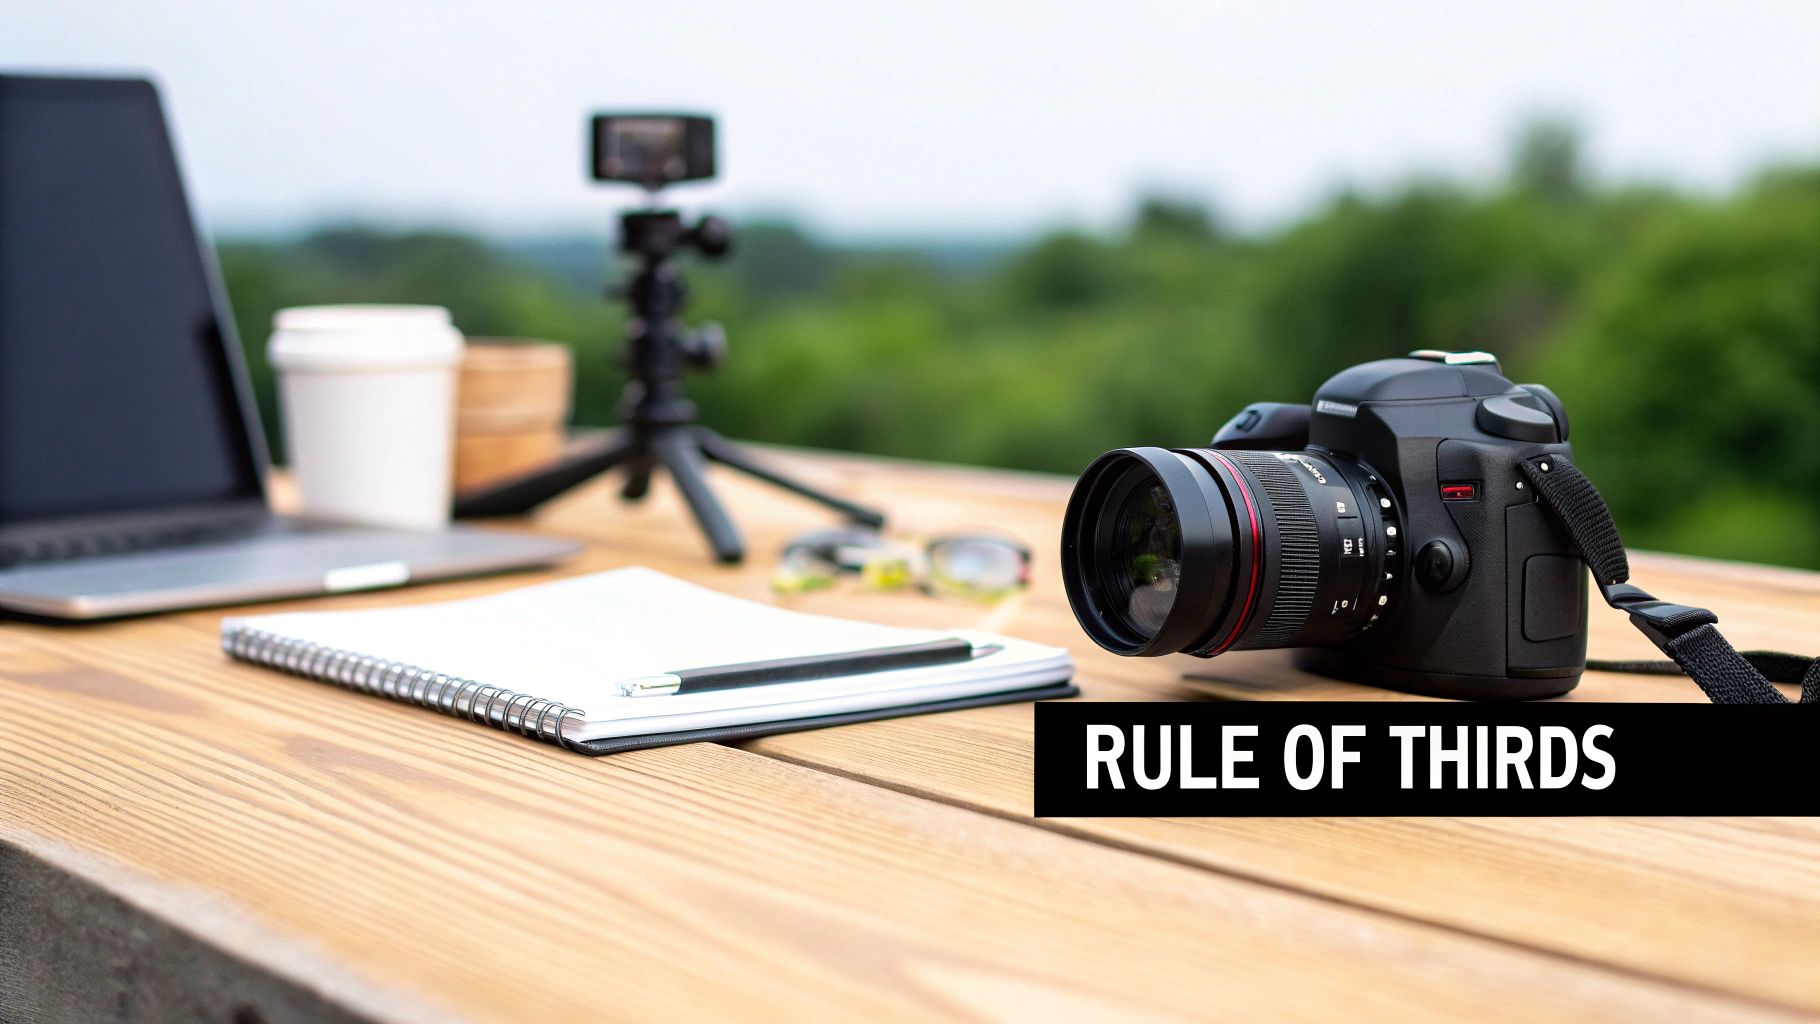
Embrace The Rule of Thirds
One of the most effective and dead-simple composition tools is the Rule of Thirds. Just picture your screen divided into a 3x3 grid—like a game of tic-tac-toe. The goal is to place your main subject not in that dead-center square, but along one of the grid lines or, even better, right on one of the four intersection points.
This one small adjustment instantly creates a more dynamic and visually engaging photo. Seriously, almost every smartphone and digital camera has an option to display these gridlines. Do yourself a favor and turn them on right now.
By positioning key elements off-center, you force the viewer's eye to move around the frame, making the image feel more alive and engaging. It’s a small shift that delivers a huge improvement in professionalism.
This isn't just some artsy theory; it has a real-world impact. We've seen that images following the Rule of Thirds can pull in up to 2.5 times more likes on platforms like Instagram. For a small business trying to stand out in a professional services market projected to hit $38.58 billion by 2025, a simple trick like this can be a huge advantage. You can dig into more photography statistics to see how these rules drive engagement.
Use Leading Lines To Create Depth
Another powerhouse technique is using leading lines. These are natural lines already in your photo—think of a road, a fence, the edge of a table, or even a strong shadow—that pull the viewer's eye from the front of the image deep into the background. It’s a fantastic way to create a sense of depth and make a flat, 2D photo feel more immersive.
For instance, if you're shooting a product on a wooden table, try angling your camera so the lines of the wood planks point directly toward your item. Taking a portrait outside? Use a winding path to guide the viewer’s attention right to your subject.
Mastering just these two techniques will dramatically level up your photography.
- Activate your gridlines: Go into your camera settings now and turn on the grid. It’s a game-changer.
- Look for lines everywhere: Start noticing roads, railings, and architectural features you can use to your advantage.
- Practice with simple objects: Grab a book or a plant and just practice placing it on those grid intersections.
When you start consciously applying these rules, you begin making intentional choices. And that, right there, is the core difference between an amateur snapshot and a truly professional image.
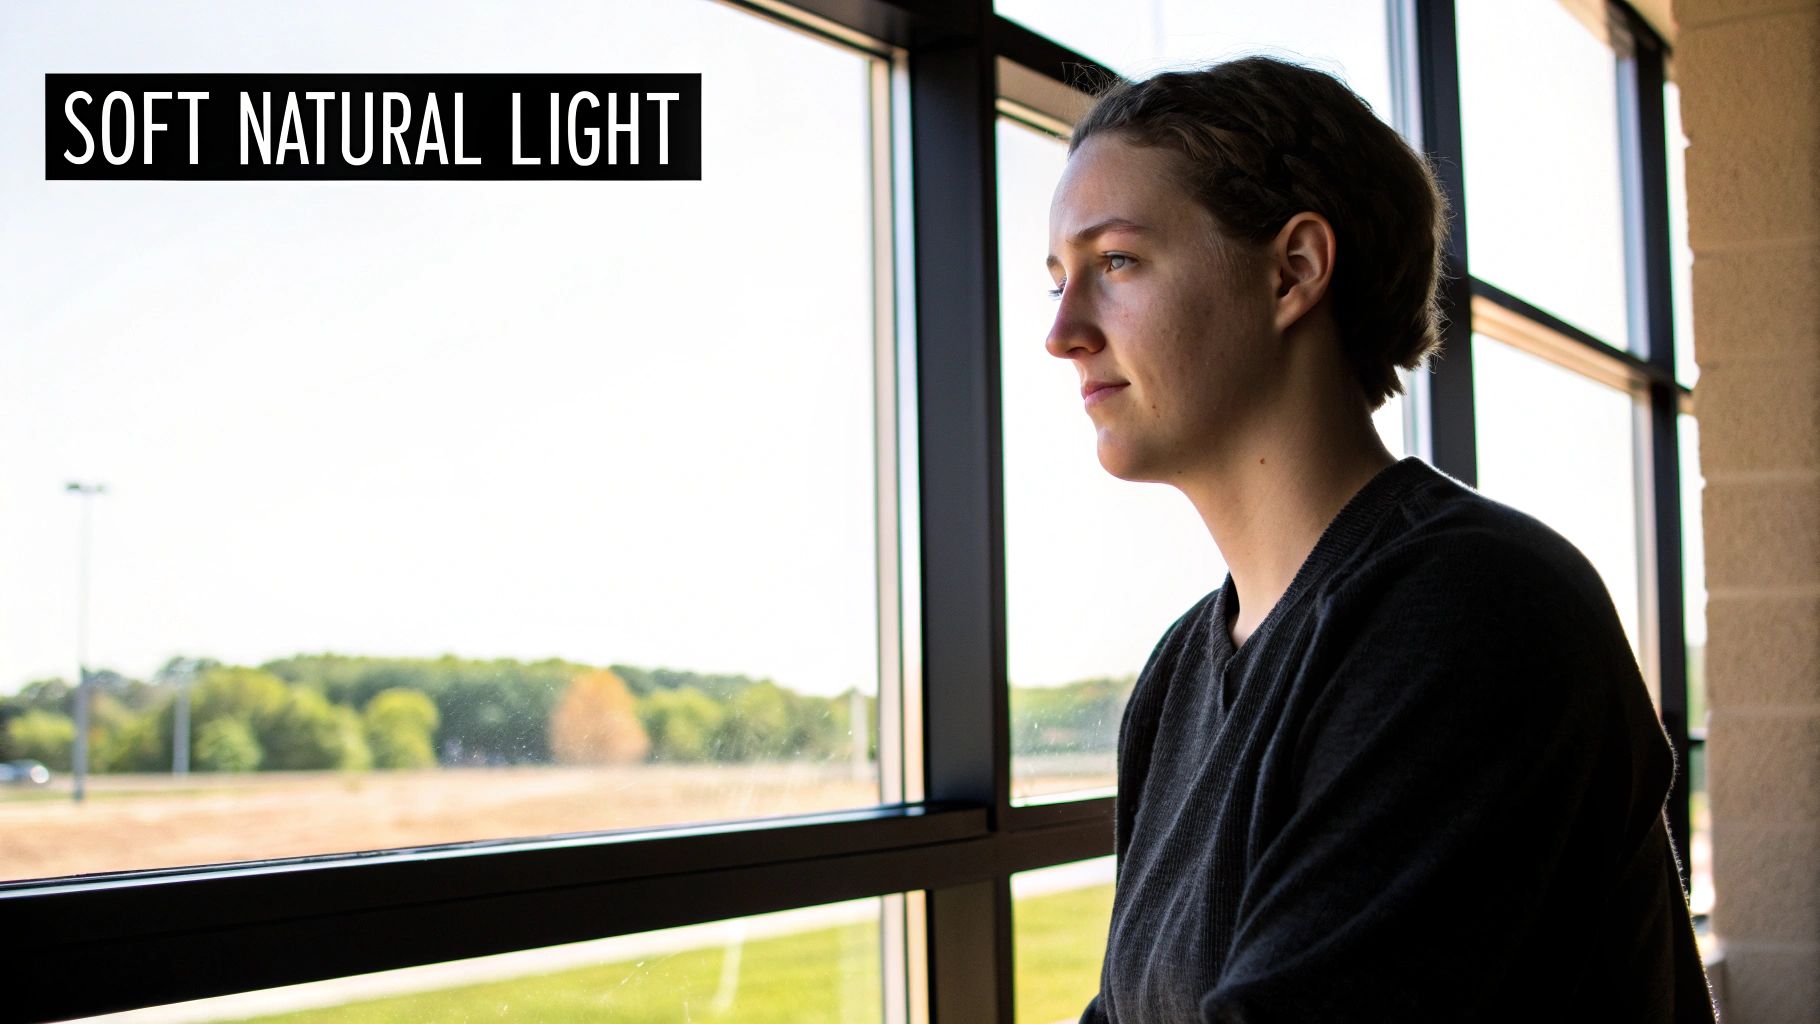
Using Light To Create Mood And Professionalism
If composition is the skeleton of a great photo, lighting is its soul. It's the one thing that breathes life into an image, taking a flat, boring shot and turning it into something with depth and emotion. Honestly, learning how to find and shape light is probably the most powerful skill you can develop to make your photos look truly professional.
The secret often boils down to one simple concept: soft light versus hard light. Hard light, like direct midday sun, creates harsh, dark shadows. It can be dramatic, sure, but it's rarely flattering for people and can throw distracting shadows across products. Soft light is the opposite. It’s diffused, wrapping gently around your subject, minimizing harsh lines and creating a polished, high-end look.
Finding Great Light Without Fancy Gear
Here’s the good news: you don't need a bunch of expensive studio equipment to find incredible light. It’s all around you, you just have to know where to look.
- Window Light is Your Best Friend: A large window, especially on a cloudy day, acts like a giant, free softbox. It provides some of the most beautiful, flattering light you can ask for. Just place your subject near the window, letting the light fall across them from the side.
- Seek Out Open Shade: Shooting outside on a sunny day? Get out of the direct sun. Move your subject into the "open shade"—like under the overhang of a building or a big, leafy tree. They'll be out of the harsh rays but still lit by the bright, open sky.
- Embrace the Golden Hour: Photographers rave about the "golden hour" for a reason. It's that magical time right after sunrise and just before sunset. The sun is low, casting a warm, soft glow that makes just about everything look amazing.
Mastering lighting is the cornerstone that separates amateur snaps from client-winning images. The ability to control and shape light is what allows you to dictate the mood, texture, and overall quality of your final photograph.
Mimicking Professional Setups
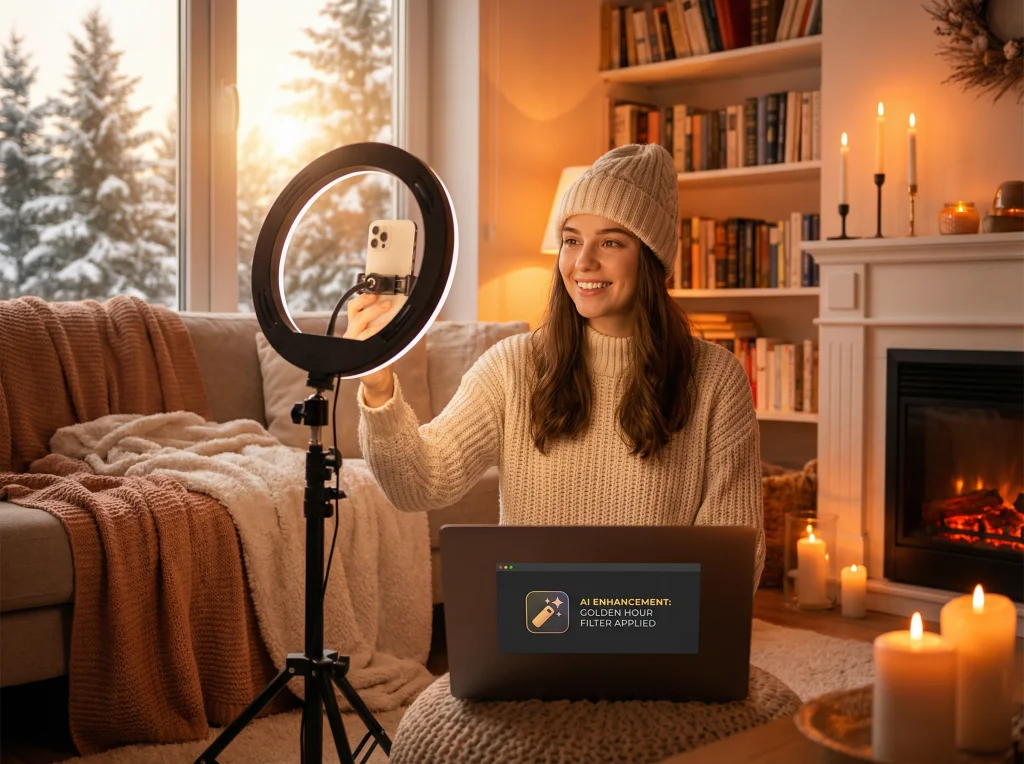
Once you start seeing good light, you can learn to create it. You can even generate perfect studio lighting with AI, making it possible to produce a stunning glamour shot from a simple selfie.
In the photography market, which is projected to hit $275 million by 2028, these skills aren't just nice to have—they're essential. Just consider that well-lit product photos have been shown to boost e-commerce conversion rates by a staggering 30-40%. That’s the real-world power of good lighting.
Polishing Your Photos With Smart Editing
Getting the composition and lighting right gets you 90% of the way there. That last 10%—the secret sauce that elevates a photo from good to genuinely impressive—is all in the editing.
Let’s be clear: nearly every professional photo you’ve ever admired has been edited. It’s not about faking reality, it’s about refining it. This is your chance to correct colors, sharpen focus, and clean up the little distractions you couldn’t fix on set. It’s where your final image truly comes alive and matches the vision you started with.
The Editing Essentials You Can't Skip
Before you even think about fancy filters or complex software, there are a few fundamental adjustments that can make a world of difference. Mastering these simple tweaks is the bedrock of good editing, and you can find them in just about any app, from your phone's native editor to pro-level software.
These are the non-negotiables for every photo:
- Cropping and Straightening: Nothing screams "amateur" like a crooked horizon. Use your app's gridlines to straighten things up and crop out any distracting elements on the edges. This simple act instantly tightens your composition and directs the viewer's eye.
- Exposure and Contrast: This is all about brightness and punch. Nudging up the exposure can bring a dark photo to life, while a slight boost in contrast makes the colors pop. The trick is to be subtle—you want to enhance, not obliterate, the details in the brightest and darkest parts of the image.
- Color Correction: Ever take a photo indoors that looks too yellow? That's a white balance issue. A quick adjustment can make the colors look true-to-life. You can also play with saturation (the intensity of all colors) and vibrance (which targets only the muted colors) to give your image a more vivid, engaging feel.
Get comfortable with these three basics, and you'll immediately see a massive improvement in your photos.
Editing is your final layer of creative control. It lets you erase the distracting power outlet in the background or remove a temporary blemish, ensuring your subject remains the undisputed star of the show.
Let AI Do the Heavy Lifting
While learning manual editing is a fantastic skill, AI-powered tools have completely changed the game. Tasks that used to take a skilled professional hours in a program like Adobe Photoshop can now be done in seconds, often with just a single click.
Think about it. A real estate agent shoots a property on a gray, overcast day. Instead of a costly reshoot, AI can swap in a perfect blue sky in about five seconds. An entrepreneur needs a professional headshot but only has a selfie from their phone. An AI platform like Photo AI Studio can generate dozens of studio-quality options from that one image.
This isn't just a minor improvement; it's a fundamental shift in how we create professional visuals. The focus moves from tedious technical skill to pure creative direction.
Here’s a quick look at how the old way compares to the new way.
Traditional vs AI-Powered Photo Editing
What once required years of practice and expensive software is now accessible to anyone. This table breaks down just how much time, effort, and skill AI can save you.
| Task | Traditional Method (e.g., Photoshop) | AI Method (e.g., Photo AI Studio) |
|---|---|---|
| Background Removal | Requires precise manual selection with the Pen Tool. Can take 10-30 minutes for a single complex object. | Automatic one-click removal. Takes about 5 seconds with shockingly good accuracy. |
| Object Removal | Involves cloning and healing brushes, often requiring significant skill to look natural and avoid messy patterns. | Simply "paint" over the object you want gone. The AI removes it and realistically fills in the background for you. |
| Sky Replacement | A multi-step process involving masking, color blending, and faking lighting adjustments to make it look real. | A one-click feature that automatically handles blending, lighting, and color matching for a seamless result. |
| Headshot Creation | Requires hiring a photographer, booking a studio, and spending hours on a full photoshoot. Costs hundreds of dollars. | Upload a few selfies and generate hundreds of professional options with different outfits, backgrounds, and styles. |
This shift makes knowing how to make photos look professional less about mastering complicated software and more about having a clear vision. By letting AI handle the grunt work, you can focus on what really matters: the final result.
Weaving Your Photos into a Cohesive Brand Story
A single, incredible photo is a win. But a whole gallery of consistently professional images? That’s a brand. This is where we move beyond just taking pictures and start building a powerful, recognizable visual identity. When your website, social media, and marketing materials all feel like they belong together, you build the kind of trust that makes your brand instantly familiar.
Think about the brands you love. You can probably spot their content in a crowded Instagram feed before you even see their name. That’s not an accident; it’s the result of a deliberate visual strategy. This kind of polish and predictability signals that you’re reliable and professional.
Developing Your Signature Look
Figuring out your brand's visual style doesn't need to be some monumental task. Just start by asking yourself: what feeling do I want to evoke? Is my brand warm and inviting, or is it sharp, sleek, and modern? The answer to that simple question will become the compass for all your creative choices.
To build out your style guide, focus on these core elements:
- Color Palette: Pick a lane and stay in it. Are your photos full of warm, earthy tones, or are they bright, airy, and vibrant? Using editing presets or filters is a fantastic way to apply a similar color grade across all your images.
- Lighting Style: Are you drawn to the soft, gentle look of natural window light, or do you prefer the drama and high-contrast punch of studio lighting? Sticking to a consistent lighting approach is one of the most powerful ways to create a unified feel.
- Composition: Do you lean towards clean, minimalist shots or busy, detailed scenes packed with character? Decide on a few go-to compositional frameworks that really reflect your brand’s personality.
Building a visual brand means every photo should feel like it belongs to the same family. This unity turns individual posts into a powerful, cohesive narrative about who you are and what you stand for.
Once you’ve got these guidelines down, keeping everything consistent becomes second nature. Need a new headshot for a team member? You already have the blueprint for the lighting, composition, and editing style.
This is also where AI tools can be a massive help, allowing you to generate new visuals that slot perfectly into your established look. It’s particularly useful for creating a uniform set of professional profile pictures for your entire team. You can even explore how AI can generate consistent profile pictures that perfectly align with your brand's aesthetic.
Finally, don't forget the technical details. Exporting your images in the right formats and resolutions is the last crucial step to ensure they look sharp everywhere. A high-resolution JPEG is perfect for a big website banner, but a smaller, optimized WebP file might be a smarter choice for a blog post where load speed is critical. This final check guarantees all your hard work translates into a professional look on every single platform.
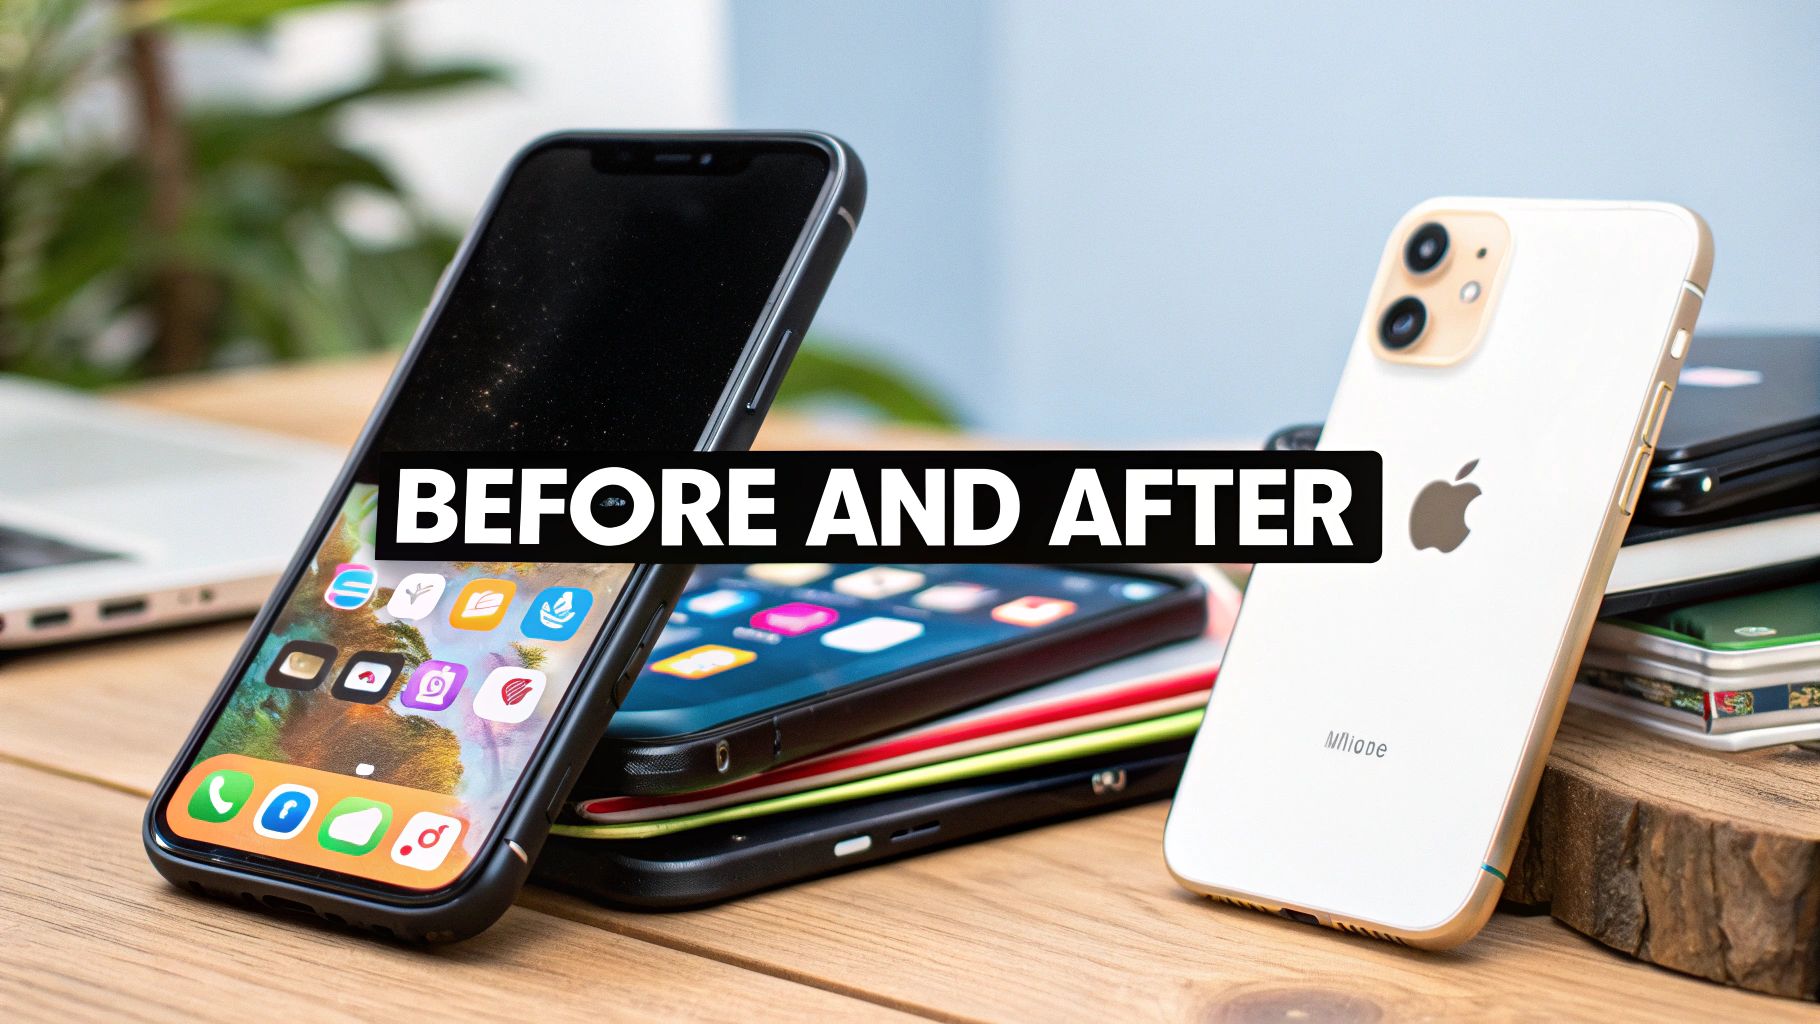
Real-World Before And After Transformations
Talk is cheap. It's one thing to read about photography principles, but it’s another thing entirely to see them work their magic on a real photo. The most satisfying part of this whole process is watching an ordinary, everyday snapshot turn into something you’d be proud to put on your website or LinkedIn profile.
Let's look at some proof. The image below shows how much smartphone cameras have evolved, but the lesson here is bigger than just the tech. Simple tweaks in your angle, lighting, and a quick spin through an editor can make a world of difference.
From Casual Selfie To Polished Headshot
We’ve all been there. You need a professional photo now, so you snap a selfie against whatever wall is closest. The lighting is a bit weird, your background is cluttered, and the whole vibe is just... casual. It’s fine for your friends, but it’s not doing you any favors on your professional profiles.
- Before: A selfie with a messy background, flat and unflattering light, and an informal pose.
- After (Using Photo AI Studio): That distracting background gets swapped for a clean, professional office setting. The AI then gets to work, correcting the lighting to add dimension and even changing the outfit to something more polished. What you end up with is a headshot that screams credibility.
Suddenly, a simple photo becomes a branding asset, and you didn't even have to hire a photographer.
The real goal isn't just about fixing a bad photo. It's about finding the hidden potential in an okay one. Every "after" shot you see is the result of smart, deliberate choices about light, composition, and editing—choices you now know how to make.
From Cluttered Room To Marketable Space
Now, think about a photo for a real estate listing. You’ve got a picture of a room that’s either completely empty or full of clutter, shot with whatever light was available. It looks small, dark, and totally uninviting. It’s not selling the dream.
With a few smart editing moves, that same space can be completely transformed. The clutter gets removed, the windows are brightened to flood the room with digital sunlight, and virtual furniture is added to show what the space could be.
If you really want to see how powerful this can be, check out some compelling virtual staging before and after examples. It’s amazing how a few digital tweaks can completely shift a potential buyer's entire perception of a property.
Your Top Photography Questions, Answered
Jumping into professional-looking photography can feel like learning a new language. A few questions pop up time and time again as people start putting these skills into practice. Let's tackle the big ones so you can move forward with confidence.
Can My Phone Really Take Professional Photos?
One hundred percent, yes. Modern smartphone cameras are absolute powerhouses. While a fancy DSLR gives you more granular control, the things that actually make a photo great—lighting, composition, and a solid edit—are universal.
Honestly, for 90% of what you need, like photos for your website or social media, having a clean lens and a good eye for light is way more important than dropping thousands on new gear.
The best camera is always the one you have with you. Focus on mastering the techniques in this guide, not on accumulating expensive equipment. Learning how to find good light will have a much bigger impact than a new lens.
What Is The Single Biggest Mistake To Avoid?
This one's easy: ignoring the background. I see it all the time. A potentially great shot is instantly tanked by a distracting, cluttered background.
Before you even think about hitting that shutter button, take one extra second to scan the entire frame. Is there a random coffee cup in the corner? A distracting poster on the wall? Just move it, or shift your angle slightly. A clean, intentional backdrop makes all the difference.
Another classic mistake is using the harsh overhead lights you find in most rooms. They cast weird, yellowy shadows that flatter absolutely no one. Whenever you can, flick those lights off and get near a window. Natural light is your best friend for a softer, more professional look.
How Much Editing Is Too Much?
Editing should be your secret weapon, not the main event. The whole point is to make your photo look like a polished, elevated version of reality—not a cartoon. A good rule of thumb I've learned is to edit until you think it looks perfect, and then dial everything back by about 10%.
When colors look neon-bright or skin looks plastic-smooth, it's a dead giveaway of amateur editing. The very best edits are the ones you don't even notice. They just make the photo feel right.
Ready to skip the learning curve and get flawless results right now? With Photo AI Studio, you can generate studio-quality headshots, product photos, and creative images in seconds. Transform your casual photos into professional assets today. Try Photo AI Studio for free.