
It's a common question I hear: can you really find quality AI photo restoration online free? The answer is a definite yes, thanks to tools that hand out free credits or trials to let you test their tech. For example, services like PhotoAI Studio give you a batch of free credits right at the start. That's enough to automatically fix up scratches, bring back faded colors, and sharpen the details on a handful of old photos without spending a dime. It's a fantastic way to see the magic for yourself.
How AI Is Reviving Our Cherished Memories
Old photographs are so much more than paper and ink. They're tangible links to our family history, capturing moments with people we love and freezing a piece of the past. The problem is, time isn't exactly gentle with these keepsakes. Fading, scratches, water spots, and yellowing can slowly erase the very memories we're trying to preserve. For decades, the only fix was to hire a professional for a pricey, time-consuming restoration using complex software like Photoshop.
But this is where artificial intelligence has completely changed the game. AI-powered tools make photo restoration not just possible for everyone, but simple, fast, and incredibly effective. Instead of someone manually painting over every little flaw, these platforms use smart algorithms trained on millions of images. They've learned to recognize what a damaged photo is supposed to look like.
The Technology Behind the Magic
At its core, AI photo restoration is about automatically identifying and fixing imperfections. The whole process, which the AI handles in just a few seconds, breaks down into a few key steps:
- Damage Detection: First, the algorithm scans the entire image, pinpointing common problems like scratches, stubborn creases, tears, and even coffee stains.
- Content-Aware Filling: When parts of the photo are completely missing, the AI intelligently predicts what should be there. It analyzes the surrounding pixels to reconstruct the lost details, acting like a master digital artist filling in the blanks.
- Color Correction and Colourization: AI can look at a washed-out, discolored photo and restore its original vibrancy. And for classic black-and-white pictures, it can add stunningly realistic colors by predicting the natural tones of skin, clothing, and the environment.
- Detail Enhancement: The technology is brilliant at sharpening blurry faces and bringing back lost textures, adding a new level of clarity that might have been missing even in the original shot.
This is way more than just slapping a filter on an old photo. True AI restoration reconstructs the image with an understanding of context, breathing new life into it while staying true to its original character.
What was once a highly specialized, manual skill has become a one-click solution. With an ai photo restoration online free tool, you can upload a tattered family portrait and get back a beautifully revived version moments later. You can dive deeper into how this tech works on the PhotoAI Studio blog. This newfound accessibility is fundamentally changing how we connect with and preserve our personal histories.
Digitizing Your Photos for the Best AI Results
The final restored image will only be as good as the digital file you start with. An AI is powerful, but it can't invent details that aren't there. Giving it a clean, high-resolution scan is the single most important thing you can do to get a stunning result.
Think of it this way: you're giving the AI a clear roadmap. The better the map, the better the final destination.
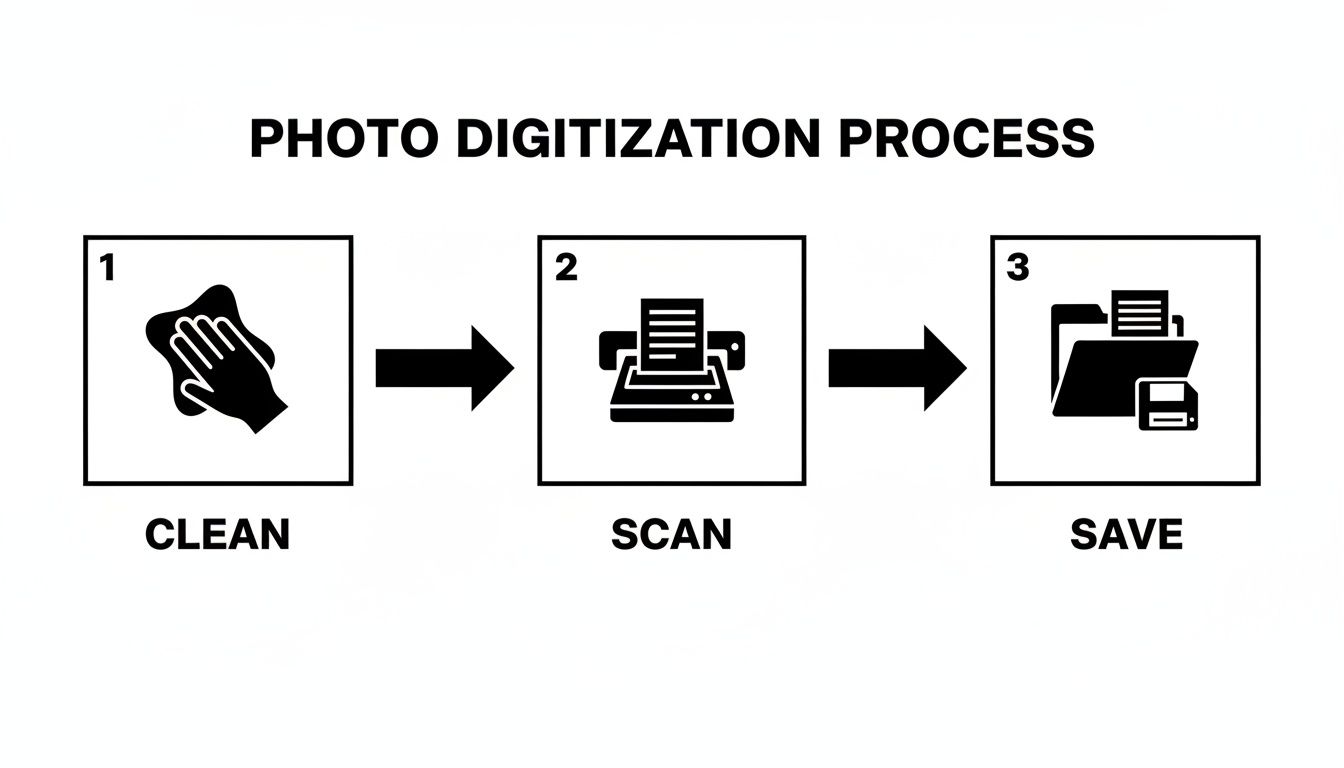
Before you even touch a scanner or your phone, take a minute to gently clean your physical photos. A soft microfiber cloth—the kind you'd use for eyeglasses—is perfect for wiping away dust and fingerprints without scratching the delicate surface. If you’re dealing with more stubborn grime, a slightly dampened cloth (with water only!) can work wonders. Just be sure to test it on a small corner first and let it dry completely. Never, ever use harsh chemicals; they can permanently ruin the photo.
Choosing Your Digitization Method
You don't need a professional-grade studio to get a great digital copy. Today's tools, from dedicated scanners to the phone in your pocket, are more than capable of producing excellent source files. You just have to know how to use them right.
A flatbed scanner is your best bet, if you have one. It provides perfectly even lighting and holds the photo completely flat, which is crucial for preventing distortion and capturing the maximum amount of detail for any ai photo restoration online free tool.
But don't discount your smartphone camera. Modern phone cameras are incredibly powerful and can do a fantastic job. The trick is to place your photo on a flat, well-lit surface. Avoid direct sunlight, as it creates nasty glare. Position your phone directly above the photo, making sure it’s parallel to the surface to avoid skewed angles that warp the image.
Pro Tip: Try an app like Google PhotoScan. It’s built specifically for this and cleverly stitches multiple shots together to eliminate glare and sharpen details. The results often rival a basic flatbed scanner.
Understanding Key Scanning Settings
Getting the settings right is where the magic really starts. Whether you're using a scanner's software or a mobile app, paying attention to a few key options will make a world of difference. This is what ensures the AI has the best possible material to work with. For those dealing with older formats, understanding the nuances of converting slides to digital images is also a critical first step.
Here’s a quick reference guide to the settings that matter most.
Optimal Scanning Settings for Photo Restoration
Getting these three settings right before you scan will drastically improve your final AI restoration. It's the difference between a good result and a great one.
| Setting | Recommendation | Reasoning |
|---|---|---|
| Resolution (DPI) | 600 DPI minimum | Dots Per Inch (DPI) is all about detail. 300 DPI is fine for basic viewing, but 600 DPI gives the AI significantly more data to analyze and reconstruct, leading to a much sharper final image. |
| File Format | TIFF (if available) | TIFF is a "lossless" format, meaning it saves every single pixel of original image data. JPEG is "lossy"—it compresses the file by discarding subtle details the AI could have used for a better restoration. |
| Color Depth | 24-bit Color | Even for black-and-white photos, scan in color. This captures the subtle tones of aging (like sepia) which helps the AI make more accurate, natural-looking corrections instead of just guessing. |
By taking a few extra minutes to prep and digitize your photos with care, you're setting the stage for a truly impressive restoration. This foundational work is what allows the AI to deliver those breathtaking, lifelike results you're hoping for.
Your Guide to Using an AI Photo Restorer
Okay, you’ve done the hard part—your precious photos are digitized and ready to go. Now for the magic. This is where we take those faded, damaged prints and breathe new life into them.
Using an AI photo restoration online free tool like PhotoAI Studio is refreshingly simple. What used to be a painstaking, technical process for Photoshop experts is now something you can do in a few clicks. The goal is to get you from a scanned, worn-out photo to a vibrant, clean image without getting bogged down in confusing menus.
Navigating the Restoration Dashboard
Once you’re signed up, you'll land on a clean, simple dashboard. Think of it as your command center for bringing photos back to life. Just about every tool, including PhotoAI Studio, puts a big "Upload Image" button front and center. That’s your first stop.
The whole process really hinges on the prep work we talked about earlier. You can also check out our AI dating profile photos.
This just hammers home the point: a quality scan is the foundation for a quality restoration. Garbage in, garbage out, as they say.
After you upload your image, the screen will usually split into a "before" and "after" view. This is incredibly helpful because you can see the changes happen in real time as you experiment with the settings. To see what I mean, you can jump right in and try it yourself on the PhotoAI Studio dashboard.
Selecting the Right AI Settings
This is your chance to direct the AI. While the default settings are surprisingly good and often get you 90% of the way there, knowing what each toggle does gives you a ton of control for even better results. You’re not just pressing a button; you're telling a powerful algorithm exactly what to fix.
Here are the main controls you’ll be working with:
- Scratch & Blemish Removal: This is the workhorse. Flip this on, and the AI hunts down and eliminates scratches, dust spots, and tiny tears. It’s almost always on by default for a reason—it’s essential for nearly every old photo.
- Color Restoration / Colorization: This one does double duty. For old, faded color photos, it brings the vibrancy back, rebalancing the hues. For black-and-white pictures, it intelligently adds realistic color, which is a game-changer.
- Face Enhancement: I find this feature is crucial for portraits. It specifically targets blurry facial features—eyes, noses, mouths—and brings them back into sharp focus. The difference it makes in making a person recognizable again is often stunning.
The layout is designed to be intuitive, guiding you through the steps without throwing a wall of technical options at you. The whole point is to make this advanced tech feel easy.
My Personal Tip: For your first attempt on any photo, just leave the default settings enabled and hit "Restore." The AI is trained on millions of images and is shockingly good at spotting the most common problems. Once you see that first result, you can decide if you need to go back and tweak a specific setting for a better outcome.
After you’re happy with the preview, you’ll click the "Restore" button. The AI works its magic, and usually within seconds, your restored photo is ready to download. The speed is honestly one of the most impressive parts—a job that would have taken me hours in Photoshop is done before I can even finish my coffee.
Refining Your Restored Photos Like a Pro
The AI does an incredible job with the heavy lifting, but the final 10% of polish is what takes a good restoration and makes it a truly stunning one. After the AI has zapped the scratches and brought back the color, a few simple manual tweaks can add depth, fix tiny imperfections, and make the whole image feel authentic and alive.
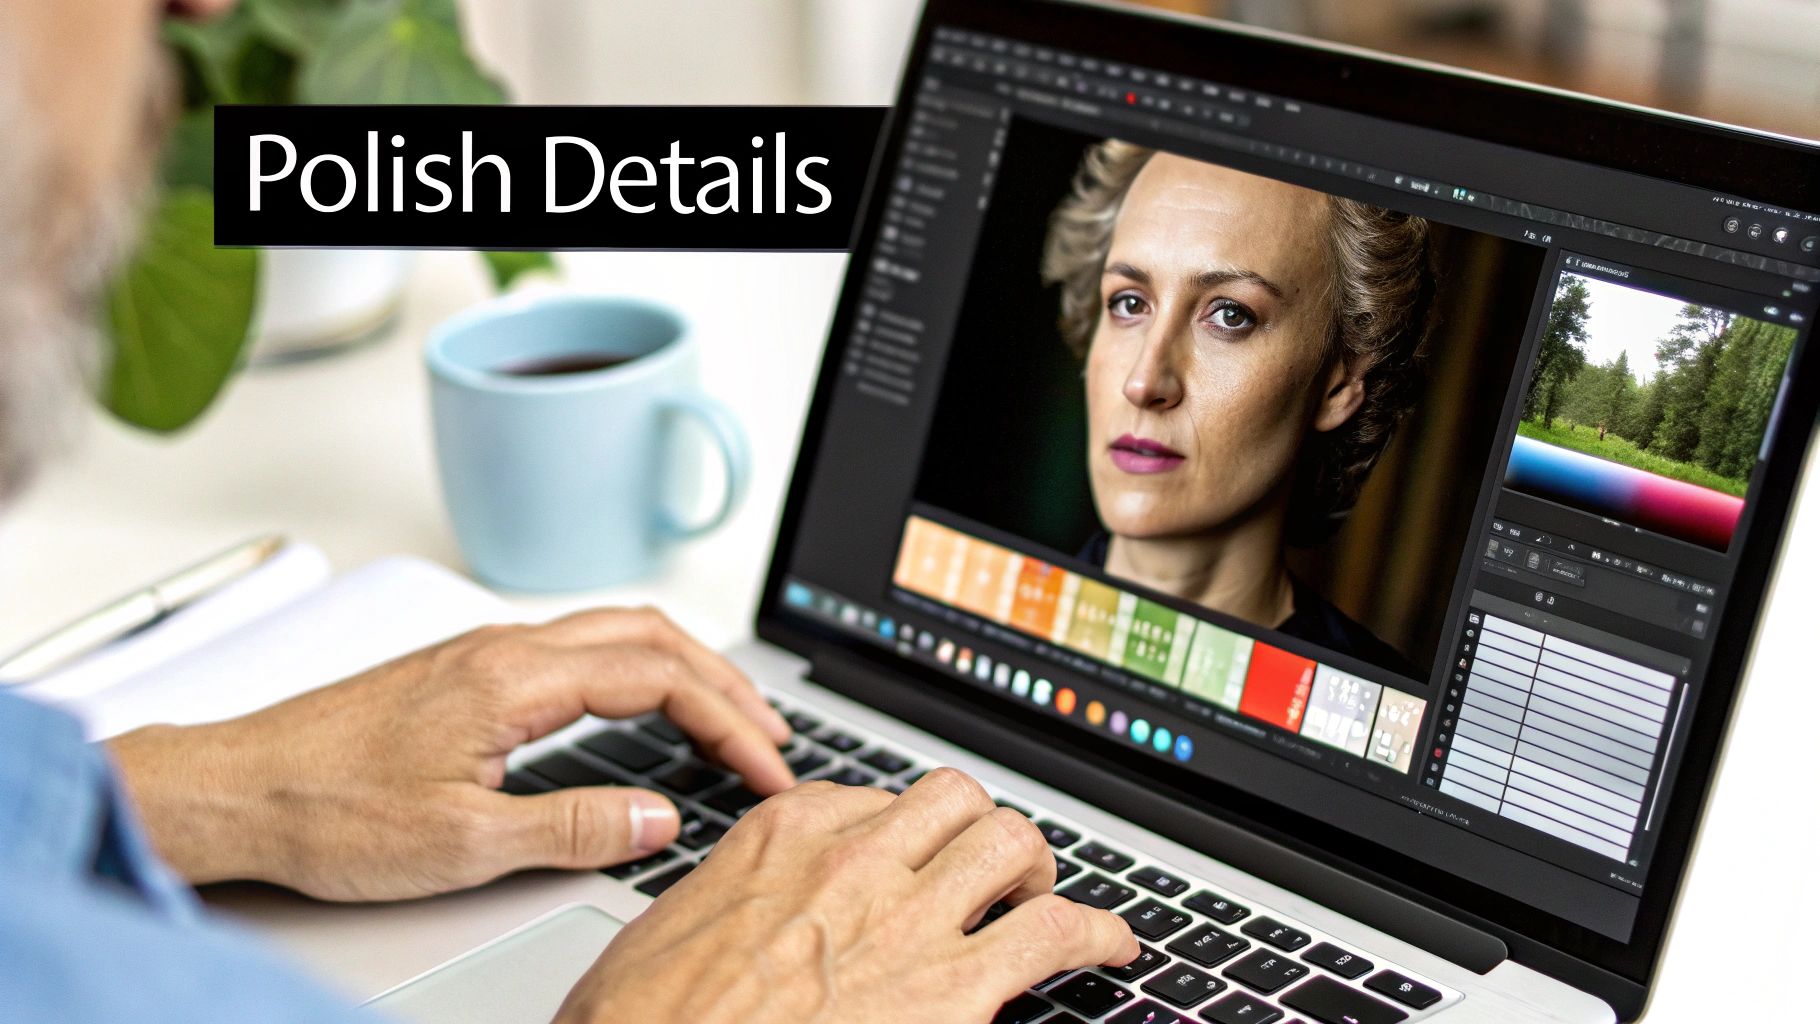
This is where you step in as the art director. You don’t need fancy, expensive software for this part. Most free online editors like Photopea or Canva have all the basic tools you’ll need to add those critical finishing touches.
Making Subtle Brightness and Contrast Adjustments
Even after the AI does its color correction magic, the lighting in a photo might not feel quite right. The goal here is gentle enhancement, not a dramatic overhaul. A tiny bump in contrast can make your subjects pop, while a slight increase in brightness can reveal details that were lost in the shadows.
Think about a restored photo from a 1960s family picnic. The AI fixed the faded colors, but the whole scene looks a little flat. By increasing the contrast just a little, you create a clearer separation between the sunny lawn and the shade under the tree, giving the entire scene a more dynamic, engaging feel.
Fine-Tuning Colors for a Natural Feel
AI colorization is amazing, but it’s not infallible. Sometimes it just gets things slightly wrong—a sky might be a little too blue, or skin tones might look a bit off. This is where your human eye is irreplaceable.
Look for sliders labeled saturation (the intensity of the colors) and temperature (the balance between warm and cool tones).
- Saturation: If the colors look over-the-top and almost cartoonish, pull the saturation back just a bit.
- Temperature: For a photo that feels too "cold" or bluish, nudge the temperature slider toward yellow. If it feels too "warm" or yellowish, slide it toward blue.
These small adjustments are often the difference between a photo that screams "artificially colorized" and one that feels like a genuinely preserved moment in time.
Don’t be afraid to trust your instincts. The best setting is simply the one that looks right to you. The goal is to make the photo feel natural, not to chase some kind of technical perfection.
Handling Specific Challenges and Details
Every now and then, the AI might struggle with one specific part of an image, especially if the original damage was really bad. For example, in a group photo, one person's face might still look a bit soft while everyone else is sharp. You can use a selective sharpening tool in your editor to target just that one area.
Likewise, if the AI missed a tiny scratch or a dust spot, a simple "spot heal" or "clone" tool can make it disappear in seconds. This targeted approach lets you fix the problem without messing with the parts of the photo that the AI restored perfectly. It's these final, focused edits that create a polished, professional-quality result.
Once you’ve mastered using AI to bring old photos back to life, you could even explore how to turn photos into art for a completely unique way to display your memories.
Common AI Restoration Mistakes to Avoid
Using an AI photo restoration online free tool can feel like magic, but that magic can go sideways if you're not careful. It’s incredibly easy to make a few common missteps that leave you with an image that looks worse than when you started—unnatural, overly processed, and just… off.
The technology is brilliant, but it's not a mind reader. It needs your guidance to get things just right. Sidestepping these common pitfalls is the real secret to getting a final image that looks authentically restored, not artificially created.
One of the biggest culprits I see is the dreaded "plastic skin" effect. This is what happens when the AI’s face enhancement feature goes into overdrive, smoothing over every natural skin texture, freckle, and fine line until the person looks less like a beloved relative and more like a porcelain doll. Sure, the image is clean, but it completely strips away the character that made the original photo special.
Another frequent problem is over-saturation. When an AI adds color to a black-and-white photo or punches up a faded one, it can get a little too enthusiastic. The result? Almost cartoonish hues that feel totally out of place for a vintage photograph, making it look cheap and fake. You can also check out our AI anime & cartoon photos.
Avoiding the Uncanny Valley
So, how do you steer the AI away from these mistakes? The answer is moderation and being willing to experiment with the settings. Never just accept the AI’s first try as the final product.
Here are a few specific things I do to keep the results looking real:
- Dial Back the Intensity: If your tool has sliders for "Face Enhancement" or "Beauty Filter," pull them back. Start low. This tells the AI to be more subtle, preserving those crucial natural textures instead of nuking them from orbit.
- A Lighter Touch on Color: After the AI colorizes an image, I almost always open it in a basic photo editor and just nudge the saturation down a bit. This one tiny tweak can instantly make the colors feel more believable and period-appropriate.
- Start with a Better Scan: This is huge. The AI is working with the data you give it. A low-resolution or blurry scan forces the AI to guess more, and that’s when you get weird artifacts or overly smooth results—it simply doesn't have enough detail to reconstruct textures accurately.
The goal is restoration, not recreation. The most beautiful results are often the ones where the AI's touch is almost invisible, gently repairing damage while honoring the photo's original character.
The technology behind these tools is getting smarter at an incredible pace. The entire AI image generator market, which powers these restoration tools, is projected to hit USD 88.71 billion by 2032. You can read more about this explosive growth on ResearchAndMarkets.com. This means the tools are getting better at avoiding these mistakes on their own, but a discerning human eye will always be your most valuable asset.
Frequently Asked Questions About AI Photo Restoration
Even with a step-by-step guide, you probably have a few questions rattling around. Let's tackle some of the most common ones I hear so you can get started with total confidence.
What Types of Damage Can AI Actually Fix?
AI is a wizard when it comes to the classic signs of aging in old photos. It excels at tackling things like scratches, small tears, and creases that clutter up an image. The technology is trained to intelligently rebuild those missing pixels, making the damage just... disappear. It's also fantastic at correcting severe color fading, bringing washed-out, yellowed photos back to life.
But it's not magic. The AI has its limits. If a huge chunk of the photo is missing—like a corner that was completely ripped off—the algorithm can struggle to guess what was there accurately. Likewise, if the original photo was severely out of focus to begin with, you'll see some improvement in sharpness, but it won't suddenly become crystal clear.
Is My Data Safe When I Upload Old Family Photos?
This is a big one, and rightly so. You're dealing with irreplaceable memories. Any reputable online restoration tool will use secure, encrypted connections for every upload you make. Your photos are processed on their private servers and are never shared publicly or repurposed without your explicit say-so.
Most platforms have a clear privacy policy that spells out exactly how they handle your data. For example, it's common practice for services to automatically delete your uploaded files after a short period, like 24 or 48 hours, just to be safe. It’s always a good idea to skim the terms of service for any tool before you upload.
Will the Restored Photo Look Fake or Artificial?
That's a common fear, but modern AI is built to produce natural, believable results. The entire point is restoration, not a weird, plastic-looking recreation. A high-quality tool will work hard to preserve the original photo's character, including its unique film grain and texture, while just removing the damage.
The best AI restorations are the ones where you can’t tell an AI was involved at all. The image simply looks like a well-preserved original, with the distracting damage gone.
You can usually sidestep any overly processed or "airbrushed" look by going easy on the intensity settings, especially for things like face enhancement.
The technology behind these tools is getting better at an incredible pace, largely because the demand is exploding. The global AI Image Editor Market was valued at USD 88.7 billion in 2025 and is projected to hit USD 229.6 billion by 2035. You can dig into more of the data on this trend over at FutureMarketInsights.com. All that investment is being poured directly into making the results more realistic every single day.
And if you find yourself using up your free credits and wondering what comes next, you can always explore the different options on our PhotoAI Studio pricing plans.
Ready to see what AI can do for your cherished memories? Try PhotoAI Studio now and use your free credits to restore, enhance, and colorize your old photos in seconds. Get started for free at photoaistudio.com.


