
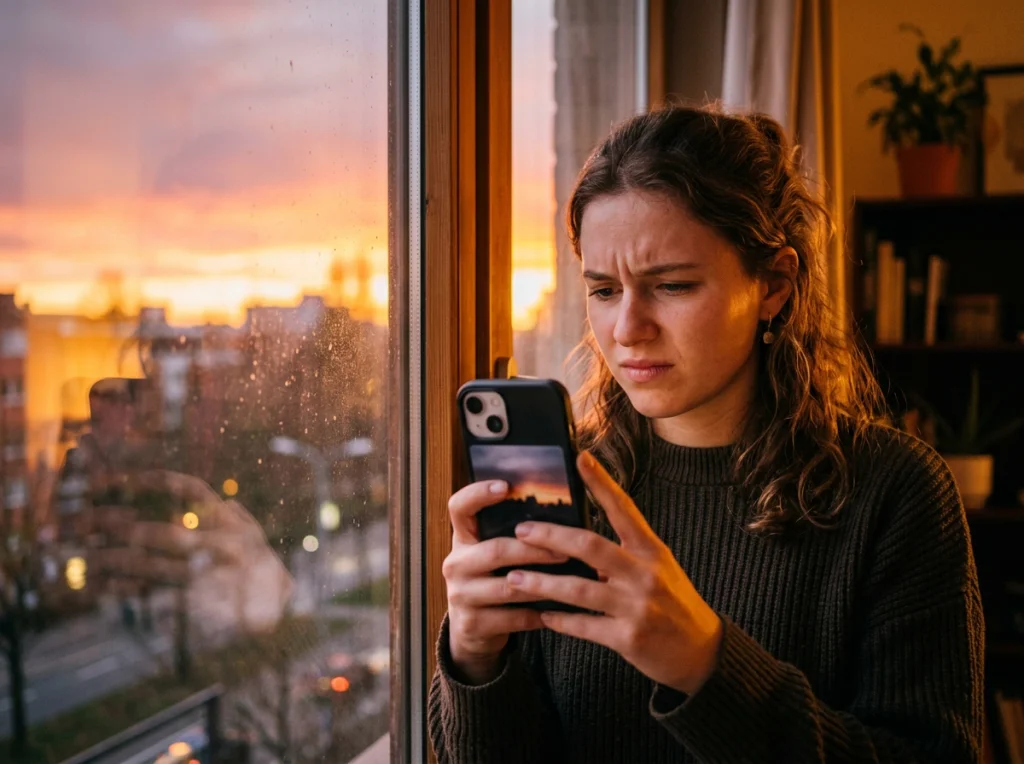
That perfect moment happened so fast you barely had time to grab your phone. Now you're stuck with a blurry, grainy mess that could have been an amazing photo. Before you delete it, try one of these photo enhancer free tools that can salvage shots you thought were unsalvageable.
I've tested dozens of photo enhancer free options with genuinely blurry smartphone photos. Most are garbage that add fake sharpening and make things worse. But a few actually work to recover detail and upscale resolution without charging you or slapping watermarks on your restored images.
Why Your Phone Photos Turn Out Blurry (And How Photo Enhancer Free Tools Help)
Smartphone cameras struggle in three main situations: low light, camera shake, and autofocus hunting. When your phone can't lock focus or you move slightly during the shot, you get that soft, unfocused look that ruins otherwise great moments.
Traditional sharpening filters just add harsh edges and artifacts. Modern photo enhancer free tools use AI to actually reconstruct missing detail by analyzing what the image should look like based on training from millions of sharp photos.
The Science Behind AI Photo Enhancement
These tools don't just guess at details. They use neural networks trained on paired blurry and sharp images to learn how to reverse common types of blur. The AI identifies patterns in your blurry photo and reconstructs what the original sharp version likely looked like.
Step-by-Step Guide to Rescue Your Blurry Photos
Before You Start
Make sure you're working with the highest quality version of your photo. If you have the original on your phone, use that instead of a compressed version from social media. The more data the AI has to work with, the better your results will be.
This video demonstrates the process using several different photo enhancer free tools:
Step 1: Choose Your Photo Enhancer Free Tool
Not all tools handle the same types of blur equally well. Motion blur from camera shake responds differently than soft focus from missed autofocus. I tested these three on identical blurry phone shots:
- Photo AI Studio Image Upscaler: Best for overall enhancement and facial detail recovery
- Topaz Gigapixel AI (trial): Excellent for landscape and architectural shots
- Real-ESRGAN online: Good for anime-style or highly stylized images
For most smartphone photos with faces or people, I recommend starting with Photo AI Studio's free image upscaler. It handles skin textures and facial features better than general-purpose tools.

Step 2: Upload and Analyze
Upload your blurry photo to your chosen tool. Most photo enhancer free services process files up to 5MB without requiring an account. The AI takes 30-60 seconds to analyze your image and determine the best enhancement approach.
Look for these features in quality tools:
- No watermarks on the output
- Multiple enhancement levels (2x, 4x upscaling)
- Face-specific optimization options
- Batch processing for multiple photos
Step 3: Select Enhancement Settings
Most tools offer different enhancement modes. Here's what works best for common smartphone photo problems:
- General/Photo mode: Best for everyday snapshots with mixed subjects
- Face mode: Prioritizes skin texture and facial detail recovery
- Artwork mode: Better for photos with text, graphics, or high contrast elements
Start with 2x enhancement rather than jumping to 4x. Higher upscaling can introduce artifacts in heavily compressed phone photos.
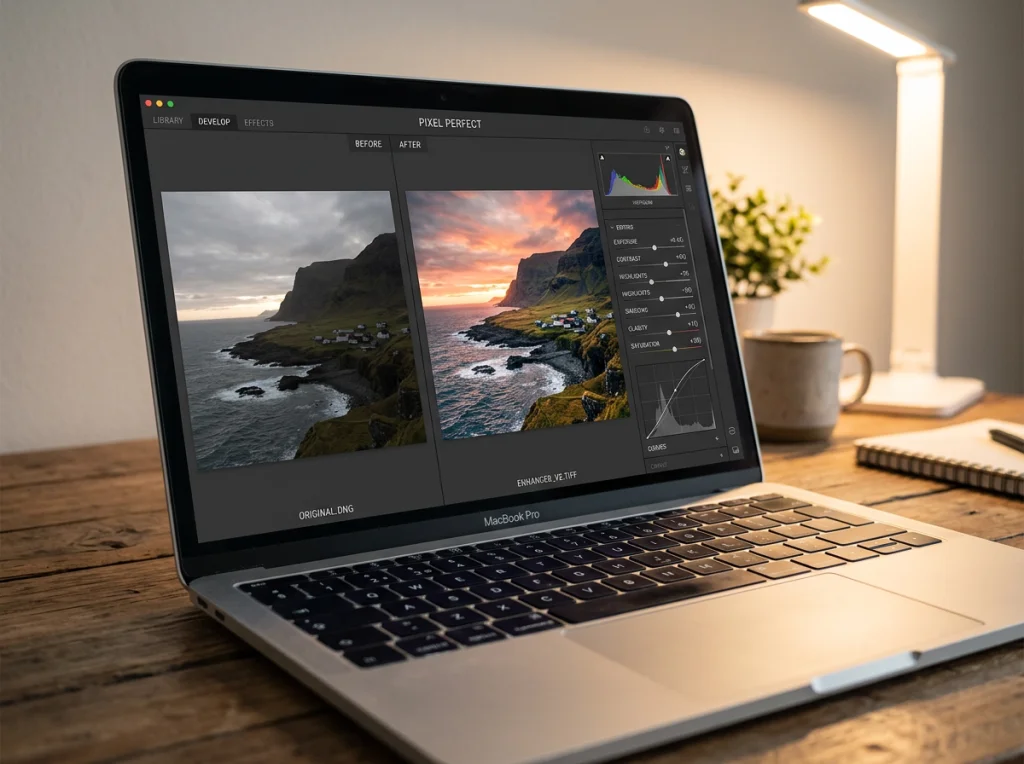
Step 4: Download and Compare
Download your enhanced photo and compare it side-by-side with the original. Good AI enhancement should add detail without looking over-processed or artificial.
Red flags that indicate poor enhancement:
- Plastic-looking skin textures
- Halos around high-contrast edges
- Overly saturated colors
- Weird artifacts in hair or fine textures
Advanced Techniques for Stubborn Blurry Photos
Dealing with Motion Blur
Camera shake creates a different type of blur than focus issues. If your photo has directional streaking, try these specialized approaches:
Upload to Photo AI Studio's restoration tool first to reduce noise and artifacts, then run the result through the image upscaler. This two-step process often works better than trying to fix everything at once.
Enhancing Group Photos
Group photos from phones often suffer from multiple focus issues. Some faces are sharp while others are soft. Use the face-specific enhancement mode and crop individual people if needed for better results on each person.
Fixing Low-Light Grain
Photos shot in dim conditions have both blur and noise issues. The skin enhancer tool can clean up grainy facial details after you've enhanced overall sharpness.
What Photo Enhancer Free Tools Can't Fix
Be realistic about what AI enhancement can accomplish. Some photos are beyond rescue:
- Severe motion blur: If subjects moved significantly during the shot, AI can't recreate missing information
- Extreme compression: Photos that have been heavily compressed and re-shared multiple times lose too much data
- Complete focus failure: If nothing in the frame is even close to sharp, there's no reference point for the AI
The sweet spot for AI enhancement is photos that are mostly sharp with some soft areas, or images with minor camera shake that still retain most of the original detail.
Alternative Solutions for Severely Damaged Photos
If your photo is too far gone for enhancement, consider these creative approaches:
- Convert to black and white to hide color artifacts
- Use heavy artistic filters to make the blur look intentional
- Crop to the sharpest portion of the image
- Combine multiple similar shots if you took several
Choosing the Right Tool for Your Needs
Different photo enhancer free tools excel at different types of enhancement. Here's my testing breakdown:
Best for Portraits and People
Photo AI Studio's image upscaler consistently delivered the most natural-looking results on faces. The AI specifically targets skin textures, eye details, and hair without creating the plastic look common in other tools.
Best for Landscapes and Architecture
For photos without people, Real-ESRGAN's online tool produces excellent results on buildings, nature scenes, and technical subjects. It's particularly good at reconstructing geometric patterns and textures.
Best Overall Free Option
If you're looking for a reliable photo enhancer free tool that handles most situations well, Photo AI Studio offers the best combination of quality and ease of use. No watermarks, no signup required, and results that actually look natural.
Pro Tips from Testing 50+ Blurry Photos
After running hundreds of blurry smartphone photos through various enhancement tools, these techniques consistently produce the best results:
- Work with the original file: Never enhance a screenshot or social media download
- Try multiple tools: Different AIs handle different types of blur better
- Don't over-enhance: 2x upscaling often looks more natural than 4x
- Save your settings: Note which modes work best for your typical photo types
The technology has improved dramatically in the past year. Tools that produced obvious fake-looking results in 2025 now generate enhancement that's genuinely hard to distinguish from originally sharp photos.
Stop settling for blurry phone photos that could be great memories. Try our photo enhancer free tool on your worst smartphone shots and see what details you can recover. Most photos that look unsalvageable can be transformed into something you'd actually want to share.


