A great headshot is all about the light. Seriously. More than your fancy camera or expensive lens, the way you shape and control light is what separates an amateur snapshot from a career-defining photo. It's the single most important factor in creating a professional, compelling image.
Why Great Lighting Is Everything in Headshot Photography
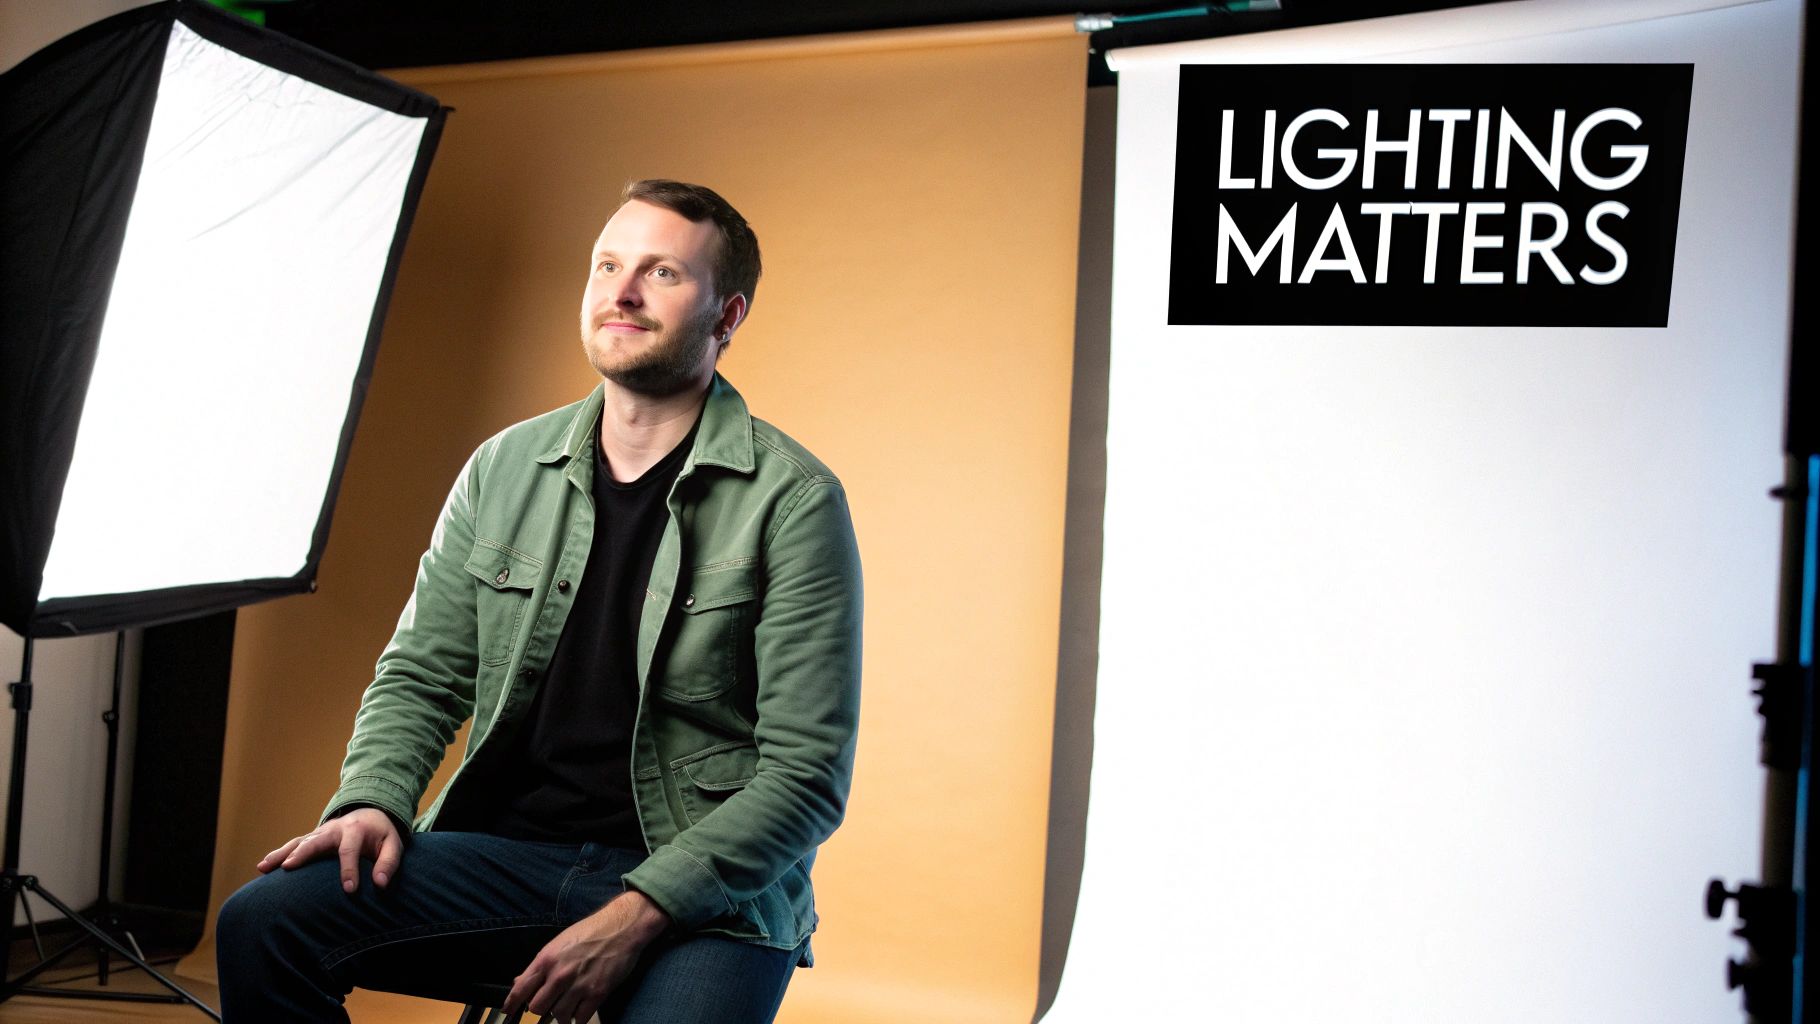
In a headshot, lighting isn't just about making sure you can see the person. It's a storytelling tool. It carves out facial features, adds depth that makes the image pop, and tells the viewer exactly where to look. The right light can make someone look confident and approachable; the wrong light creates distracting shadows, flattens their face, and just feels unprofessional.
Think of light as a sculptor’s chisel. You use it to define the contours of a face.
- To look friendly and open, you might use a soft, broad light source. This is perfect for a LinkedIn profile where approachability is key.
- To convey authority or seriousness, you can go for more dramatic, directional lighting that creates deeper shadows. Think of a powerful CEO or a thoughtful author.
- To guarantee quality, a controlled lighting setup is non-negotiable. It helps you manage skin textures and, most importantly, gives you consistent, repeatable results every time.
This isn't just an art form; it's big business. The professional headshot photography market was valued at around USD 2.5 billion in 2023, and headshots often account for nearly 20% of a studio's revenue.
Your lighting setup is the foundation. Every other element of the headshot—the pose, the expression, the background—rests on it. It sets the mood, highlights personality, and ultimately decides if the photo works.
The Psychology of Light and Shadow
We’re hardwired to interpret light in certain ways. Light coming from above feels natural, like the sun. But light from below? That’s the classic horror movie trick for a reason—it feels unsettling and sinister.
The magic happens in the interplay between highlights (the light) and shadows (the dark). Without shadows, a face looks flat and lifeless. Mastering that balance is what brings a portrait to life.
Of course, the environment you shoot in plays a huge role. In fact, picking the right studio for your headshots can make or break the final image. Once you really get the "why" behind all this, you'll be much better prepared to master the "how" in the sections that follow. For more photography tips, check out our other articles on the Photo AI Studio blog.
Building Your Essential Headshot Lighting Kit
Putting together a professional lighting kit for your headshots isn't about buying the most expensive gear—it’s about understanding what each piece does and why it matters. Your real goal is to shape light with intention. The right tools just make that a whole lot easier. Let's dig into the core components you'll actually need.
The heart of any setup is, of course, the lights. You’re looking at two main camps here: strobes (or flashes), which deliver a powerful, split-second burst of light, and continuous lights (like LEDs), which stay on the whole time. Strobes are the classic choice for a reason; their power can freeze motion and overpower ambient light. But modern LEDs are a fantastic starting point, especially for beginners. You see the light on your subject in real-time, which means what you see is what you get—no guesswork.
And you'll need something to hold them up. Don't skimp on light stands. Trust me, a wobbly stand is just an accident waiting to happen. Invest in something sturdy that can handle the weight of your lights and whatever modifier you put on them.
Defining the Roles of Each Light
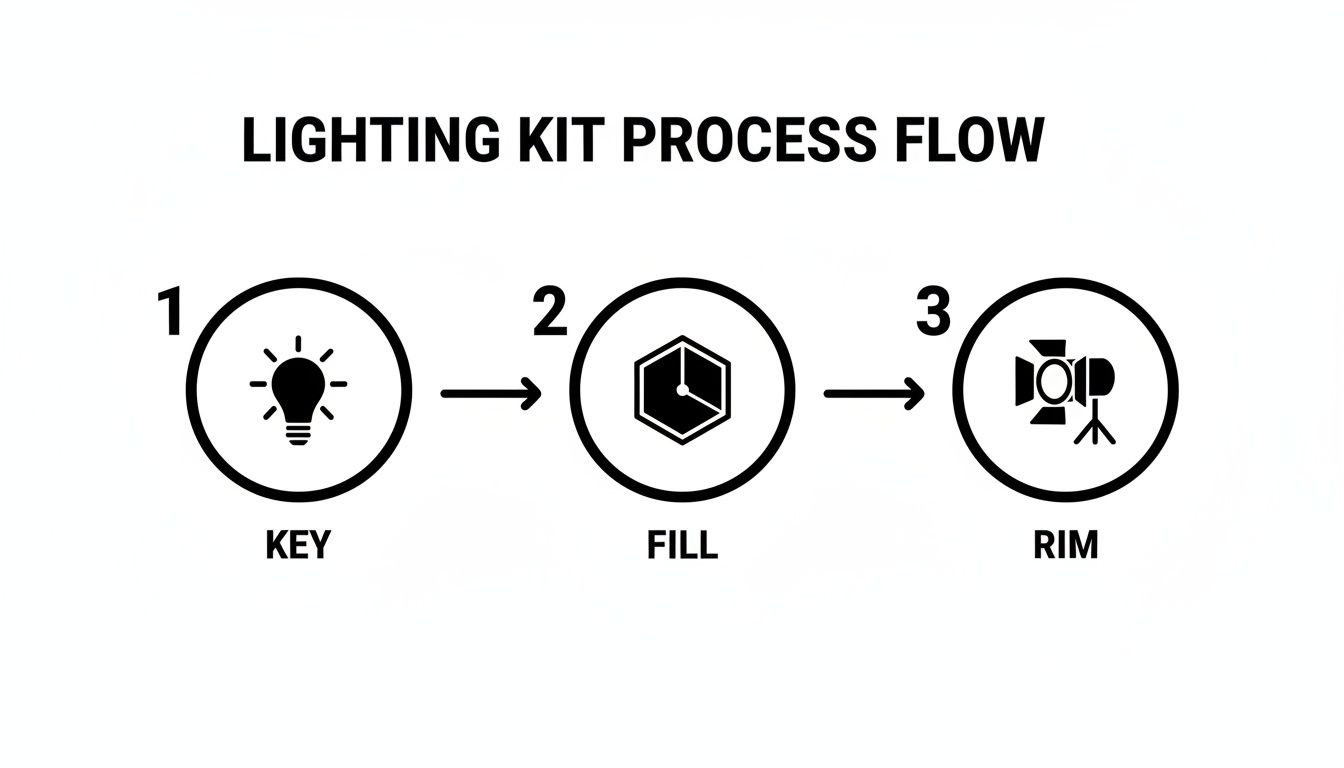
In a classic portrait setup, every light has a specific job. Think of it like a team working together to sculpt your subject's face, not just blast it with brightness.
- Key Light: This is your MVP, the main and most powerful light source. It sets the overall exposure and carves out the primary shadows that give a face its shape and dimension.
- Fill Light: Positioned on the opposite side of the key light, its only job is to soften the shadows created by the key. It’s always set to a lower power; you want to reduce contrast, not kill the shadows entirely.
- Rim Light: Sometimes called a hair light or separator, this one goes behind the subject. It creates a subtle, bright outline along their hair and shoulders, cleanly separating them from the background. It’s what gives a headshot that polished, three-dimensional pop.
Shaping the Light with Modifiers
A bare flash bulb produces harsh, unflattering light that nobody wants in a headshot. That's where modifiers come in. They are the tools that soften, spread, and shape the raw light from your flash into something beautiful. Getting this right is absolutely crucial.
Here’s a piece of advice I wish I’d learned sooner: a single light with the right modifier will always beat three bare bulbs. It's about the quality of light, not the quantity of lights.
The modifier you slap on your key light will have the single biggest impact on your final image. For headshots, we're almost always chasing soft, flattering light that wraps gently around the face.
Choosing Your Main Light Modifier
Picking a modifier can feel overwhelming at first, but each one is designed to create a specific quality of light. This table breaks down the most common options to help you figure out which tool is right for the job.
| Modifier Type | Light Quality | Best For | Skill Level |
|---|---|---|---|
| Octabox | Soft, focused, round catchlights in eyes | Flattering portraits and headshots | Beginner to Pro |
| Softbox | Soft, directional, square catchlights | Versatile for many portrait styles | Beginner to Pro |
| Umbrella | Broad, soft light that spreads widely | Group shots or when you need wide coverage | Beginner |
| Beauty Dish | Semi-hard with soft edges, creates contrast | Fashion and dramatic portraits | Intermediate |
An octabox is a go-to for many headshot photographers because of the beautiful, round catchlights it creates in the eyes, which feels more natural than the square shape from a softbox. That said, you can’t go wrong with either one when you're starting out. They are the workhorses of portrait photography for a reason
From One to Three Lights: Crafting Your Setup
Alright, let's move from theory to practice. Building a great headshot lighting setup is all about adding layers. You don't need a truck full of expensive gear to get started; the magic really begins with just one well-placed light.
Each light you add builds on the last, taking your image from good to great to truly polished.
Think of it this way: you start with your key light to set the mood, add a fill to refine the shadows, and finish with a rim light to add that crucial final pop.
Mastering the Single-Light Setup
Your journey always starts with the key light. This is your main, most powerful light source, and its placement single-handedly defines the entire mood of the headshot. The easiest and most effective starting point is to place your light—ideally fitted with a large softbox or octabox—at a 45-degree angle to your subject and just a bit above their eye level.
That one move immediately creates dimension. By shifting the light off to the side, you introduce shadows that sculpt the face, completely avoiding the flat, deer-in-the-headlights look you get from an on-camera flash. This placement is the foundation for two classic, can't-miss lighting patterns:
- Loop Lighting: You'll see a small "loop" of shadow appear from the nose, pointing down towards the corner of the mouth. It’s universally flattering and my go-to for most corporate headshots.
- Rembrandt Lighting: This one is a bit more dramatic. The shadow from the nose connects with the shadow on the cheek, leaving a distinctive triangle of light on that cheek. It adds a touch of sophistication and depth.
Play around by moving the light just a few inches left or right, or up and down. You’ll be shocked at how these tiny shifts completely change the look and feel of the portrait on your camera screen.
Adding Polish with a Second Light or Reflector
Once your key light is dialed in, you'll notice one side of your subject's face is in shadow. Sometimes that high-contrast look is exactly what you want, but often you'll want to soften those shadows just enough to bring back some detail. This is the job of your fill light.
You’ve got two great options here:
- A Second Strobe: Place another light on the opposite side of your key light, but set it to a much lower power. I usually start by setting its power to half that of the key light and adjust from there. The goal is to gently lift the shadows, not blast them away.
- A Reflector: This is the simpler, more budget-friendly method. A plain white foam board or a 5-in-1 reflector positioned on the shadow side will bounce light from your key back onto the subject’s face. This creates a soft, natural fill without needing another power cord.
A classic mistake is making the fill light too strong. It flattens the face and kills the beautiful dimension you just created with your key light. Remember, shadows are your friend; the fill is just there to manage them.
Creating Separation with a Third Light
With a key and fill in place, your subject is beautifully lit. But for that final touch of professional polish, we add a third light to make them pop right off the background. This is typically called a rim light or a hair light.
Placed behind the subject and angled toward the back of their head and shoulders, this light creates a subtle, bright outline. This little sliver of light visually carves your subject out from the backdrop, making the whole image feel more three-dimensional and dynamic. It’s a subtle effect that makes a world of difference.
This level of detail is exactly what clients pay for. According to a Professional Photographers of America survey, a staggering 78% of clients rank lighting as the number one factor in headshot quality. That same report shows that about 70% of professional photographers use studio lighting over natural light, proving the industry relies on these kinds of controlled, repeatable setups.
For those moments when a full-blown physical shoot just isn't an option, exploring how to get professional headshots with AI can be a fantastic alternative. By mastering these one-, two-, and three-light setups, you gain complete control, ensuring every headshot you take is clean, compelling, and undeniably professional.
Dialing in Your Camera Settings for Perfect Exposure
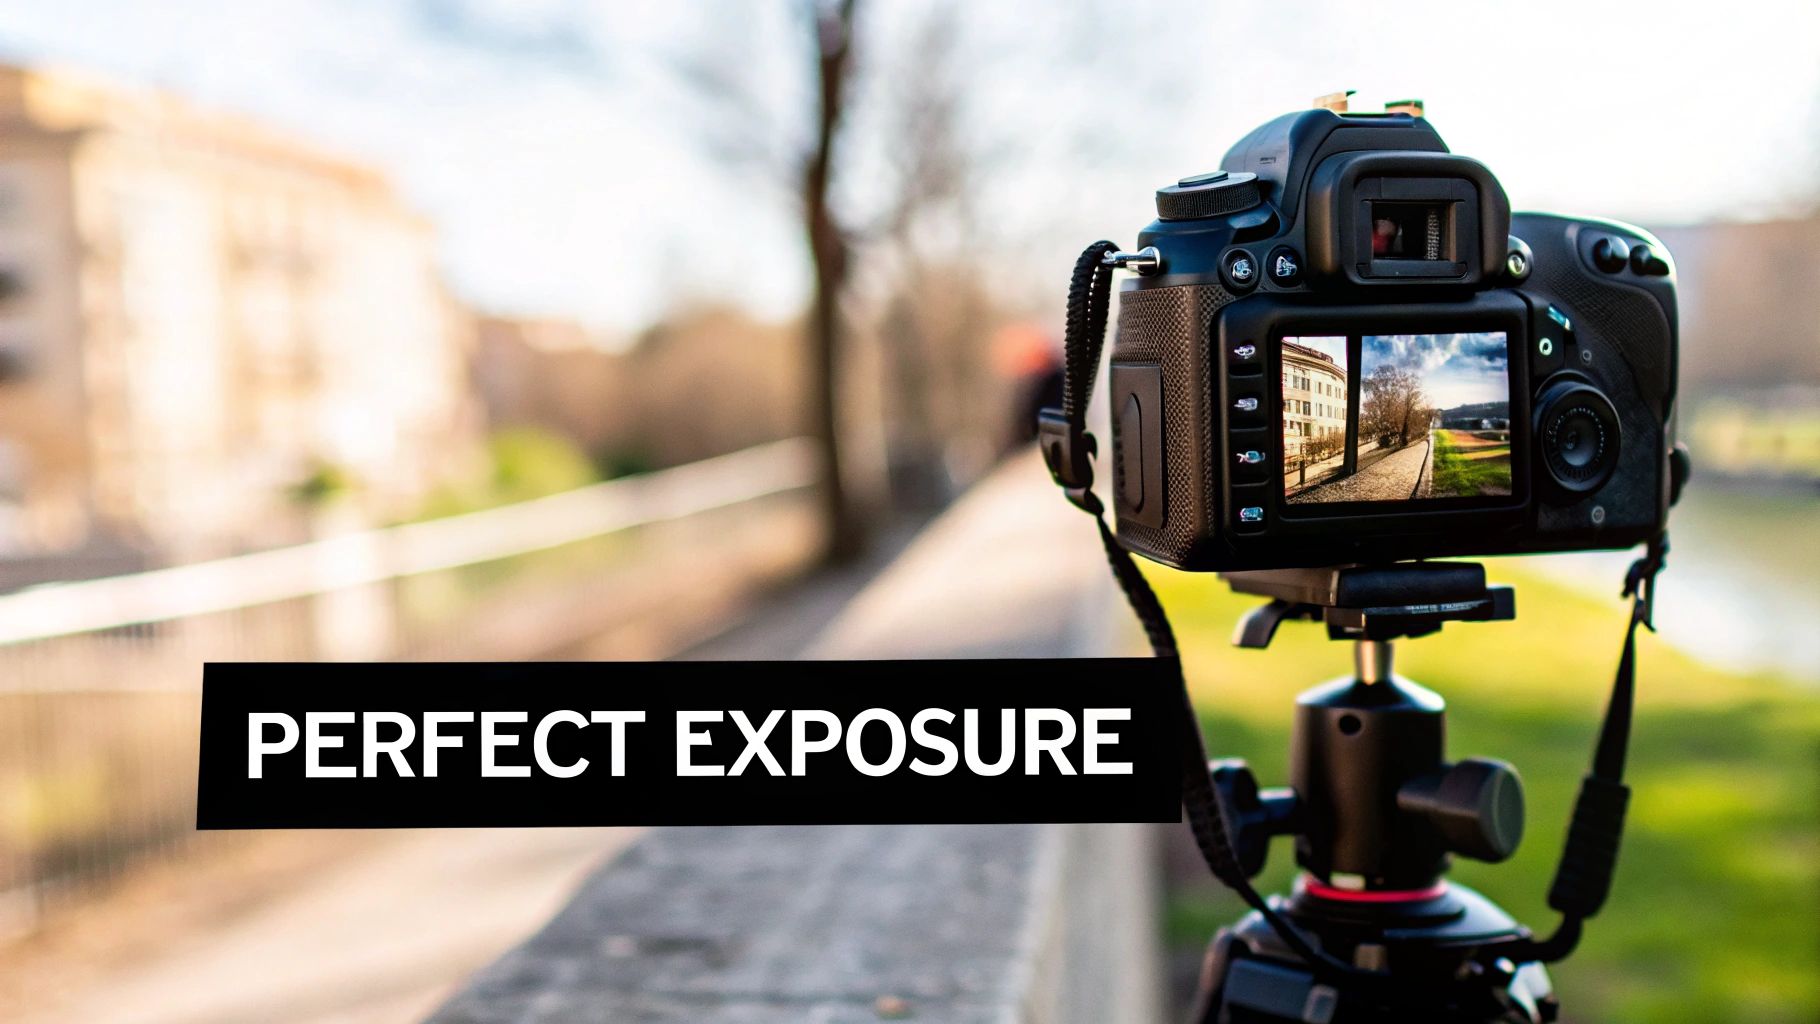
Getting your lighting just right is a huge win, but it's only half the story. Your camera settings are what actually capture that light and turn it into a killer headshot. Think of your aperture, ISO, and shutter speed not as individual dials, but as a team working in concert to nail the technical side of the portrait.
Nailing That Blurry Background
First up is aperture, which is your main creative tool here. It controls the depth of field—how much of your shot is in focus. For most headshots, you want that classic look where your subject is tack-sharp and the background melts away into a soft blur.
I usually live in the f/2.8 to f/5.6 range. Shooting wide open at f/2.8 gives you that dreamy, creamy background everyone loves. Just be careful, because your sliver of focus is razor-thin. It's easy to get one eye sharp and the other slightly soft. Bumping up to f/4 or f/5.6 is a safer bet, keeping their entire face in focus while still beautifully separating them from the background.
Keeping Your Images Clean and Crisp
Next is ISO. In a studio setting where you're bringing your own light, the rule is dead simple: keep it low. Your camera's base ISO, typically 100 or 200, will give you the cleanest, most detailed image possible.
You really only want to raise your ISO as a last resort when you can't get any more power out of your lights. Pushing it higher introduces digital noise or "grain," which can cheapen the look of an otherwise fantastic shot. Stick to that base ISO whenever you can.
Then there's shutter speed. When you're working with strobes, your shutter speed has one main job: to sync with the flash. Most cameras have a max sync speed, somewhere around 1/160s or 1/200s. Your job is to set your shutter at or below that number. This guarantees the shutter is fully open when the flash fires, capturing all that beautiful light.
Ever seen a weird black bar across your flash photos? That's what happens when your shutter speed is too high. The shutter curtain starts closing before the flash is done firing. Check your camera's manual for its sync speed and stay under it.
Pulling It All Together with Composition
Once your exposure is dialed in, it's time to think about framing. The rule of thirds is a classic for a reason—placing your subject's eyes along that top third line just feels right. Also, give your subject some breathing room by leaving a bit of empty space in the direction they're looking. It makes the final image feel more balanced and comfortable.
Your lens choice makes a world of difference, too. An 85mm or 105mm prime lens is the industry standard for headshots. They provide beautiful compression that flatters facial features without the distortion you'd get from a wider lens. It’s this combination of solid technical settings and thoughtful composition that elevates a simple photo into a professional portrait.
The AI Alternative for Fast, Professional Headshots
Let's be honest: mastering a physical lighting setup takes time, gear, and a whole lot of patience. But what happens when you need a great headshot yesterday? Or when your team is scattered across three different time zones? This is where modern tech completely changes the game.
AI headshot generators have emerged as a powerful alternative for anyone in a pinch. These tools use artificial intelligence to spin up hundreds of studio-quality portraits from a handful of your casual selfies. You don't need a fancy camera, a set of lights, or even a clean wall to use as a backdrop.
This isn't about replacing photographers. It's about having a practical tool for busy professionals, remote-first companies, and anyone who needs a high-quality image without the logistical headache.
So, How Does This AI Magic Work?
The process is surprisingly simple. It all starts when you upload your photos for AI processing, usually somewhere between 10 to 20 pictures of yourself. The key is to provide a good mix of angles and lighting conditions so the AI can really learn your face.
From there, the AI gets to work analyzing your unique facial features. Once it has a solid understanding, it starts generating a massive variety of brand-new portraits. It can place you in different outfits, change up the background, and most importantly, simulate all kinds of professional lighting setups—from a classic three-point look to soft window light or something more dramatic.
This approach is a lifesaver for creating consistency at scale. Imagine trying to get a uniform, professional look for a team of 50 remote employees. With AI, it's done without coordinating a single photoshoot.
The Real-World Benefits of an AI-Powered Approach
The advantages really boil down to speed and flexibility, making this an incredibly useful option when a traditional shoot just isn't in the cards.
- Speed: You can get hundreds of headshot options in a few hours, not a few weeks.
- Cost-Effectiveness: It's almost always more affordable than hiring a professional photographer, especially when you need headshots for a large group.
- Creative Variety: The AI can generate dozens of styles—corporate, creative, formal, casual—giving you the perfect shot for every platform or purpose.
- Accessibility: If you have a smartphone, you have everything you need. No technical skill or expensive equipment is required.
If you're curious to see what it can do, you can even play around with a free professional headshot generator to get a feel for the technology. In a world where your digital first impression is everything, it's a remarkably handy tool to have in your back pocket.
Got Questions About Headshot Lighting? Let's Answer Them.
Even with the best gear and a solid plan, questions always pop up when you're trying to dial in that perfect headshot light. Let's tackle some of the most common ones I hear from photographers, with quick, practical answers to get you past the hurdles and back to creating amazing images.
What's the Best Single Light for Headshots on a Budget?
If you're just starting out and can only afford one light, my advice is always the same: make it a good one, but more importantly, pair it with a big modifier. Your best bet is a decent strobe or a powerful LED, but the real magic comes from a large softbox or octabox—think 36 inches or bigger.
Why go big? A large light source placed close to your subject creates that beautiful, soft, wrapping light everyone loves. It minimizes harsh shadows and is incredibly forgiving on skin. This simple one-light setup is all you need to create classic, professional looks like loop or Rembrandt lighting.
My Favorite Trick: To really make a single-light setup sing, grab a cheap white foam core board from a craft store. Prop it up on the opposite side of your light. It will bounce some of that light back into the shadows, acting as a gentle fill. It's the cheapest second light you'll ever own.
How Do I Stop Getting Glare in Glasses?
Ah, glasses glare. It's the bane of every headshot photographer's existence, but it's totally manageable. That glare is just a reflection of your light source, so the goal is to change the angle of that reflection so it doesn't bounce straight back into your camera.
The most effective fix is to raise your main light higher than you normally would and aim it down more steeply toward your subject. This pushes the reflection downwards, away from your lens. Sometimes, though, you just need a tiny adjustment from your subject:
- Ask them to tilt their head down just a fraction.
- Have them push their glasses slightly up the bridge of their nose.
- Ask them to lower the earpieces on their ears, which tilts the lenses forward.
It's amazing how a tiny tweak can make the glare vanish completely.
Can I Really Use Natural Window Light for Professional Headshots?
Absolutely! And you should. A large window provides a gorgeous, soft light source that can produce stunning, high-end results—for free. The key is all in how you position your subject.
Don't have them face the window head-on. That creates flat, uninteresting light. Instead, turn them so they're at a 45-degree angle to it. This lets the light fall across their face, creating a gentle and flattering transition from light to shadow that adds real dimension.
The main challenge with window light is its unpredictability; it changes with the weather and time of day. You can get some control back by using a sheer white curtain to diffuse harsh sunlight. Want to add some drama? Use a black card or reflector on the shadow side to subtract light (we call this "negative fill"), which deepens the shadows for a more sculpted, powerful look.
Still feel like you're spending too much time fussing with lights and reflectors? Photo AI Studio lets you skip the physical shoot entirely. Just upload a few casual photos and generate hundreds of perfectly lit, professional headshots in any style you can imagine. Get studio-quality results in hours, not days. See what's possible at https://photoaistudio.com.


