Getting a professional-looking headshot comes down to just a few key things: flattering light, a clean background, confident posing, and the right camera settings. You don't even need a fancy camera; your smartphone can deliver fantastic results if you get these core pieces right. This guide will walk you through exactly how to do it.
Why a Great Headshot Is Your Career Superpower
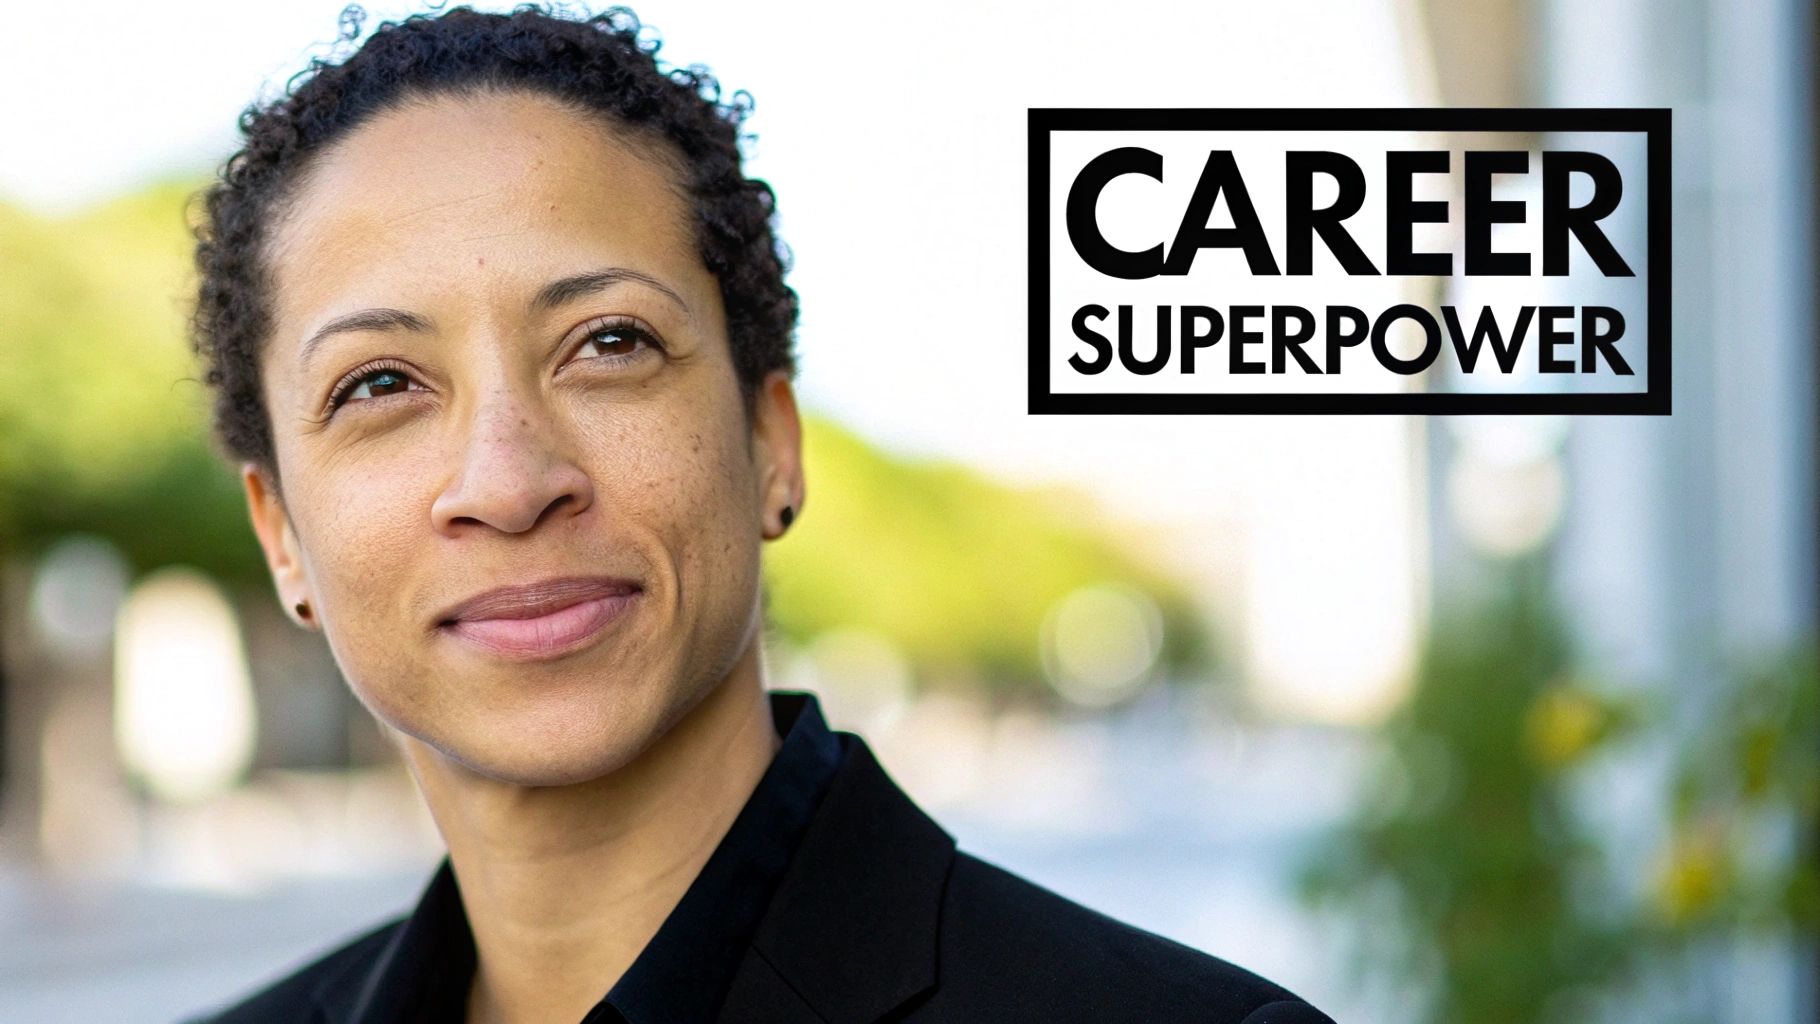
In our fast-moving professional world, your headshot is often your first impression. It’s so much more than a picture—it’s a powerful tool that communicates your personal brand before you’ve said a single word. Think of it as your digital handshake. In just a glance, it can signal confidence, warmth, and professionalism.
This is especially critical on platforms like LinkedIn. Having a polished, professional headshot is a non-negotiable part of learning how to optimize your LinkedIn profile for success. It makes a strong visual statement that can directly lead to more connection requests and new opportunities. Recruiters are far more likely to click on a profile with a credible, high-quality image.
The Psychology of a Powerful Headshot
A great headshot doesn't just show what you look like; it actively shapes how people perceive you. A genuine smile that reaches your eyes can make you seem more trustworthy and likable, while solid posture and direct eye contact project confidence. The real goal is to create an image that truly reflects your professional identity.
Think about these real-world situations:
- For the job seeker: A crisp, well-lit headshot on your resume or online profile tells recruiters you're detail-oriented and serious about your career.
- For the entrepreneur: A warm, engaging photo on your website helps potential clients feel an immediate connection, building trust from the very first click.
- For the corporate team: Cohesive, uniformly styled headshots on a company’s "About Us" page strengthen brand credibility and present a united, professional front.
Your headshot is a key investment in your personal brand. It's often the first thing a potential employer, client, or collaborator sees, setting the tone for every interaction that follows.
The demand for a polished online presence has made professional imaging a massive market. The global headshot photography industry was valued at $1.2 billion in 2023 and is on track to hit $2.5 billion by 2030. What's driving this growth? Simple: 92% of recruiters admit that profile pictures influence their hiring decisions, turning a quality headshot from a "nice-to-have" into a career essential.
Understanding this context is key. It reframes the task from just snapping a picture to crafting a strategic asset that works for you 24/7. The steps in this guide are designed to help you create that exact tool.
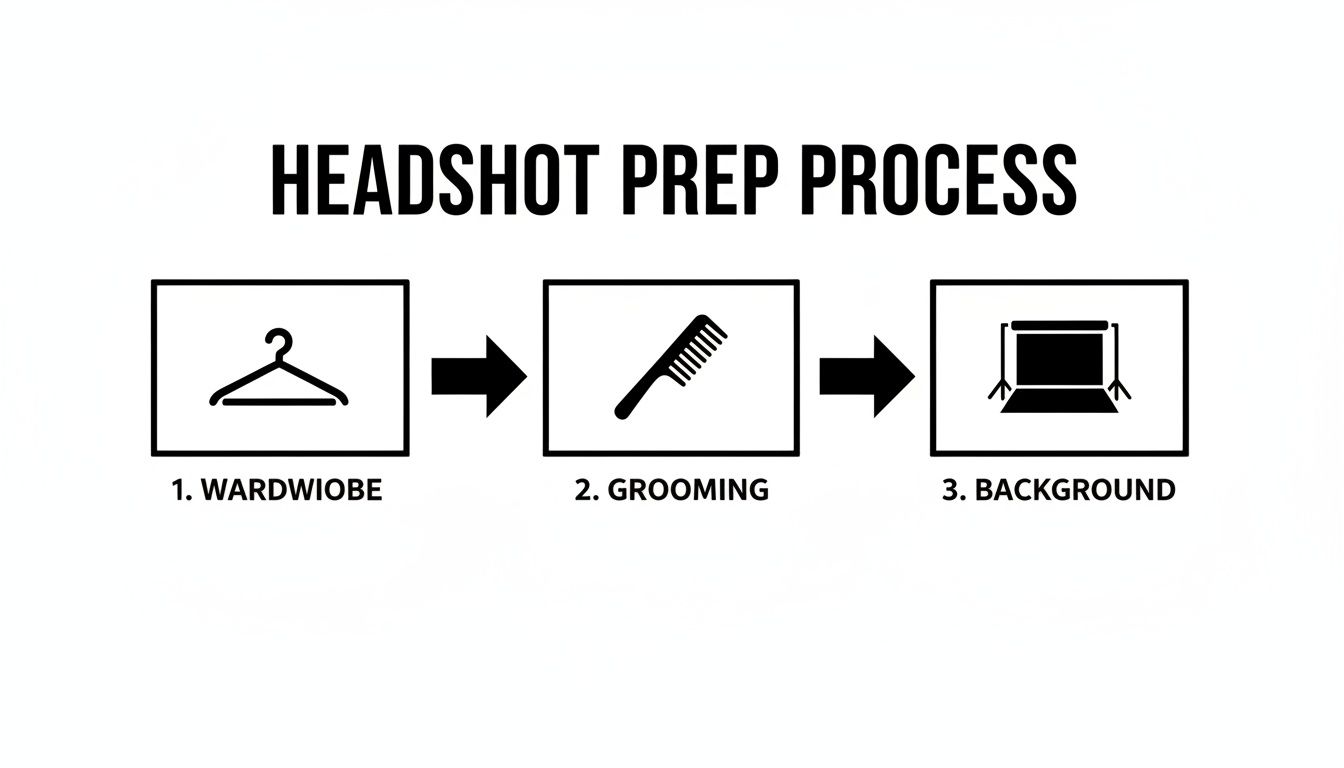
A great headshot doesn't just happen by accident. What you do before you ever get in front of the camera is often the secret ingredient that separates a decent photo from a fantastic one. A little prep work goes a long way, giving you the confidence to shine and ensuring the final result truly captures your professional brand.
Think of it as setting the stage for success. By making a few key decisions beforehand, you're taking control of the story your photo will tell.
Choosing Your Wardrobe
Your outfit is more than just clothing; it's a powerful signal. The goal is to wear something that makes you look and feel great without pulling focus from the most important thing: your face. It should feel authentic to you but also appropriate for your industry.
Solid colors are your best friend here. They're timeless, clean, and keep the attention right where it belongs.
- Jewel Tones: Think deep, rich colors like emerald, sapphire, ruby, and amethyst. These shades are flattering on almost every skin tone and look incredibly vibrant on camera.
- Classic Neutrals: You simply can't go wrong with navy, charcoal gray, or cream. These colors project a sense of sophistication and are always a professional choice.
- What to Avoid: Busy patterns, big logos, and neon colors are major distractions. They can instantly date your photo and draw the viewer's eye away from your face.
Fit is just as crucial as color. Clothing that's too tight or too baggy can look sloppy. You want clean lines and a tailored fit that you feel comfortable moving in.
My Go-To Advice: Always bring a couple of options to the shoot. Having a backup jacket, blouse, or shirt on hand gives you flexibility. Sometimes what you think will work just doesn't translate on camera, and having an alternative is a lifesaver.
Wardrobe Choices by Professional Industry
To help you narrow down your options, here’s a quick guide on what typically works best across different professional fields. Selecting the right attire ensures your headshot aligns with industry expectations and makes the right first impression.
| Industry | Recommended Attire for Men | Recommended Attire for Women | Colors to Consider |
|---|---|---|---|
| Corporate/Finance | Suit jacket, dress shirt (tie optional) | Blazer, tailored blouse, or simple shell top | Navy, charcoal gray, black, white, light blue |
| Tech/Startup | Well-fitting button-down shirt, high-quality polo, or a smart casual jacket | Simple blouse, knit sweater, or a casual blazer | Grays, blues, olive green, muted earth tones |
| Creative/Arts | Textured sweater, unique jacket, dark-wash denim shirt | Stylish top with interesting texture or cut, artistic accessories | Deep jewel tones, black, maroon, expressive but not distracting patterns |
| Healthcare/Academia | Dress shirt, sweater, or a blazer; a white coat if standard | Professional blouse, cardigan set, or a conservative dress | Blues, greens, soft neutrals like beige and cream |
This table is a starting point, of course. The most important thing is that your clothing reflects your personal brand while still feeling appropriate for your professional context.
Grooming for a Polished Look
When it comes to grooming, the goal isn't a dramatic makeover. It's about looking like the best, most polished version of your everyday self. Think clean, tidy, and natural—a look that radiates confidence and professionalism.
A few small details can make a huge impact:
- Hair: Get a trim about a week before your shoot, but avoid a brand-new style. You want to look like you. Make sure it’s styled neatly and isn't falling into your face.
- Skin: The goal is a natural, healthy look, not a shiny one. A little translucent powder is a great trick for everyone to cut down on glare from the lights. Don't worry about small blemishes; it's much easier to touch those up in editing than to try and hide them with heavy makeup.
- Facial Hair: If you have a beard or mustache, ensure it's freshly trimmed and shaped. If you're going for a clean-shaven look, try to shave a few hours beforehand to let any redness or irritation calm down.
For those who wear makeup, less is more. This isn't the time for a smoky eye or bold lip. A simple, neutral palette that enhances your features is the way to go. You want to look refreshed and ready for business.
Selecting the Right Background
The background of your headshot sets the tone and provides context. It's not just "what's behind you"—it's a deliberate choice that supports the story you're trying to tell. You generally have two great options.
A classic, neutral backdrop is the gold standard for a reason. Simple white, gray, or black backgrounds are clean, timeless, and put 100% of the focus on you. This style is incredibly versatile, working perfectly for everything from LinkedIn profiles to corporate team pages. It's a no-fuss way to communicate pure professionalism.
On the other hand, an environmental background can tell a richer story. Taking the shot in your actual workspace—an office, a design studio, or against some interesting architecture—adds personality and context. It shows you in your element, which can feel much more authentic and engaging, especially for creatives, entrepreneurs, or consultants.
Of course, a traditional photoshoot isn't always in the budget or schedule. Modern tools now offer a fantastic alternative. You can get a high-quality, professional look by exploring options for an AI-generated professional headshot, which gives you a wide variety of styles and backgrounds without the cost and time commitment of a studio session.
Getting Your Camera and Lighting Right
Let's get one thing straight: you don't need a fancy studio to get a headshot that makes people take notice. The best tools are often the ones you already own—a decent smartphone or a basic camera—paired with the most powerful (and free) light source available: a window.
The gear is never the hero of the shot. It’s all about how you understand and shape the light. Whether you’re shooting with an iPhone or a high-end DSLR, the core principles of a flattering portrait are exactly the same. We’re going to break down the simple settings and lighting tricks that professionals use every day.
As you can see, a great headshot starts long before you press the shutter. Making the right choices with your wardrobe, grooming, and background sets the entire foundation for a polished final photo.
Using Your Smartphone for Headshots
Today’s smartphones are absolute beasts when it comes to photography, especially for portraits. The trick is to stop using it like a point-and-shoot and start taking advantage of the powerful features tucked away in your camera app.
First things first: find your phone's Portrait Mode. This is your secret weapon. It uses some clever software to replicate the soft, blurry background (what photographers call "bokeh") you see in professional portraits, which instantly makes you the star of the show. Before you even think about snapping a picture, open your camera and get this mode activated.
And here’s a pro tip: never use the front-facing "selfie" camera. The main camera on the back of your phone has a far superior sensor and lens, which translates to a sharper, richer, and more professional-looking image. Prop your phone up on something or grab a cheap tripod, then use the self-timer to get your shot.
Camera Settings for DSLR or Mirrorless Shooters
If you're working with a dedicated camera, you’ve got a lot more creative firepower. Don't let all the buttons and dials overwhelm you; for a great headshot, you only need to dial in a few key settings.
The mission is simple: get you perfectly sharp while making the background melt into a soft, beautiful blur. Your aperture is the main dial you'll use to control this.
- Aperture (f-stop): Set this to a low number—anything from f/1.8 to f/4 is perfect. A low f-stop opens the lens wide, creating that shallow depth of field that makes professional portraits pop.
- Focal Length: Stick to a lens somewhere in the 50mm to 85mm range. This is the classic "portrait length" because it renders facial features naturally, without the weird distortion you get from wider or more telephoto lenses. A 50mm or 85mm prime lens is an incredible investment for this very reason.
- ISO: Keep your ISO as low as you can, ideally 100 or 200. This gives you the cleanest, most detailed image possible, free from any distracting digital grain. Only bump it up if you’re desperate for more light.
- Shutter Speed: This needs to be fast enough to freeze any movement and avoid blur. A solid rule of thumb is to use a shutter speed that's at least double your focal length. So, if you're shooting with an 85mm lens, aim for 1/160th of a second or faster.
Getting a handle on these settings—what's often called the "exposure triangle"—is the real technical secret behind professional-looking portraits. It's the difference between a lucky snapshot and a thoughtfully crafted image.
The Magic of Natural Light
Lighting isn’t just important; it’s everything. It will single-handedly make or break your headshot. But you can forget about buying expensive studio strobes. The best, most flattering light is completely free.
The soft, diffused light coming from a window is a portrait photographer's dream. It wraps around your face gently, sculpting your features and minimizing harsh, unflattering shadows.
Find a large window and face it, but make sure you’re not standing in a direct, blazing sunbeam. Believe it or not, a slightly overcast day is perfect. The clouds act like a massive softbox, scattering the light for you. If it's a super sunny day, you can even hang a thin white bedsheet over the window to soften the light.
Building a Simple, Pro-Level Lighting Setup
Okay, let's put this all into practice. With the window as your main light source, you'll notice one side of your face is brighter than the other. This is good! Those subtle shadows create depth and dimension, but we want to make sure they don't get too dark.
This is where a simple reflector comes into play. You don't need to buy anything fancy. A big piece of white foam board from an art supply or dollar store is the perfect tool for the job.
Here’s how to set it all up:
- Get in Position: Stand at a 45-degree angle to the window. The light should be falling across your face, illuminating one side more than the other.
- Bring in the Reflector: Hold the white foam board (or have a friend hold it) on the shadow side of your face, just out of the camera's view.
- Find the Sweet Spot: As you move the board closer or farther away, you’ll see it bounce light back into the shadows, brightening them up instantly. Play with the angle until you get a look you love—a soft, balanced light that defines your features beautifully.
This simple "main light plus reflector" technique is a cornerstone of professional portrait photography. It costs almost nothing but gives you results that look like they came from a high-end studio. By mastering these camera and lighting fundamentals, you're well on your way to creating a headshot that looks truly professional and feels authentically you.
Find Your Pose: Look Confident and Approachable
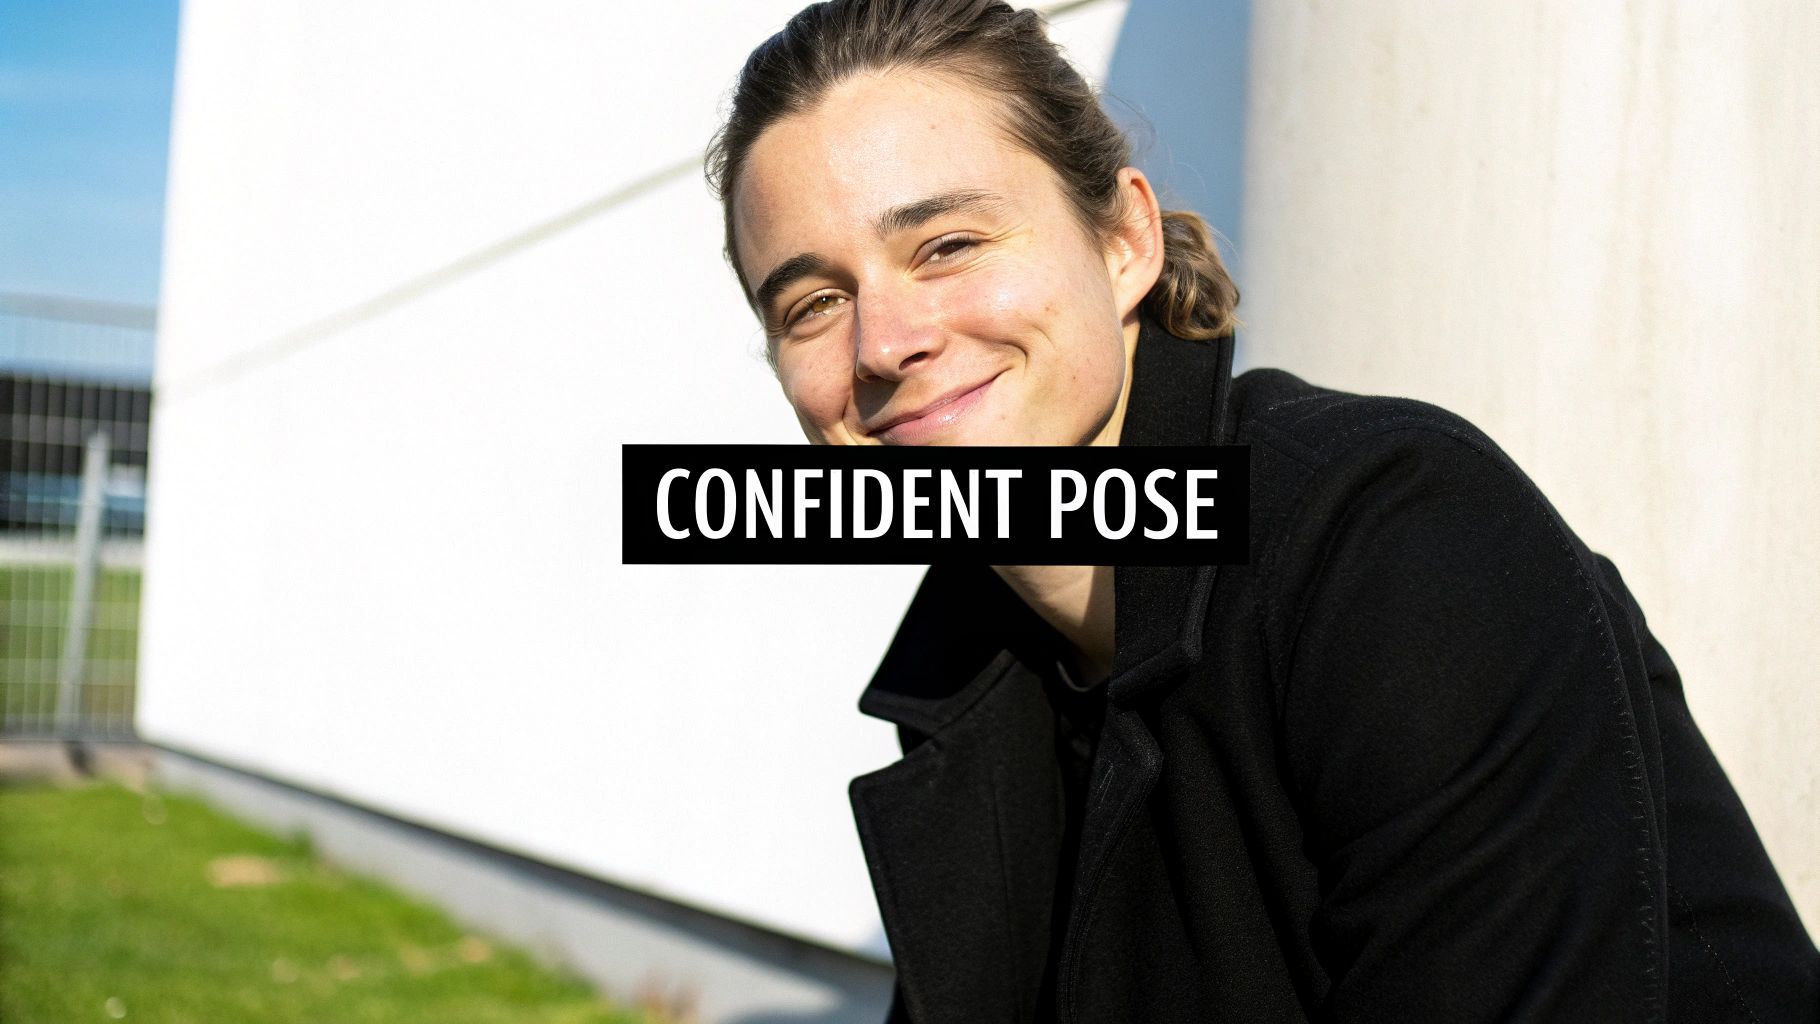
You can nail the lighting and camera settings, but if your pose is stiff or uncomfortable, the whole shot falls flat. This is where you bring your personality into the picture. We're not aiming for awkward stances or forced smiles; we want to find a posture that feels natural to you and looks dynamic on camera.
The easiest way to look powerful and engaged is to create some simple angles. Standing straight-on to the camera often looks a bit confrontational—almost like a passport photo. Instead, try turning your body about 45 degrees away from the lens, and then just turn your head back to face the camera. It’s a subtle shift, but it makes a world of difference.
Master Your Posture and Angles
Good posture is the non-negotiable foundation of a confident photo. Before you even worry about your smile, take a moment: stand up tall, pull your shoulders back and down, and imagine a string pulling the top of your head toward the ceiling. This alone instantly projects presence.
With your posture set, you can refine your angles. One of the oldest tricks in the book is the "chin forward and down" technique. It feels a little weird at first, but gently push your chin forward (think of a turtle) and then tilt it slightly down. This one move works wonders for defining your jawline and getting rid of any hint of a double chin.
To add a bit more life to the pose, play around with these small adjustments:
- Shift Your Angle: Don’t feel locked into one position. Experiment with turning your body more or less to find what feels and looks most comfortable.
- Tilt Your Head: A slight head tilt can make you seem more approachable and curious, breaking up the rigidity of a straight-on pose.
- Use Your Hands (But Not Too Much): If you're not sure what to do with your hands, crossing your arms or putting one hand in a pocket can work. Just make sure it looks relaxed, not defensive. Keep your posture open.
The secret to a great pose isn't about being perfect; it's about being comfortable. The more relaxed you feel in your body, the more your genuine confidence will come through in the final image.
Get a Genuine Expression
Now for the make-or-break element: your expression. A truly great headshot has a smile that feels real—one that actually reaches your eyes. A forced smile that only involves your mouth can look insincere, but a genuine one creates an immediate connection.
So, how do you get one on command? Forget "say cheese." Instead, think of something that makes you genuinely happy or proud. It could be a recent win at work, a funny memory, or just thinking about someone you love. This little mental trick triggers a natural smile—what photographers call a Duchenne smile—that crinkles the corners of your eyes and looks 100% authentic.
If smiling feels too forced, a confident, neutral expression can be just as effective. A soft, relaxed mouth paired with direct eye contact is powerful. The goal is to look right into the lens and connect with the person on the other side.
Putting It All Together for the Perfect Shot
When you combine all these little details, you get a professional-level result. Start with a well-fitted outfit in a color you love (studies show that blue can make you seem more trustworthy). Add in a strong pose with your chin slightly down, and top it off with an expression that engages your eyes. It’s no surprise that headshots using these time-tested techniques can boost LinkedIn connection requests by an average of 21%.
Ultimately, a great headshot captures a real moment of confidence. If you'd rather skip the stress of a photoshoot and get a wide range of options, you can always explore how to get professional AI headshots. The technology uses your existing photos to generate an entire gallery of different looks for you to choose from.
Polishing Your Headshot: A Quick Guide to Editing
Snapping a great photo is really just the first half of the process. The magic that makes a headshot truly stand out happens during the edit. Now, I'm not talking about heavy-handed changes that make you look like someone else. Think of it more like a final polish—small, subtle tweaks that highlight your best features and give the image that clean, professional look.
And you don’t need to shell out for expensive software. Honestly, powerful and free mobile apps like Snapseed or the free version of Adobe Lightroom Mobile have everything you need. They’re designed to be intuitive, giving you pro-level control right from your phone.
Getting the Basics Right First
Before diving into the tiny details, let's nail the fundamentals. Getting the brightness and color just right will instantly make your headshot feel more professional and true to life.
Start with exposure and contrast. If your photo feels a bit dark or washed out, the exposure slider is your best friend. A slight adjustment can bring your face out of the shadows or tone down a too-bright background. After that, a small bump in contrast will add a little pop and keep the image from looking flat or dull.
Next, tackle the white balance. Ever taken a photo that just looks too yellow or weirdly blue? That's a white balance problem. The goal here is simple: make the whites in the photo look genuinely white. When you do that, your skin tone will automatically look more accurate and natural. Most apps have an "auto" setting that does a decent job, but you can also use the temperature slider to manually add a touch of warmth (yellow) or coolness (blue).
Think of these first steps as creating a clean canvas. By getting these global adjustments right, any other edits you make will be built on a solid foundation.
The best editing should be invisible. You're not trying to create a "perfect" version of yourself, but the most authentic and polished one. When you're finished, people should notice you, not the editing.
Refining the Finer Details
Once the core settings are locked in, it's time to zoom in and handle the small things that can take a photo from good to great. This is where you can clean up minor distractions and help guide the viewer's eye right where you want it.
- Subtle Blemish Removal: We all have them—a stray hair that won't cooperate, a temporary pimple, or a bit of lint on your blazer. The "healing" or "spot remove" tool is perfect for this. Just zoom in, use a small brush, and gently tap away anything that isn't a permanent part of you (leave moles and scars alone!).
- Sharpening the Eyes: A headshot is all about connection, and that starts with the eyes. Use a selective sharpening tool to add just a tiny bit of crispness to your eyes. It’s a subtle trick, but it makes a huge difference in drawing the viewer in.
- Strategic Cropping: Don't underestimate the power of a good crop. Frame your shot using the rule of thirds, aiming to place your eyes along the top horizontal line. This creates a more dynamic and engaging composition. Cropping is also your chance to remove any distracting elements from the edge of the frame, strengthening the focus on you.
Professional retouchers often take things a step further with advanced techniques, but you'd be surprised how far these simple tips can take you. Interestingly, the industry is seeing a shift where blending AI previews into live shoots can cut down traditional session times by up to 40%, getting images ready for digital platforms faster than ever. For more on these trends, you can read the full 2025 AI headshot report.
Exporting Your Final Image
You're almost there! The final step is to save your edited headshot in the right format for where you plan to use it. Different platforms have their own specs, and getting this right is key to making sure your image looks sharp everywhere.
As a rule of thumb, always save a high-resolution JPEG as your master copy. From that file, you can then create smaller, optimized versions for each platform. For LinkedIn, you’ll want a square image that’s at least 400x400 pixels. For your company website, you might need something larger. Always create a new copy for each specific use—it prevents your hard work from ending up blurry and pixelated.
Using AI for a Modern Headshot Solution
What if you could skip the camera, the lighting setup, and the entire photoshoot altogether? It sounds like science fiction, but with the rise of AI headshot generators, it's a reality for anyone needing a polished, professional image without the hassle.
The technology behind it is surprisingly straightforward. You start by feeding the AI a handful of your existing, casual photos—clear selfies or any picture where your face is easily seen work best. The platform then analyzes your unique facial features and uses that data to create a full gallery of brand-new, studio-quality portraits from scratch.
Platforms like Photo AI Studio offer a simple drag-and-drop interface, making the process of uploading your photos and generating headshots incredibly easy.
This means you can suddenly have a portfolio of images showing you in different professional outfits and against a variety of clean, classic backdrops. All of this, without ever stepping in front of a real camera.
The Major Advantages of AI Headshots
For busy professionals, the benefits are immediately obvious. The entire process, from uploading your photos to getting your finished headshots, can take less than an hour. Compare that to the time it takes to find, book, and attend a traditional photoshoot.
It's also a game-changer for your wallet. AI platforms give you dozens of high-quality options for a fraction of what a professional photographer would charge for just a handful of shots.
To get the best possible results, you’ll want to give the AI a solid set of photos to learn from. Here's what works best:
- Provide Clear Selfies: Aim to upload 10-15 well-lit photos where your face is the undeniable focus.
- Mix Up Your Expressions: Don't just stick to one look. Include a mix of smiles, serious expressions, and more neutral looks.
- Show Different Angles: A few shots from slightly different angles will help the AI build a more accurate, three-dimensional model of your face.
AI offers a powerful and efficient path to a great headshot. By training the model on a good selection of your existing pictures, you can generate a diverse portfolio of professional images tailored to your needs in minutes.
It’s fascinating to see how AI is shaking up more than just headshots. Marketers, for example, are increasingly turning to tools like AI Social Media Content Generators to create eye-catching visuals for their campaigns.
If you're curious to see how this technology can work for you, a great starting point is to try a free professional headshot generator. It's a modern tool for a modern professional.
Answering Your Headshot Questions
Even with a solid plan, a few questions always seem to come up when you're getting ready for new headshots. Let's tackle the most common ones so you can feel completely confident.
How Often Should I Get a New Headshot?
The general rule is to refresh your headshot every one to two years. This keeps your professional image current and ensures people aren't surprised when they meet you in person.
Of course, that timeline goes out the window if you make a major change to your appearance. Think big things: a dramatic new haircut or color, growing a beard, or even getting new glasses that you wear all the time. The goal is simple: you need to look like your picture. If you've changed, your photo should too.
Corporate vs. Creative Headshots: What’s the Difference?
The real difference comes down to the story you're trying to tell.
A corporate headshot is all about projecting professionalism, competence, and a friendly, approachable vibe. You’ll usually see these set against a clean, simple background with the person in business attire. It's the standard for LinkedIn, company directories, and any formal professional setting.
A creative headshot is your chance to show off your personality and personal brand. This is where you can play with more dynamic lighting, interesting backgrounds that hint at what you do, and expressions that go beyond a simple smile. If you're an actor, designer, or musician, this is your space to communicate your unique style and energy.
No matter which style you choose, your headshot has to feel like you. It’s more than just a picture—it’s a key piece of your personal brand that should line up perfectly with where you want to go in your career.
Tired of coordinating a whole photoshoot? Photo AI Studio can generate a dozen studio-quality headshots from a few of your casual selfies. You get professional results in minutes, perfect for any platform you need. Create your perfect headshot today!
Article created using Outrank


