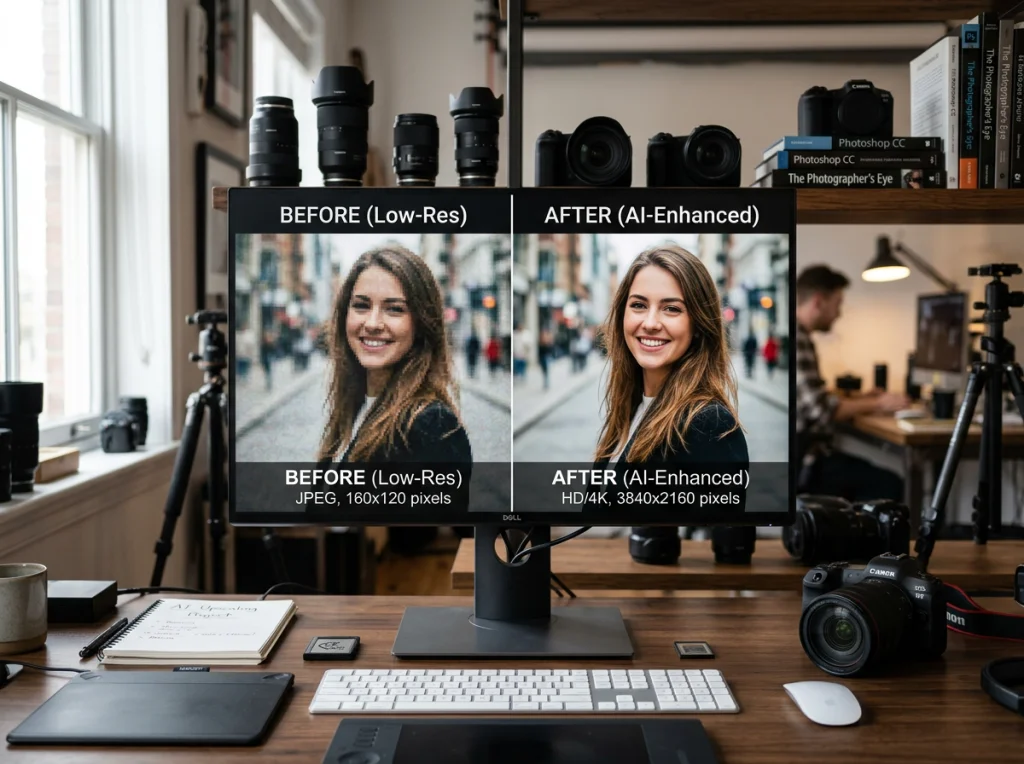
Most people start with AI image generators the same way: they type a simple description and hope for the best. "A cat on a beach." "A sunset landscape." The results are often disappointing—muddy colors, weird proportions, or generic compositions that look like thousands of other AI outputs.
The difference between average and exceptional results comes down to one thing: how you write your prompts. AI image gen models respond to specific language patterns, technical details, and structured information. When you understand how to architect your prompts, you stop getting random outputs and start getting the exact images you imagined.
This guide walks you through the framework professional creators use to get consistent, high-quality results from AI image generators. You'll learn the exact structure, vocabulary, and techniques that separate mediocre outputs from gallery-worthy images.
Understanding How AI Image Gen Models Parse Your Prompts
Before you start writing better prompts, you need to understand what's actually happening on the backend. AI image generators don't read your prompt the way humans do. They don't process it as a narrative. Instead, they break it into components and assign different weights to different parts of your text.
Most modern AI image gen systems use attention mechanisms that focus on keywords and their surrounding context. The first words in your prompt typically carry more weight than words at the end. Repeated terms get emphasized. Specific descriptors matter more than vague adjectives.
Think of it this way: when you give specific instructions instead of general ones, the model has clearer guidance. "A woman with sharp cheekbones and deep-set eyes" produces more consistent results than "a beautiful woman." The model knows exactly what features to prioritize.
The Foundation: Subject, Setting, and Style
Every strong prompt follows the same basic structure. Master this, and everything else becomes easier.
Start With Your Main Subject
Be specific about what you're creating. Don't just say "a person." Say "a 35-year-old woman with dark hair in a professional black blazer." Include relevant details about appearance, pose, and what they're doing. The more precise you are, the better the output matches your vision.
Add Context and Setting
Where is your subject? What surrounds them? The setting shapes the entire mood of the image. "A woman in a corporate office" reads completely differently than "a woman in a cozy coffee shop." If you want atmosphere, describe it: soft warm lighting, wooden furniture, large windows, plants—whatever grounds the scene. You can also check out our AI business photos.
Define the Visual Style
This is where many people fall short. You need to tell the AI what type of image you want. Are you going for photography, illustration, digital painting, or something else? What era? What aesthetic? Examples: "professional studio photography," "magazine editorial style," "hyper-realistic," "vintage film aesthetic," "watercolor painting."
The style words tell the model which visual language to use. Photography and illustration produce dramatically different results, even with identical subjects.
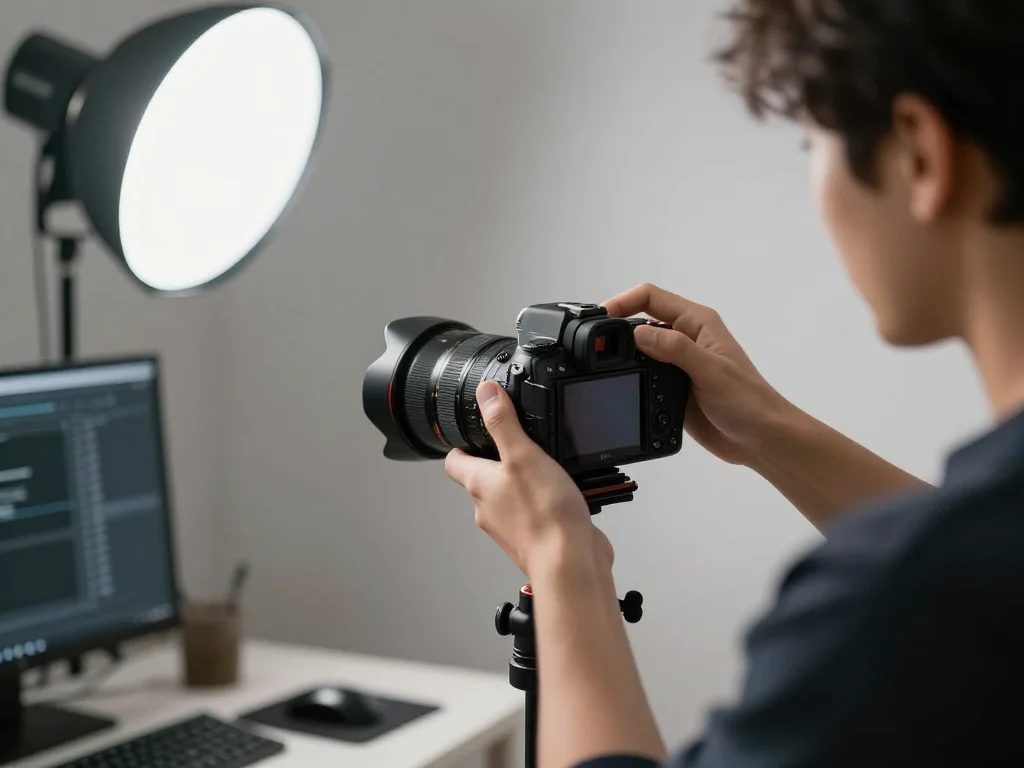
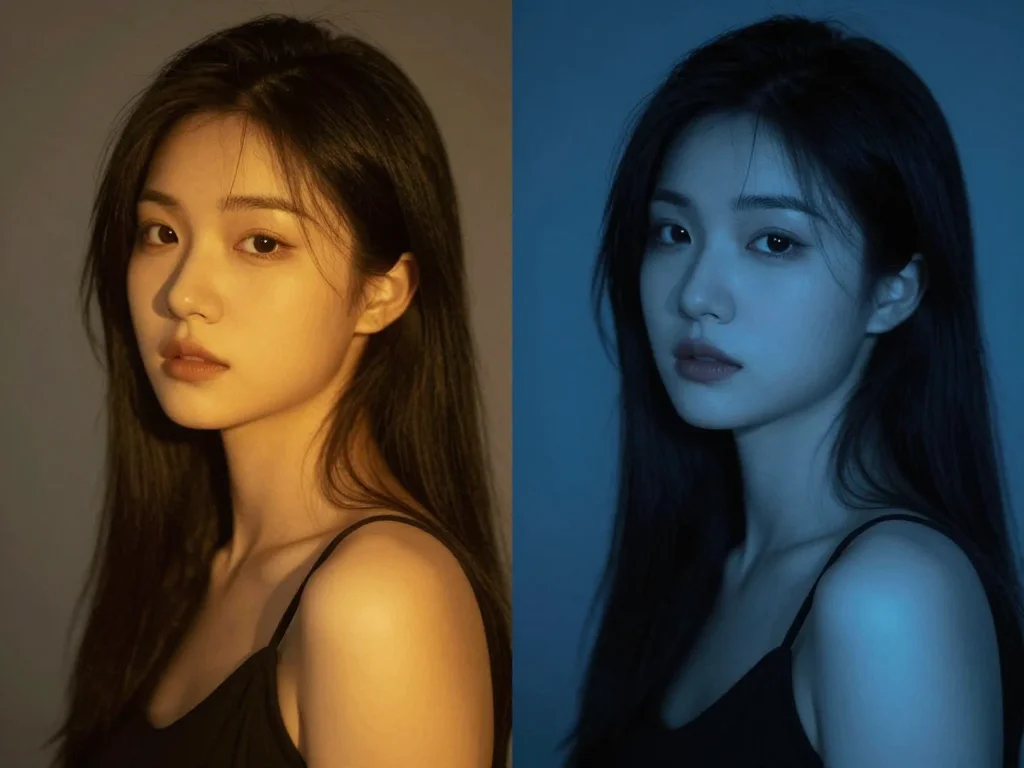
Lighting: The Most Powerful Control You Have
Professional photographers spend years learning lighting because it's the most important variable in image quality. The same applies to AI image gen. Control the light, and you control the entire feel of your image.
Instead of hoping the model creates good lighting, specify it directly:
- Direction: "side-lit," "backlighting," "rim lighting," "diffused overhead light"
- Quality: "soft golden hour light," "harsh studio flash," "moody shadows," "window light from the left"
- Color temperature: "warm tungsten lighting," "cool blue tones," "neutral daylight," "orange sunset glow"
- Intensity: "bright," "dimly lit," "high contrast," "low-key lighting"
A prompt that says "a woman in professional attire, photographed with soft window light from the side, warm golden hour lighting, gentle shadows across her face, studio quality" produces dramatically different results than "a woman in professional attire."
Watch how professionals structure this information:

Camera Angles and Framing: Composition That Works
The camera angle you choose affects psychology, proportions, and how the viewer perceives your subject. Most people forget to specify this, letting the model default to whatever it wants.
Be explicit about camera work:
- Framing: "headshot," "chest-up portrait," "full-body," "wide shot," "close-up," "extreme close-up"
- Angle: "eye-level," "looking down," "looking up," "profile view," "three-quarter view," "straight-on"
- Focal length: "50mm portrait lens," "85mm telephoto," "wide-angle perspective," "macro lens"
- Depth of field: "sharp focus throughout," "blurred background," "bokeh blur," "shallow depth of field"
For example: "headshot of a man, eye-level angle, 85mm focal length, shallow depth of field with blurred office background" creates a professional portrait feel. Without these details, you're leaving composition to chance. You can also check out our AI professional headshots.
Color, Tone, and Mood Vocabulary
The words you choose for mood and color directly influence the emotional response to your image. Learn this vocabulary and you control how people feel when they see your output.
Color Palette Descriptions
Don't say "colorful." Be specific: "muted earth tones," "vibrant primary colors," "desaturated vintage palette," "neon cyberpunk colors," "monochromatic blue tones," "high-saturation jewel tones."
You can even specify exact color relationships: "warm colors in the foreground, cool blues in the background," or "complementary orange and teal palette."
Atmospheric and Mood Keywords
These words shape the entire character of the image:
- Energetic moods: "vibrant," "dynamic," "energetic," "bold," "dramatic"
- Calm moods: "serene," "peaceful," "contemplative," "soft," "gentle"
- Cinematic moods: "cinematic," "moody," "atmospheric," "noir," "ethereal"
- Technical qualities: "ultra high definition," "professional quality," "sharp," "detailed," "crisp"
Advanced Techniques: Putting It All Together
The Effective Prompt Formula
Here's the structure that works:
Subject + Physical Details → Setting + Context → Lighting Specification → Camera Technical Details → Visual Style → Quality and Mood Keywords
Example: "A 40-year-old professional woman with warm brown eyes and shoulder-length auburn hair, wearing a charcoal gray blazer, seated at a modern desk with soft natural window light from the left side creating gentle shadows, photographed with an 85mm portrait lens creating shallow depth of field, clean minimalist office background, professional studio photography, warm color grading, sharp focus, magazine editorial quality."
This prompt uses 70 words and covers every important variable. The output will be remarkably consistent and professional-looking.
Weight and Emphasis With Parentheses
Most AI image generators support emphasis notation. You can increase the importance of specific elements:
- Use parentheses to increase weight: "(sharp focus on eyes)" emphasizes eye detail
- Stack parentheses for more emphasis: "((professional lighting)) = even stronger emphasis"
- Use brackets or square brackets in some systems to decrease emphasis for less important details
Don't overuse this. One or two emphasized elements per prompt works. Too much emphasis creates unnatural outputs.
Negative Prompts: Telling AI What Not to Do
Most AI image gen tools support negative prompts. This tells the model what to avoid. Use these to eliminate common problems:
- "Negative: blurry, out of focus, distorted face, poor quality, amateur"
- "Avoid: oversaturated colors, plastic skin, unnatural proportions"
- "No: watermarks, text, signature, low resolution"
Negative prompts work well for eliminating recurring issues. If your AI consistently produces weird hands, add that to your negative list.
Real-World Examples: From Weak to Professional
Example 1: Professional Headshot
Weak prompt: "A professional headshot"
Strong prompt: "Corporate headshot of a woman in her early 30s with dark hair styled professionally, wearing a navy blazer over a white silk blouse, shot against a soft neutral gray background, photographed with 85mm focal length at eye level, soft diffused lighting with subtle rim lighting, studio quality, professional corporate photography, sharp focus on face, warm skin tones, bright and clean aesthetic"
The weak version produces generic output. The strong version creates a LinkedIn-ready headshot.
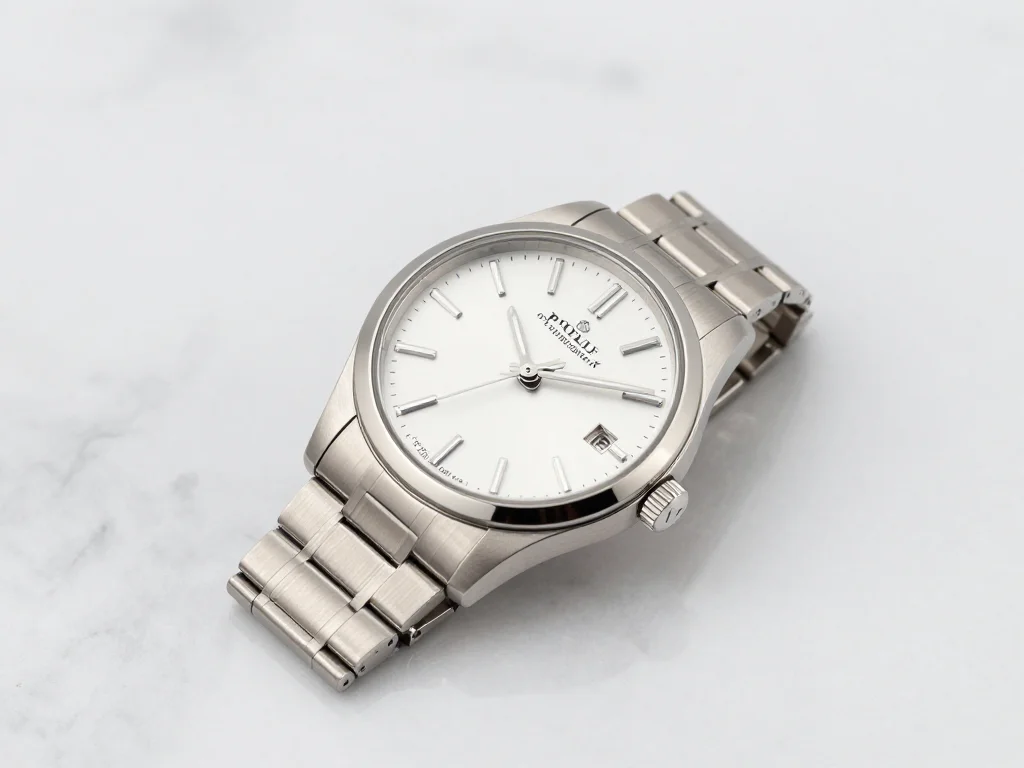
Example 2: Product Photography
Weak prompt: "A nice watch"
Strong prompt: "luxury watch product shot, rose gold stainless steel case with black leather strap, positioned at 45-degree angle on white marble surface, photographed from directly above at macro focal length, studio lighting with key light from upper left creating gleaming reflections on polished metal, shallow depth of field isolating watch from soft blurred background, professional product photography, ultra high definition, sharp focus on watch face and details, magazine editorial quality, clean minimalist composition"
Specificity transforms the output from random to professional.
Testing and Iterating on Your Prompts
Great prompts aren't written once and forgotten. They're refined through testing. Here's how to improve systematically:
Iteration strategy:
- Generate your initial image with your prompt
- Identify what's working and what isn't
- Adjust one variable at a time (lighting, angle, style, color)
- Generate again and compare
- Keep the improvements, discard what didn't work
Never change five things at once. You won't know which adjustment created the improvement. Change one variable, test, then adjust the next.
Document your best prompts. Save the prompts that produce your highest-quality outputs. Reuse them as templates for similar images. Over time, you'll build a personal library of proven prompt formulas.
Why Photo AI Studio Gets Better Results
If you're generating professional headshots or themed photoshoots, platforms like Photo AI Studio combine smart prompt handling with optimized models specifically trained for portrait work. When you understand prompt engineering, you can make these tools work even harder for you.
Whether you're learning prompt engineering or using a dedicated AI photo tool, the principles remain the same: specific beats vague, technical details beat adjectives, and structured information beats rambling descriptions.
For a deeper technical understanding of how these models work, this IBM Technology video on Diffusion Models for AI Image Generation explains the underlying mechanics that make prompt engineering possible.
Start Getting Professional Results Today
The difference between amateur and professional AI-generated images isn't luck. It's prompt structure. The creators getting stunning results understand how to architect their descriptions with the same precision a photographer uses to set up a shoot.
You now have the framework. Your next step is to apply it. Pick a subject you want to create. Write a detailed prompt following the formula: Subject → Setting → Lighting → Camera → Style → Mood. Generate your image. Compare it to your vision. Adjust and iterate.
Within a few rounds of testing, you'll see the quality jump dramatically. The AI isn't suddenly smarter. You're just speaking its language fluently.
Ready to put these techniques to work? Try Photo AI Studio's professional headshots and themed photoshoots and watch how advanced prompting transforms your results into publication-ready images.