
Learning how to take a headshot at home is surprisingly simple once you know the right techniques. All it really takes is good window light, a clean background, and your smartphone. No fancy, expensive gear needed. With just a few smart tricks, you can create a professional-quality image that makes a fantastic first impression.
Why Your At-Home Headshot Is Your New Handshake
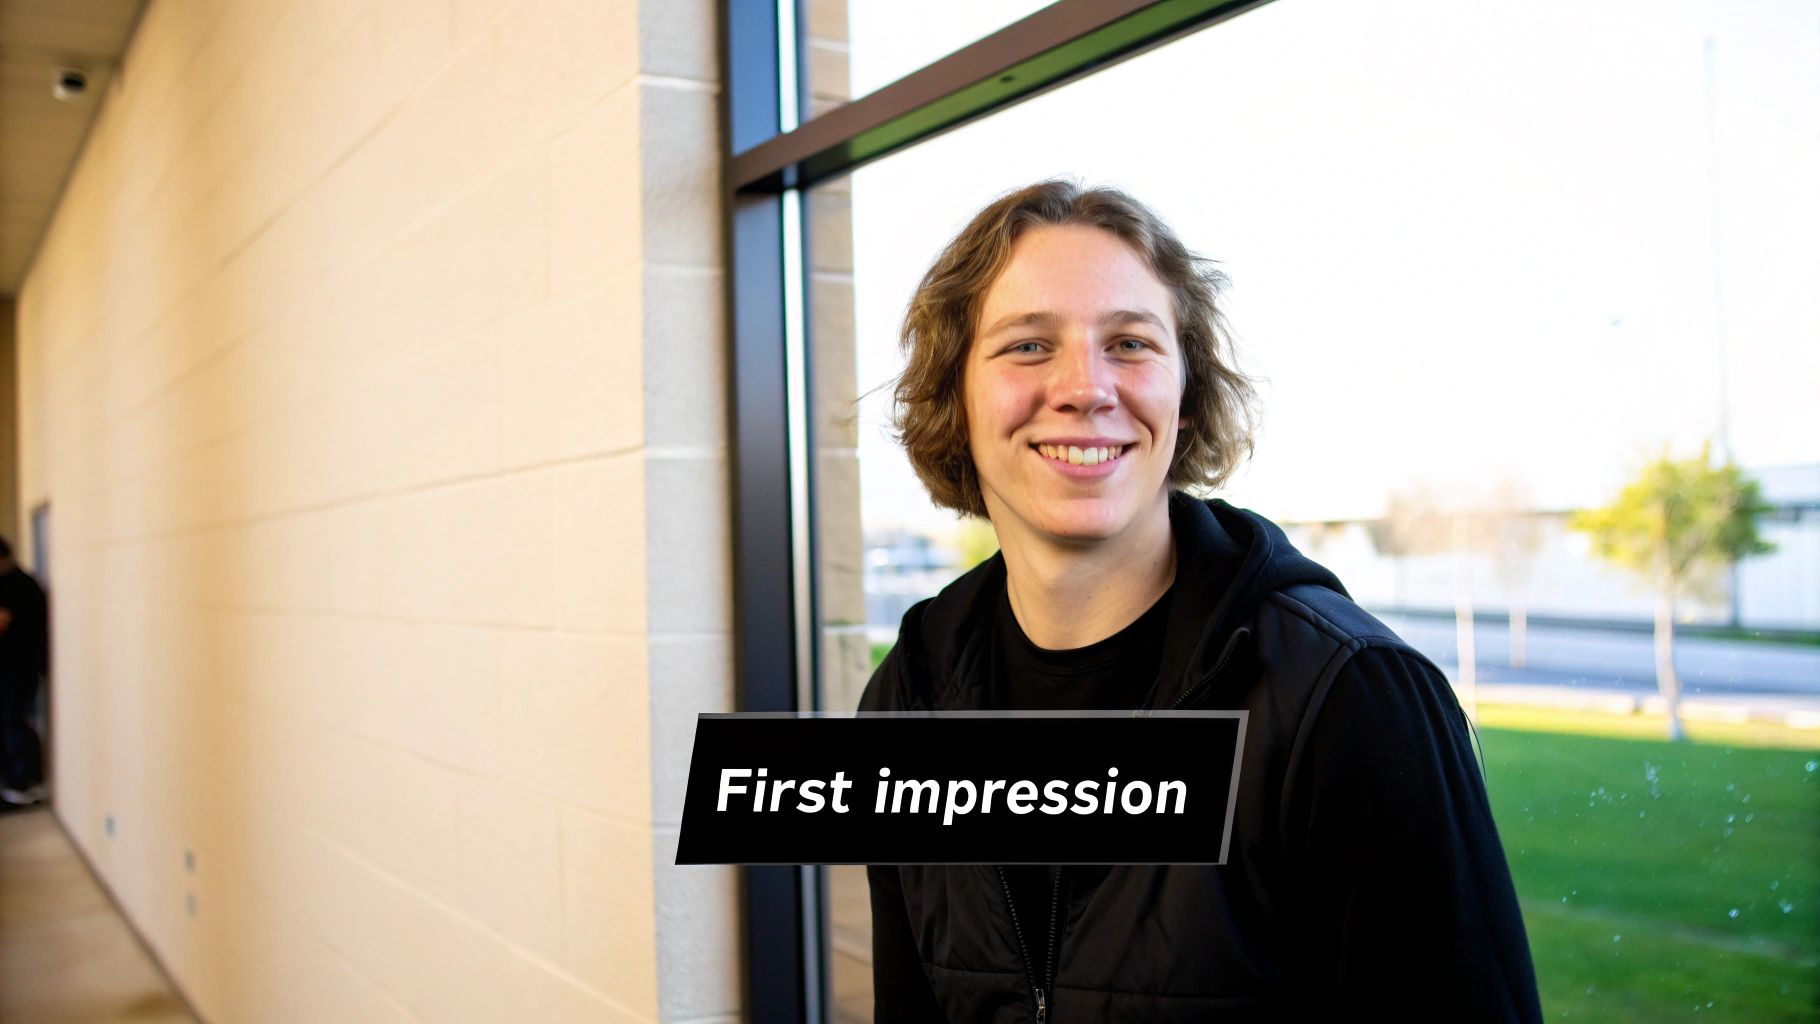
In a world that’s more remote and digital than ever, your headshot is often the first "hello." It’s your digital handshake, giving recruiters, clients, and colleagues their first glimpse of who you are. A polished, confident photo builds instant trust, while a blurry or unprofessional one can subtly undermine your credibility before you’ve even had a chance to speak.
The need for a great headshot isn’t just a feeling; the numbers back it up. LinkedIn’s own data reveals that profiles with a professional photo get 21 times more views. It’s clear that a good image has a direct, powerful impact on your visibility and professional opportunities.
The Shift to DIY and AI Solutions
The good news? You no longer need to book a pricey photographer to get that studio-quality look. Powerful smartphone cameras and accessible AI tools have completely changed the game, putting professional results within everyone's reach.
This guide is here to walk you through it all. We’ll cover how to:
- Master simple lighting and composition setups right in your own home.
- Use the phone you already own to capture sharp, flattering pictures.
- Sidestep the common mistakes that make DIY photos look, well, DIY.
- Optionally use smart tools to give your best shots that final, flawless polish.
A great headshot is a cornerstone of optimizing your LinkedIn profile for real impact. It’s the visual anchor for your entire personal brand.
This move toward easy-to-use solutions means that professional branding is no longer out of reach. You can now create a compelling headshot that radiates confidence without draining your bank account. By mixing timeless photography principles with a little modern tech, you get total control over how you present yourself to the professional world. If you want to dive deeper, we have a whole article on what makes a good profile picture filled with more ideas.
Setting Up Your Improvised Home Studio
Creating a space for a professional headshot at home is far simpler than you might think. Forget the idea of needing a dedicated room or shelling out for expensive gear. All you really need is an eye for good light and a clean background.
Let's start with the most important element: light. Walk through your home and look for the best source of natural light you can find. Nine times out of ten, this is going to be a large window. The gold standard is a room with windows that don't get harsh, direct sunlight. You're looking for soft, diffused light—it’s incredibly flattering for portraits. Think of this window as your free, professional-grade softbox.
Find Your Perfect Spot
Once you've found your light source, it's time to think about the background. The best backgrounds are the ones no one notices. They don't distract from you, the subject. Look for a plain, neutral-colored wall. White, light gray, or even a soft beige works wonders.
The key is to avoid anything that pulls focus. That means no busy patterns, no distracting artwork, and absolutely no clutter. Simplicity is your goal here. A clean backdrop ensures the spotlight stays entirely on you, which is the whole point of a headshot. If a plain wall is out of the question, a solid-colored bedsheet pulled taut or even a large piece of poster board can work in a pinch.
Dress for Success
What you wear plays a massive part in how the final photo turns out. The most effective headshots feature solid-colored clothing that complements your skin tone without screaming for attention. Jewel tones—like emerald green, sapphire blue, or a deep burgundy—are almost always a fantastic choice. They add a rich pop of color that helps you stand out in the best way possible.
Here’s what to steer clear of:
- Busy patterns: Stripes, florals, and complex designs are incredibly distracting on camera.
- Logos or graphics: These instantly make a headshot feel less professional and can date the photo quickly.
- Colors that match your background: You want to create some separation, not blend into the wall.
Pro Tip: Before you even think about shooting, lay out a few different tops near your chosen spot. See how the colors look in that specific natural light. A color you love in your closet can look completely different on camera.
A Quick Gear and Setup Checklist
You've got the location and the wardrobe sorted. Now for the final setup. And the best news? The smartphone in your pocket is more than powerful enough to capture a stunning headshot.
Just to put things in perspective, here's a quick look at how a simple home setup stacks up against a traditional photo studio. It really drives home how accessible a great headshot has become.
DIY Home Studio vs Traditional Photo Studio
| Element | DIY Home Setup | Traditional Studio |
|---|---|---|
| Lighting | A large window providing natural light. | Strobes, softboxes, and reflectors. |
| Background | A plain, neutral wall or a simple sheet. | Seamless paper backdrops or painted canvas. |
| Camera | Your smartphone. | High-end DSLR or mirrorless camera. |
| Cost | Essentially free. | Can cost several hundred dollars. |
This comparison shows you don't need a massive budget or a trunk full of equipment—just a bit of resourcefulness.
One last trick to ensure your shots are consistent: place a small piece of tape on the floor where you'll stand. This simple move helps you maintain the same distance from the camera for every photo, which makes choosing the best one so much easier later on. With these few pieces in place, your improvised home studio is officially ready for action.
With your home studio space ready, it’s time to dial in the two things that truly make or break a photo: light and your camera settings. You don't need a pro lighting rig to get a studio-quality look. Honestly, the right techniques with what you've already got are more than enough.
The best light you can possibly find is almost always soft, natural light spilling from a window. Position yourself so you’re facing the window, but turn your body at a slight 45-degree angle to it. This classic photographer's trick creates a beautiful, gentle play of light and shadow across your face, adding depth and definition without any harshness. It’s simple, free, and incredibly effective.
What If Natural Light Is Not an Option?
Of course, not everyone has a big, beautiful window with perfect light streaming in on demand. If you're shooting at night or your space is just naturally dark, you can create a fantastic light source with a regular old lamp. The trick is to soften its harsh bulb.
Here’s a simple hack I’ve used countless times: drape a thin, white bedsheet over the lampshade. This acts as a DIY diffuser, scattering the light to mimic that same soft, flattering glow you’d get from a window. Just like with window light, position this lamp off to your side at a 45-degree angle to sculpt your features nicely.
Whatever you do, avoid direct, overhead lighting. Ceiling lights are the enemy of good headshots, creating weird, unflattering shadows under your eyes and nose that can make you look tired or even severe.
Getting a great headshot at home really comes down to nailing a few key stages. This visual guide breaks down the essential steps for a successful setup.
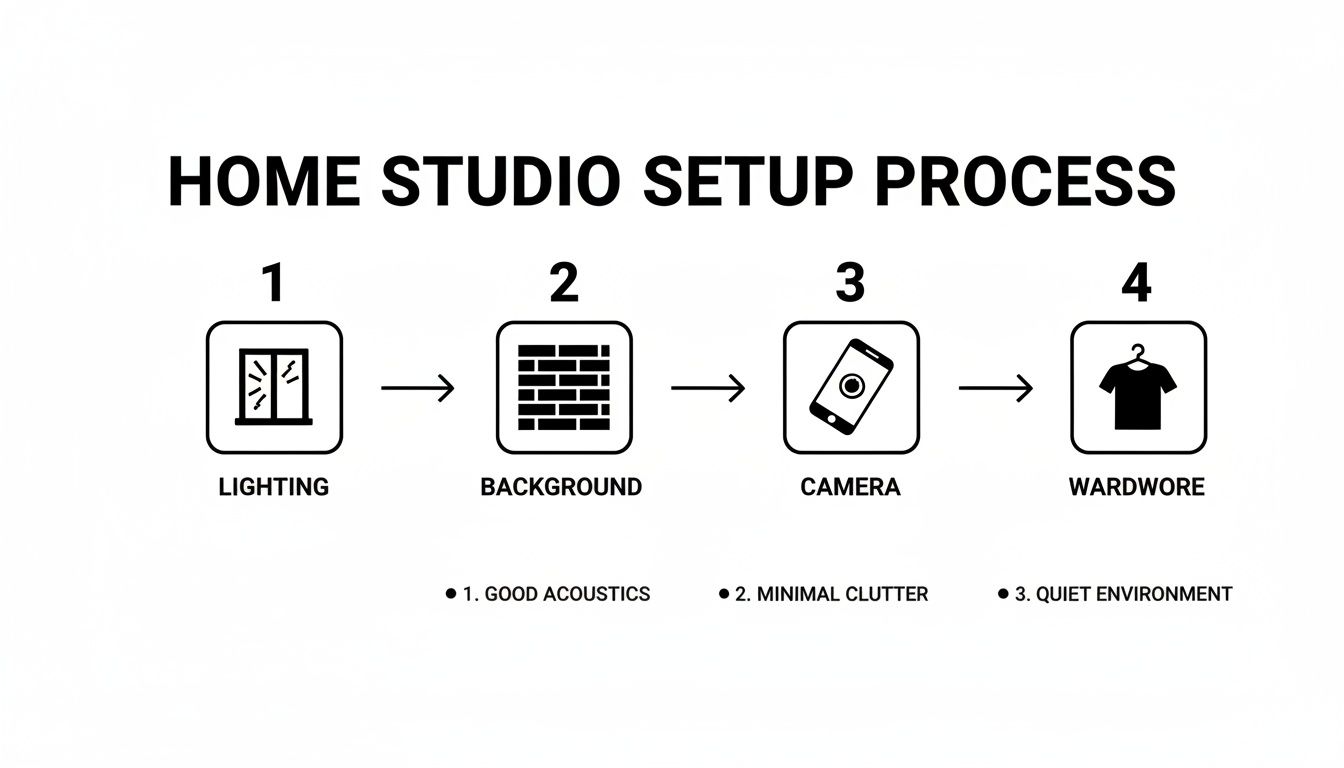
This workflow shows how a little planning around your light, background, camera, and wardrobe all comes together to create a truly professional image.
Unlocking Your Phone Camera's Potential
Modern smartphones are photographic powerhouses, but their default auto settings aren't always your best friend for portraits. A few small tweaks will make a world of difference.
First, find and enable Portrait Mode. If your phone has it, use it. This feature digitally creates that beautiful, blurry background (what photographers call shallow depth of field) you see in professional shots. It instantly makes the photo look more polished by keeping the focus entirely on you.
Next, you need to take manual control of the focus and brightness. On both iPhone and Android, you can usually tap and hold on your face right on the screen. This locks the focus and exposure (AE/AF Lock), preventing the camera from randomly readjusting and making you blurry right as you snap the picture.
Essential Phone Settings for Flawless Headshots
The demand for high-quality headshots is exploding. The portrait photography market hit USD 1,028 million in 2024 and is expected to nearly double by 2033. This makes sense when you consider that a professional headshot on LinkedIn can boost your profile views by a staggering 14 times. While many pros use DSLRs, you can absolutely get comparable results with your phone by dialing in a few key settings. You can dive deeper into these professional headshot market trends if you're curious.
Here are the non-negotiable settings to get right:
- Self-Timer: Set it for 3 or 10 seconds. This is a small step with a huge impact. It gives you a moment to compose yourself and, more importantly, eliminates the camera shake caused by jabbing the shutter button.
- Grid Lines: Turn on your camera’s grid. Use the lines to help with your composition. A great starting point is to align your eyes along the top horizontal line for a balanced, compelling shot.
- Disable the Flash: Your phone's built-in flash is harsh, flat, and unflattering. Period. Turn it off and rely entirely on your beautiful natural or DIY light source instead.
By combining this simple lighting setup with these intentional camera adjustments, you're already well on your way to taking a headshot that looks anything but amateur.
Posing and Framing for a Confident and Approachable Look
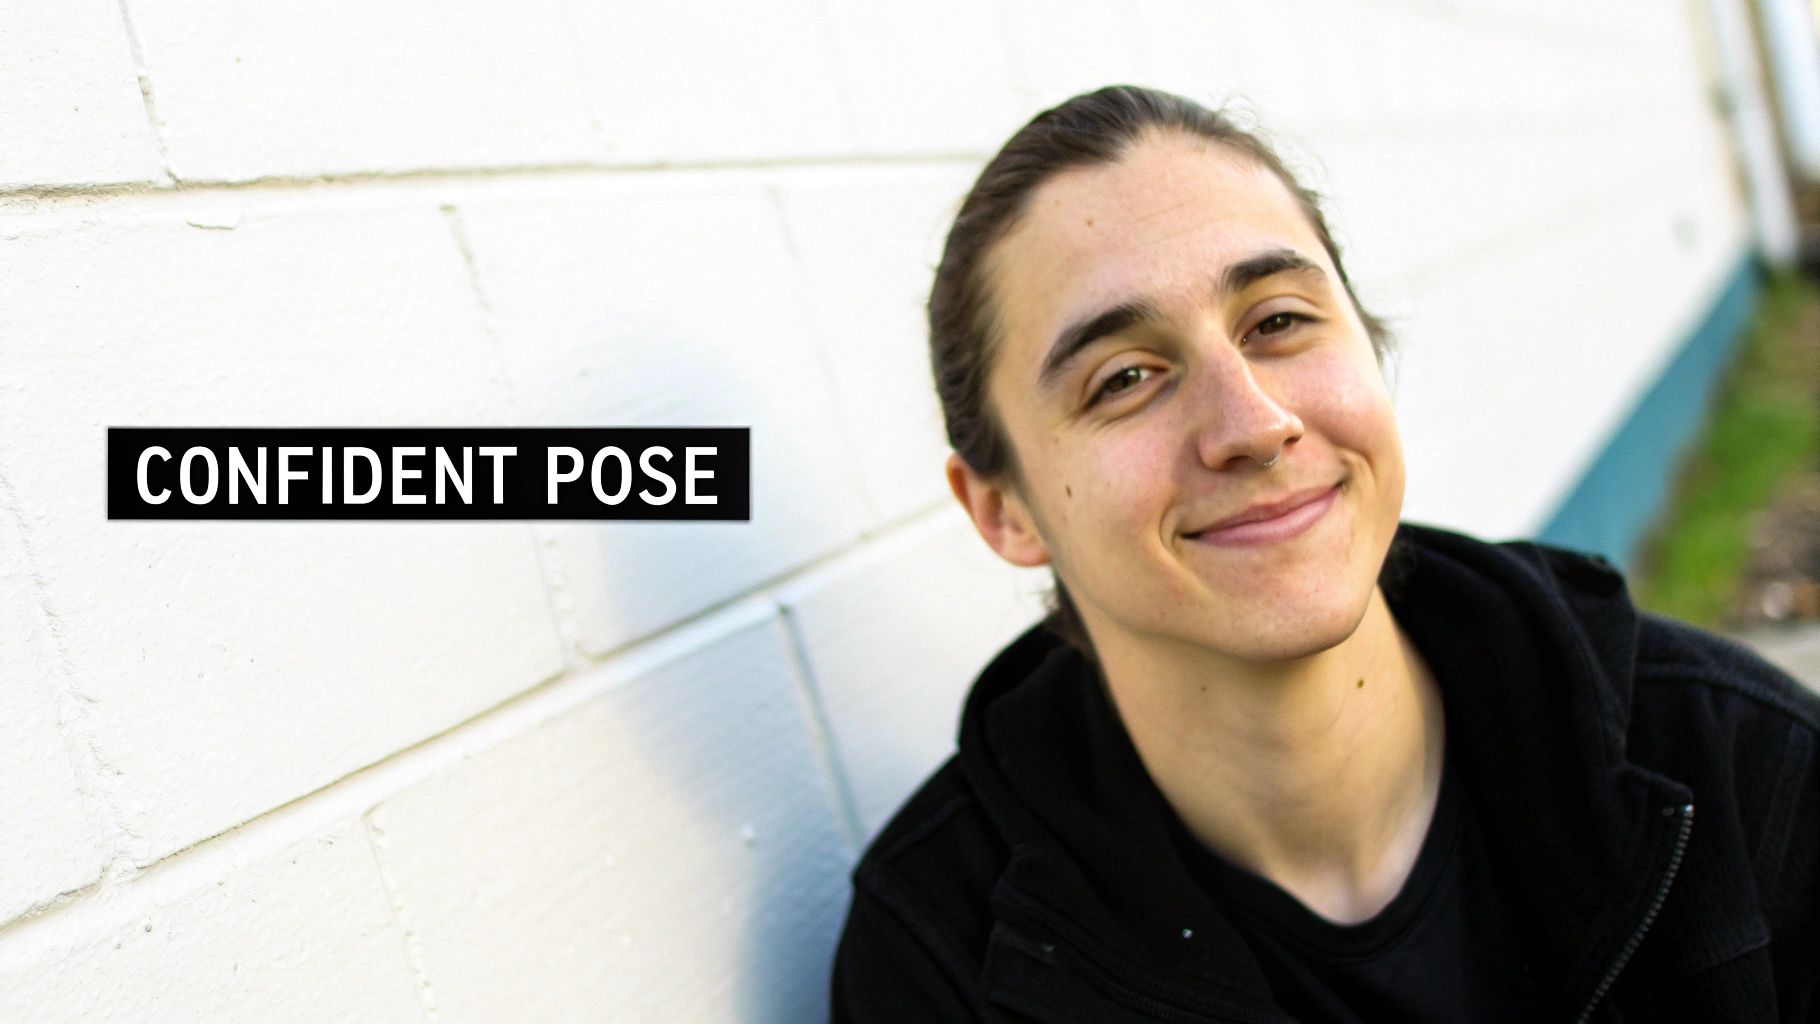
Once all your gear is dialed in, it's time to focus on what actually brings a headshot to life: you. A truly great photo is less about the perfect camera settings and more about the confidence and personality you project. So, let's get you out of that stiff, awkward "photo" mode and into a space where you look natural and approachable.
The most common mistake I see is people facing the camera straight-on, almost like a passport photo. It’s a guaranteed way to look flat and static. Instead, try angling your body about 45 degrees away from the camera, and then just turn your head back to face the lens. That simple twist immediately adds dimension and creates a far more dynamic, engaging posture.
The Lean-In and the Genuine Smile
Want to look more connected and interested in an instant? Try the "lean-in." It's a subtle move where you just lean your torso forward from the waist by a couple of inches. It’s a tiny adjustment that signals engagement and makes the viewer feel like you're connecting directly with them.
Now, let's talk about the smile. We can all spot a forced "cheese!" grin from a mile away. The secret to a genuine smile is to think of something that actually makes you happy or laugh out loud. A funny memory, an inside joke, your favorite person—anything that brings a real feeling to mind. This little mental trick ensures the smile reaches your eyes, giving you a look that’s both authentic and incredibly warm.
Don’t just smile with your mouth; smile with your eyes. This is the difference between a picture that looks posed and one that feels genuinely welcoming. Think of an inside joke right before the self-timer goes off.
Master Your Angles and Composition
How you frame yourself in the shot is every bit as important as how you pose. For a classic and visually pleasing headshot, lean on the rule of thirds. Just imagine your screen is divided by a 3x3 grid. By positioning your eyes along that top horizontal line, you naturally draw the viewer's gaze right to your face and create a balanced, professional composition.
Camera placement plays a huge role, too. Setting up your camera so it’s just slightly above your eye level and angled down is almost universally flattering. This trick helps define your jawline and neatly avoids the double-chin effect that can happen when shooting from a lower angle. Getting comfortable with the basics of mastering camera shooting angles can dramatically change the mood of your shot, giving you more control over how you come across.
Here are a few more quick tips to keep in mind:
- Chin Forward, Not Down: It feels weird, but instead of tucking your chin down, push it slightly forward and then down. On camera, this creates a clean, strong jawline.
- Create a Little Space: Try to avoid pressing your arms flat against your body. Even a tiny gap between your arms and your torso helps create a more defined and flattering silhouette.
- Shoot a Variety: Don't just take one photo and call it a day. Snap a bunch with different expressions—a gentle smile, a more confident and serious look, even a friendly laugh. Having options is always a good thing.
By combining these simple posing and framing techniques, you’re not just taking a picture; you’re directing your own shoot. You're in control of the story, making sure the final image is a confident, approachable, and authentic version of you.
Using AI for a Flawless Professional Polish
You’ve done the hard work. You’ve found the light, framed the shot, and captured a photo you feel good about. Now comes the part that turns a solid DIY picture into a headshot that truly looks the part.
While a quick crop or a brightness tweak on your phone is a decent starting point, the real magic happens when you use a tool built for the job. This is where AI becomes your secret weapon—not to replace your effort, but to elevate it. The idea is to get that clean, corporate finish that used to demand expensive software and hours of tedious work, but now only takes a few minutes.
The Power of AI-Driven Enhancement
The market for professional headshots is huge, hitting nearly $2.5 billion globally in 2023. At the same time, the tools are changing. With smartphones taking over 92% of all photos, and AI tools generating millions of images every day, getting high-end results is no longer out of reach. In fact, these platforms can now do the kind of retouching that nearly 37% of pro photographers rely on Photoshop for.
AI tools let you take your best home-shot photo and instantly generate dozens of polished variations. Imagine trying on different professional outfits, testing out various corporate backgrounds, or even subtly adjusting your expression—all without needing to get back in front of the camera.
This is exactly what platforms like PhotoAI Studio are built for. The dashboard is designed to be completely straightforward. No learning curve required.
You just upload your best shots and start choosing from a huge range of styles and options to get the exact look you need.
Your Workflow for AI-Generated Headshots
The process is refreshingly simple. You start by uploading a handful of your best selfies or DIY headshots—the ones with the clearest lighting and a good view of your face. The AI gets to work, analyzing your features to build a consistent digital model of you.
This isn't just about slapping on a filter. The AI generates entirely new, photorealistic images where you are the subject. It’s an incredibly powerful way to get a wide variety of professional looks from a single, simple photo session at home.
From there, you can explore styles built for any professional scenario. Need a sharp, classic look for LinkedIn? There's a style for that. Want something a little more creative and approachable for your personal brand website? You’ve got options for that, too.
The real benefits of this approach are clear:
- Variety and Speed: You can generate countless headshots with different outfits, hairstyles, and backgrounds in minutes, not hours or days.
- Consistency: The AI keeps your likeness perfectly consistent across every photo, so your personal brand always feels authentic.
- Professional Finish: Tools like background removers and image upscalers give your photos that crisp, clean look that signals professionalism.
By adding this final AI step, you can perfect the photo you already took. Want to see how it works? You can try a free professional headshot generator and see the results firsthand. It’s the finishing touch that ensures your at-home headshot isn’t just good enough, but genuinely impressive.
Common Questions About At-Home Headshots
Even with a solid plan, a few roadblocks can pop up when you're taking your own headshots. Let's walk through some of the most common hiccups I see and how to solve them so you can get a fantastic result.
One of the biggest hurdles is just not having great natural light. If you’re stuck with a dark room or an overcast day, don't worry. You can easily create your own soft light source with a regular floor or table lamp. Just place it at a 45-degree angle to your face. To kill that harsh glare, you can either drape a thin white bedsheet over the lampshade or, even better, bounce the light off a large piece of white poster board held opposite the lamp.
Managing Without a Tripod
What if you don’t have a tripod? No problem at all. The goal is just stability, and you can get creative here. A solid stack of books on a table or shelf works perfectly.
Lean your phone against the stack to get the angle just right, then use the self-timer function. This hands-free trick completely eliminates the camera shake that ruins so many otherwise great DIY photos.
Another question that comes up all the time is about what to wear. While solid jewel tones are always a safe bet, the best colors often depend on your specific industry.
- Corporate or Legal: You can't go wrong with classic, conservative colors like navy, charcoal gray, or a deep burgundy. These tones just project authority and professionalism.
- Creative Fields: This is your chance to be more expressive. Think about colors like teal, emerald, or even a muted mustard that can showcase your personality.
- Tech Industry: Blues and grays are standard for a reason—they project a sense of calm competence and innovation.
A question I get asked constantly is whether a really, really good selfie can ever pass for a professional headshot. The answer is almost always no. The lens distortion from a front-facing camera held at arm's length is just unflattering and instantly signals an amateur photo.
Ultimately, even with the best DIY techniques, getting that final studio polish can be tough. For anyone looking for a guaranteed professional result without the high cost, exploring AI headshot generation is a smart next step. You can see what might work for your budget by checking out some of the AI headshot pricing and packages available. This approach gives you the convenience of an at-home photo combined with the flawless finish of a professional studio.
Ready to elevate your DIY photos to professional-grade headshots? Photo AI Studio can transform your best shots into hundreds of studio-quality options in minutes. Try it now at https://photoaistudio.com and get the perfect headshot today.


