
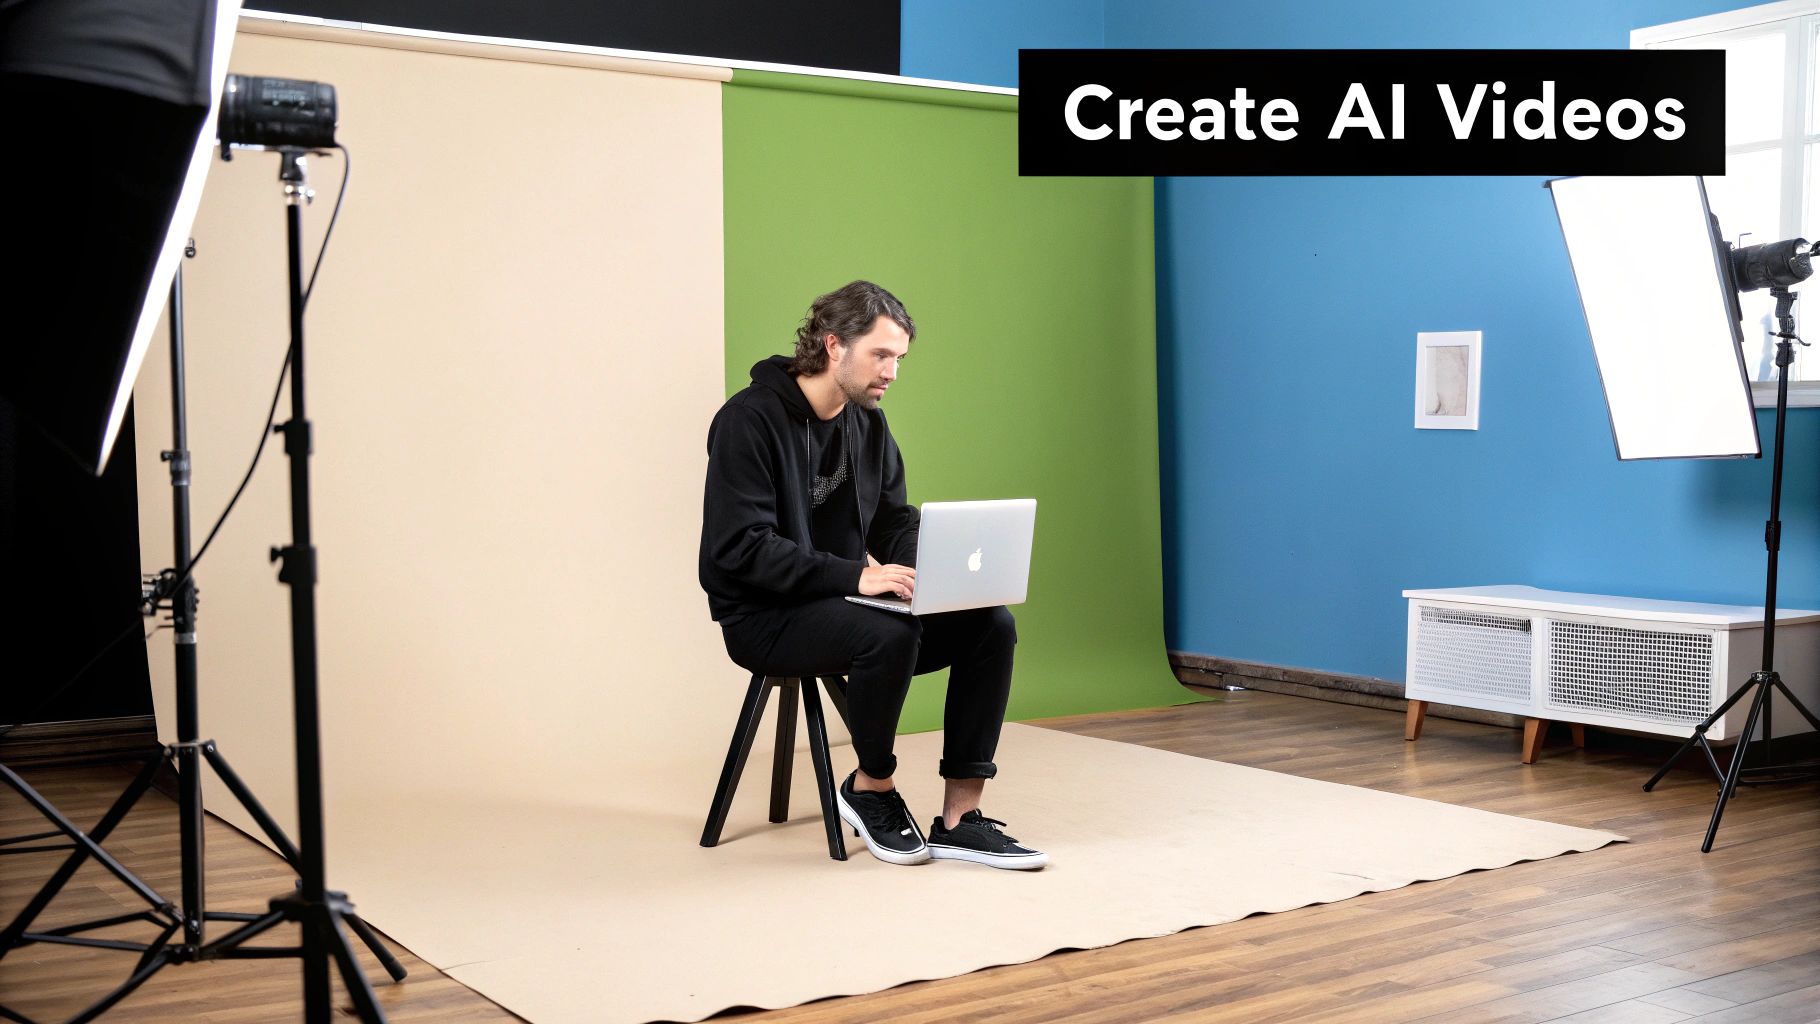
Forget everything you thought you knew about video production. What once required cameras, actors, and expensive software can now be done in minutes with a single photo and a few lines of text. Using a tool like Photo AI Studio, you can spin up dynamic, studio-quality videos from a static image. It's a fundamental shift in how we create.
The New Era of AI Video Content
Content creation is in the middle of a massive transformation. The idea of generating a full-blown video from one picture isn't a sci-fi concept anymore—it's a practical, everyday tool for marketers and creators. This technology completely dismantles the old barriers of expensive video shoots and complicated editing suites.
This guide will walk you through exactly how to create your own AI videos, turning your static photos into content that actually moves and engages. The process is surprisingly simple, even if you’ve never touched video editing software in your life. We'll be focusing on platforms like Photo AI Studio, which effectively put a full production house right on your desktop.
Why AI Video is Taking Over So Quickly
The internet's appetite for video content is bottomless, but for small businesses and solo creators, production has always been the biggest roadblock. AI video generation blows that door wide open by automating the hardest parts. We’re not talking about cheesy animations here; we're talking about creating entirely new scenes and actions from just a single source image.
The market numbers tell the story. In 2025, the global AI video generator market was valued at a cool USD 788.5 million. That figure is projected to explode to over USD 3.4 billion by 2033. This growth is all thanks to user-friendly tools that can slash production time by up to 90%, making professional-grade video accessible to anyone. You can dive deeper into the market growth for AI video tools to see just how fast this space is moving.
The real magic is efficiency. Think about it: you can create a full week's worth of social media video ads in a single afternoon, all from one product photo. That kind of speed was pure fantasy just a couple of years ago.
Key Features for Creating Your AI Video
Before we jump into the step-by-step, it helps to know the core tools you'll be working with. Think of these as the building blocks for any compelling AI video. Each one is designed to solve a specific creative problem.
This table gives a quick overview of the main features in Photo AI Studio that we'll be covering.
| Feature | Best Use Case | What It Does |
|---|---|---|
| AI Model Creator | Creating a consistent brand "face" | Trains a digital actor from your photos for use in multiple videos. |
| Image to Video | Bringing static images to life | Adds subtle, dynamic motion to a single photo. |
| UGC Generator | Authentic-looking social proof | Creates user-generated-style videos without needing real customers. |
| Product Holder | E-commerce product showcases | Generates videos of a model holding and showing off your product. |
Getting comfortable with these four tools is your ticket to mastering AI video.
Throughout this guide, we'll break down how to use each of these features with practical steps and real-world examples. You'll learn how to craft prompts that get results, fine-tune the output, and ultimately produce content that stops the scroll.
Building Your Digital Actor with an AI Model
The secret sauce behind a truly convincing AI video isn't just a clever prompt; it’s consistency. If your digital actor looks different from one scene to the next, the whole illusion falls apart. Before you even think about animating a single frame, your first job is to create a reliable digital actor using a custom AI model.
Think of it like casting. Instead of holding auditions, you’re training an AI on a handful of reference photos. A tool like Photo AI Studio’s Model Creator is built for exactly this. It analyzes a collection of your images to learn unique facial features, expressions, and quirks, building a reusable digital persona. For anyone serious about creating a series of videos, this step is non-negotiable.
Selecting the Right Reference Photos
The quality of your AI model comes down to the quality—and variety—of the images you feed it. We all know the old tech mantra: garbage in, garbage out. It’s especially true here. Your goal is to give the AI a complete, 360-degree understanding of your subject.
This is where so many people stumble. They’ll upload ten nearly identical, perfectly polished headshots and then wonder why their AI videos look stiff and lifeless. The AI needs diversity to learn. You can also check out our AI professional headshots.
You want to provide a mix of photos that show off:
- Varied Angles: Don’t just stick to front-on shots. Include three-quarter views and even profiles.
- Different Lighting Conditions: Give it a blend of professional studio lighting and more natural, everyday light.
- A Range of Expressions: Supply photos of your subject smiling, looking serious, laughing—the full gamut of natural emotions.
A social media influencer, for example, would want to upload a mix of their professional photos and some casual selfies. That variety ensures the final model can handle different video scenarios, from a polished ad to a relaxed, conversational story update.
Here’s a look at the Photo AI Studio interface where you'll start uploading images.
This dashboard is your command center for either training a new model or jumping straight into video generation with an existing one.
For an e-commerce brand, this might mean uploading crystal-clear product shots on a mannequin from every angle you can think of. This allows the AI to generate virtual try-on videos that look realistic from any perspective—a feature that can seriously bump up conversion rates.
Best Practices for Training Your Model
Once you’ve curated your image set, the training process is mostly automated. Still, a few small things on your end can make a huge difference in the final quality. The platform will analyze your photos, pinpoint key facial landmarks, and build a mathematical representation of your subject.
The most effective AI models are trained on 15-20 high-quality, diverse images. Fewer than ten can lead to wonky results, while piling on more than thirty often just muddies the water with diminishing returns.
It’s all about finding that sweet spot. You need enough data for the AI to learn, but not so much that it gets confused by conflicting information. If you're building a model for professional use, it pays to start with professionally taken photos. If you don't have a good set, you can learn more about creating them with a free professional headshot generator to give your digital actor a high-quality foundation.
Finally, give your model a simple, memorable name. It feels like a minor detail, but when you're juggling multiple models for different brands—think "SummerCollectionModel" or "TechVlogAvatar"—clear naming conventions will save you a ton of headaches. This digital actor is now your asset, ready to star in countless video projects without ever needing a coffee break.
Bringing Your First AI Video to Life
Okay, you've done the prep work and your custom AI model is trained and ready to go. Now for the fun part: actually making your first video. This is where all that planning pays off, turning your static idea into something that moves, engages, and converts. We'll jump into Photo AI Studio and use its tools to get this done.
It's pretty incredible how quickly this space has moved. I remember when Meta dropped its Make-A-Video project back on September 29, 2022. That moment really kicked the text-to-video revolution into high gear. The market exploded from USD 0.24 billion in 2023 to USD 0.31 billion in 2024—that's a 30.7% leap in a single year. That frantic innovation is exactly why we have powerful, easy-to-use tools like the UGC Generator at our fingertips today.
The whole process, from photo to video, starts with a solid foundation.
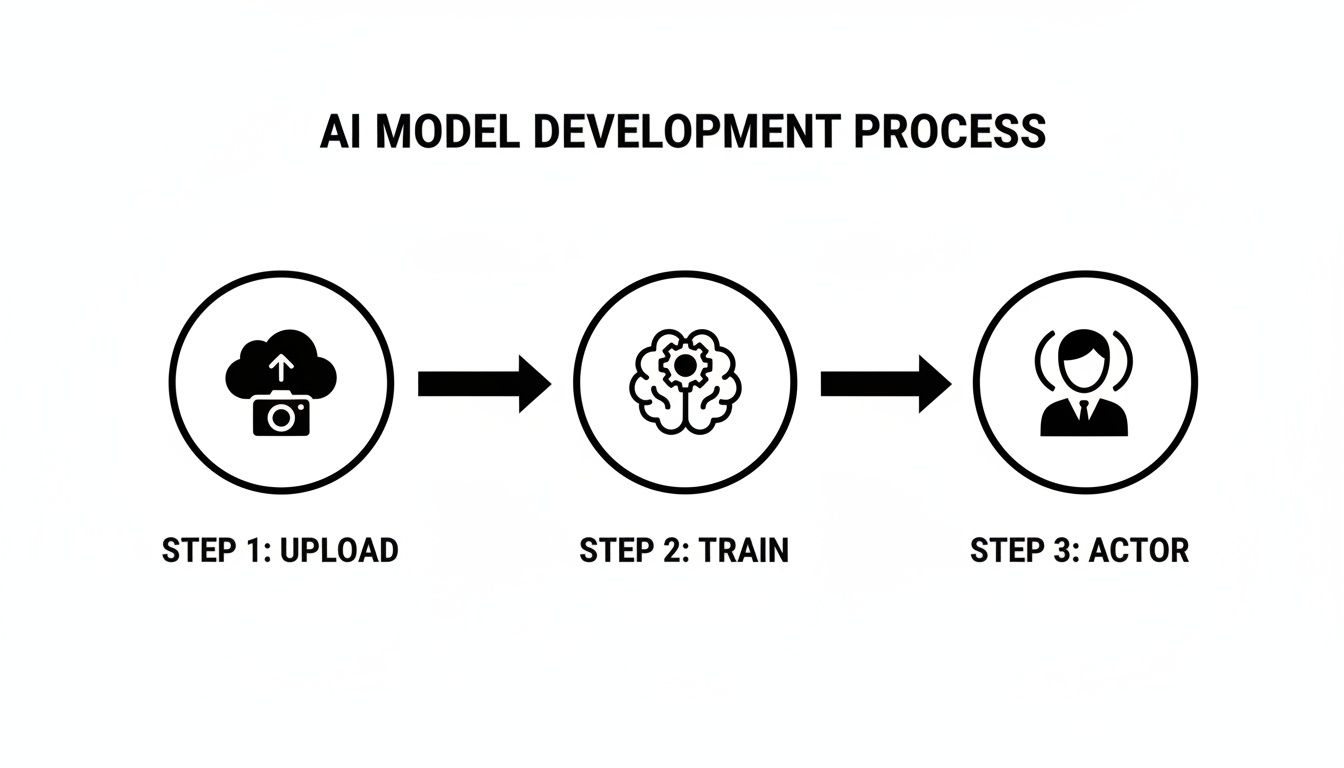
As you can see, a great video doesn't just happen. It's the result of feeding the AI high-quality photos, which allows for a robust training process, ultimately giving you a consistent digital actor to work with.
Choosing Your Video Generation Tool
Inside Photo AI Studio, you have a couple of different ways to create videos, and each one is built for a specific job. The first step is picking the right tool.
- Image to Video: This is your best bet for adding a bit of subtle, eye-catching motion to a static image. Think of it as animating a product shot or a portrait to give it some life on social media. It's simple but incredibly effective.
- UGC Generator: Need something that feels real and authentic? This is the tool. It’s designed to create clips that look like genuine user-generated content—perfect for faking testimonials, unboxing videos, or casual product shout-outs for your ad campaigns.
Let's run through a real-world example. Imagine you're a Shopify merchant launching a new line of sustainable coffee mugs. You want a short, snappy ad for Instagram Reels. For that, the UGC Generator is exactly what you need.
Crafting a Prompt That Delivers Results
Your prompt is everything. It's your script, your director, and your camera operator all rolled into one. If you give it a lazy, vague prompt, you'll get a generic, lazy video. But if you get specific and descriptive, you can steer the AI exactly where you want it to go.
Here's a basic, not-so-great prompt for our coffee mug ad:"A woman is holding our new coffee mug and smiling."
Sure, this will generate something, but it’ll be bland and forgettable. The AI has way too much wiggle room. Let's build on it.
Pro Tip: I've found that the best video prompts always nail four key things: the Subject (your digital actor), the Action (what they're doing), the Setting (the environment), and the Mood (the vibe and camera work).
With that framework, let's punch up our prompt:"UGC style video, an influencer with blonde hair is holding a ceramic coffee mug in a bright, modern kitchen. She takes a sip, smiles genuinely at the camera, and gives a thumbs-up. The shot is medium-close, handheld, with natural morning light."
See the difference? We defined the style ("UGC style"), described our actor and product, laid out the sequence of events, established the location, and even gave camera direction ("handheld," "medium-close"). This level of detail massively boosts your chances of getting a video you love on the first try.
Iterating and Refining Your Video Output
Look, your first attempt might not be perfect. That's totally normal. Getting great results with AI video is all about iterating. You generate, you review, and you tweak the prompt.
Maybe the "modern kitchen" in your first video came out too dark. Easy fix. You just get more specific in the prompt:"...in a bright, modern kitchen with white countertops and sunlight streaming through a window."
Or perhaps the influencer's smile felt a little forced. You can guide the action more precisely:"...takes a sip and lets out a small, happy sigh before smiling warmly at the camera."
Every little adjustment gets you one step closer. Don't be afraid to run three or four generations, making small changes each time. It’s still worlds faster and cheaper than trying to coordinate a real video shoot.
A quick note on consistency: keeping your digital actor looking the same can be a challenge. That's why sticking to the same detailed description of your actor in every prompt is key. The more specific you are, the better the AI can maintain the look you trained it on. If you're creating a lot of social content, our guide on the AI influencer generator has some great tips for building consistent digital personas.
Once you’ve got a clip that feels right, you’re ready to export.
Selecting Your Export Settings
Photo AI Studio keeps the export process simple, but a couple of choices here will make a big difference in your final video's quality and where you can use it.
Common Export Options:
- Resolution: For almost all social media, 1080p (1920x1080) is the sweet spot. It's high-quality without being a massive file. For vertical platforms like TikTok or Reels, you'll need a 9:16 aspect ratio.
- Format: Stick with MP4. It's the universal standard for video online and will play flawlessly on pretty much any device or platform you can think of.
- Frame Rate: 30 frames per second (fps) is the standard for digital video and gives you that smooth, natural motion you're used to seeing.
For our Shopify merchant's Instagram Reel, the winning combo would be a 9:16 aspect ratio at 1080p resolution, exported as an MP4. This ensures it looks sharp in the feed and is perfectly formatted to grab a customer's attention.
Polishing Your AI Video for a Professional Finish
Generating that first AI video clip feels like a huge win, but let's be honest—it's just the raw material. The real magic happens in post-production. This is where you move from being a "generator" to an editor, transforming a cool AI output into a story that actually connects with people.
Think of the clips you've generated as individual shots. Your job now is to stitch them together into a cohesive narrative. Most modern video editors, even free ones like CapCut or DaVinci Resolve, make this pretty straightforward. You'll be trimming clips, arranging them in a logical sequence, and creating a video that flows naturally.
For instance, imagine a marketing agency created three separate UGC-style clips of a digital actor trying a new skincare product. In post-production, they’d combine these to show the "application," a "mid-day check-in," and the "end-of-day results." That’s how you build a narrative.
Enhancing Visuals within the Platform
Before you jump into an external editor, don't overlook the tools right inside Photo AI Studio. They're designed for quick, high-impact fixes that can seriously level up your raw footage and save you a ton of time.
- Photo Upscaler: This thing is a lifesaver. If you notice a specific moment in your video looks a little soft or blurry, you can pull that single frame, run it through the upscaler to boost its resolution, and pop it back into your video. The result is a much crisper, high-definition look right where it counts.
- Background Remover: Want to get more creative with your shots? Use the background remover on a video clip to completely isolate your digital actor. Suddenly, you can place them anywhere—on a branded graphic, in front of another video, or on a simple colored background. It gives you incredible creative freedom without the hassle of a green screen.
These features are perfect for creating clean, professional product shots where you need the focus to be entirely on the item and the model.
Assembling Your Video in an External Editor
Once your clips are prepped, it's time to bring them into a dedicated video editing program. This is where you’ll add the final layers of sound, text, and graphics that make your video feel truly complete.
As you get into the final stretch, understanding the realities of video editing workflows can make a huge difference in your efficiency. Even simple edits add up, but their impact is massive.
Adding Audio and Music
Sound is easily 50% of the video experience. The right background track can instantly set the mood, inject energy, or make your content feel way more premium.
A study found that ads with music performed better across key metrics—including creativity, empathy, and emotive power—than those without. Never underestimate the power of a good soundtrack to connect with your audience on an emotional level.
Most video editors offer libraries of royalty-free music, or you can grab amazing tracks from services like Epidemic Sound or Artlist. On top of music, consider adding a voiceover to provide context, explain a product's benefits, or simply guide the viewer through the story.
Using Text Overlays and Graphics
Text overlays are non-negotiable, especially when you realize that up to 85% of social media videos are watched with the sound off.
Use text to:
- Introduce key messages with bold, punchy headlines.
- Highlight benefits or features with short, easy-to-scan bullet points.
- Add subtitles to make your content accessible and easy to follow without audio.
Don't forget simple graphics, like your brand's logo or a clear call-to-action. These small touches add a layer of professionalism and reinforce your brand's identity, completing your journey from a simple prompt to an AI video that actually delivers results.
Putting Your AI Videos to Work in the Real World
Making an AI video is one thing, but actually using it to drive results is where the magic happens. Let's move past the "how-to" and dig into the practical, real-world problems these videos solve. This is where you see the true value kick in—it’s not just a cool new toy, but a genuine asset for growth.
The applications are popping up everywhere, from scrappy e-commerce shops to established marketing agencies. Each scenario shows how spinning up a video from a single image can completely replace old, expensive, and slow methods. The ROI isn't just in dollars; it's in the hours you get back and the opportunities you can finally jump on.
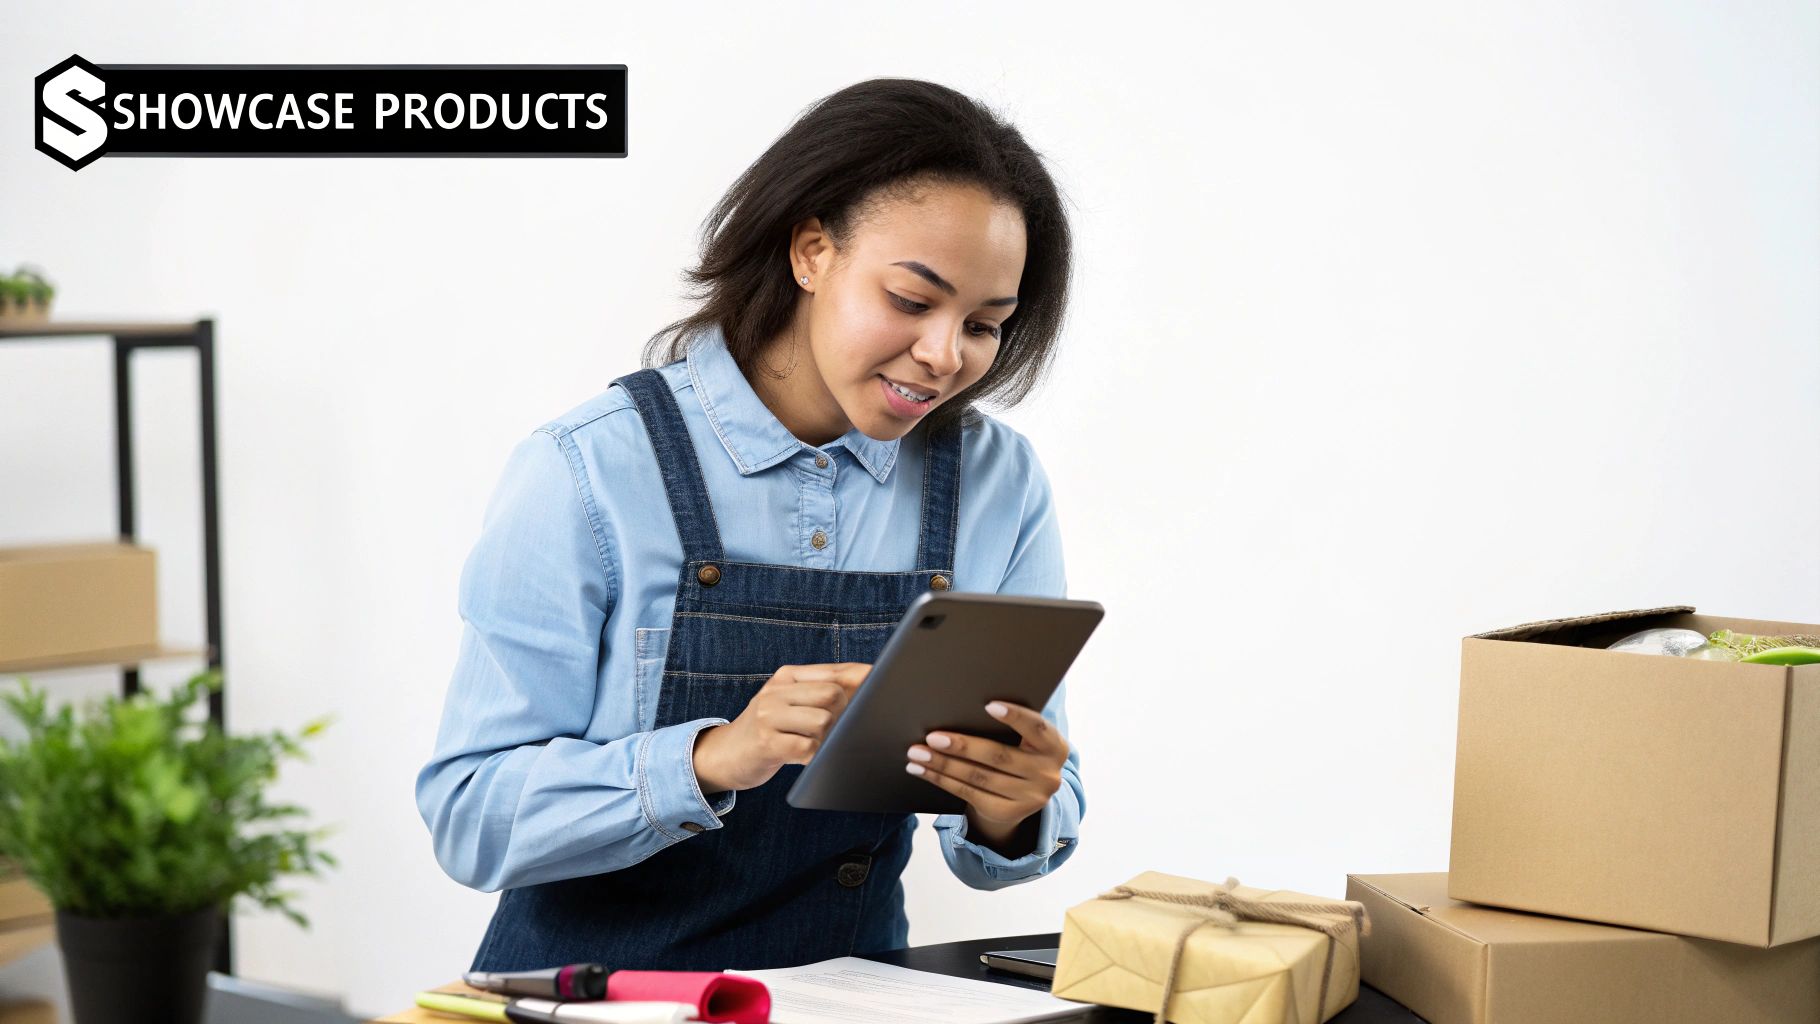
For the E-Commerce Store Owner
Picture this: you're a Shopify merchant launching a new line of handcrafted leather bags. The old way meant hiring a model, booking a studio, and burning a full day on a photoshoot. With a tool like Photo AI Studio, that entire workflow gets a massive upgrade.
You can jump right into the Product Holder feature to create a whole batch of short videos showing off your new bags. Just upload a clean product shot and a photo of your trained brand model. In minutes, you’ve got clips of someone holding and presenting each bag, ready for your product pages and social ads.
- Benefit: You can create high-quality product demos for every single item in your catalog without ever stepping foot in a studio.
- Actionable Tip: Generate videos with different backgrounds to match specific campaigns. Think a cozy cafe setting for your fall collection or a bright, sunny beach for a summer launch.
This doesn't just save a ton of money; it makes you incredibly fast. You can have professional marketing assets ready to go the same day a new product arrives.
For the Job Seeker
In a sea of applicants, a standard PDF resume just doesn't cut it anymore. It’s boring. An AI-generated video, on the other hand, is a brilliant way to make a recruiter stop scrolling. A job seeker can take their professional LinkedIn headshot and turn it into a short, personal introduction.
Using the Image to Video tool, they can whip up a clip where their digital self briefly talks about their skills and excitement for a role. This can be dropped into an email signature, linked on a digital resume, or sent directly to a hiring manager on LinkedIn.
This simple move turns a flat, static application into a dynamic one. It screams initiative, shows you get modern tech, and helps a hiring manager connect a personality to the name on the page before you even get to the first interview.
It’s a perfect example of using AI to build a personal connection when you’re trying to reach a lot of people.
For the Social Media Manager
The biggest headache for any social media manager is the relentless need for more content. Planning and shooting enough video to feed the algorithm all week is a grind. This is where AI video generation becomes a secret weapon for batch production.
Let's say a manager for a wellness brand needs five short video tips for the week. They can use one image of their brand's influencer or digital avatar and create five unique clips, each with a slightly different prompt to fit the day's theme.
Example Content Plan:
- Monday Motivation: A video of the avatar smiling and holding a motivational quote.
- Tuesday Tip: The avatar demonstrates a simple breathing exercise.
- Wellness Wednesday: A clip showing the avatar enjoying a healthy smoothie.
- Thursday Q&A: An animated version of the avatar answering a common question.
- Friday Feature: The avatar holds up a featured product.
With this strategy, a manager can knock out a full week's worth of video content in less than an hour. That frees up huge chunks of time to actually focus on community engagement and big-picture strategy.
For the Marketing Agency
Agencies are always under the gun to deliver ad creative that actually converts. We all know user-generated content (UGC) works wonders, but getting real, authentic UGC is a logistical nightmare. Now, agencies can create realistic, UGC-style ads whenever they need them.
The market for generative AI in video creation was valued at a cool USD 336.1 million in 2023 and is on track to hit USD 2,298.8 million by 2033. A huge reason for that explosion is that these tools can slash manual effort by 80-90%. That’s a game-changer for creating ads where an AI simulates a customer testimonial or product demo.
Using a tool built specifically for authentic-looking clips, an agency can pump out dozens of ad variations for A/B testing. Our guide on the UGC video generator gets into the nitty-gritty of this workflow. You can test different "customers," scripts, and calls-to-action to find what gets the best ROI, all without the hassle of coordinating with real creators. And if you're exploring how to apply this to broader campaigns, you might find some great ideas in this guide to creating AI TV Commercials for Small Businesses.
Common Questions We Get About AI Videos
As you start creating AI videos, a few questions always pop up. It's one thing to follow a tutorial, but another to figure out why your video looks a little... off. Let's tackle the most common hurdles I see people run into so you can get a smoother, better result on your first try.
These are the small details that make a huge difference. From picking the right selfie to understanding why your video is only a few seconds long, these insights will help you use AI video tools like a pro.
What Makes a Good Input Image?
This is, without a doubt, the most critical piece of the puzzle. The quality of your AI video is almost entirely dependent on the quality of your starting image. If you feed the AI a blurry, low-res, or poorly lit photo, you're going to get a distorted or just plain weird-looking video. Garbage in, garbage out.
For the best possible outcome, your starting photo needs a few things:
- High Resolution: Seriously, use the clearest, largest photo you have. More pixels give the AI more data to work with, which means a more detailed and realistic animation.
- A Clear Subject: The person or product needs to be tack-sharp and stand out from the background. A little natural background blur is great.
- Good, Even Lighting: Harsh shadows across the face or blown-out highlights are the enemy. They confuse the AI about the actual shapes and features it's supposed to animate.
A professional headshot is the gold standard, but a well-taken selfie in good light works great too. Just make sure your face isn't covered by hair or sunglasses. A little prep work here saves a ton of headaches later.
Understanding Video Resolution and Quality
When you go to export your video, you’ll see options like 720p, 1080p, or 4K. What do you actually need? It all comes down to pixels—more pixels mean a sharper image.
For almost everything you'll do online, 1080p (1920x1080 pixels) is the sweet spot. It looks fantastic on phones and desktops but the file size stays manageable for quick uploads. 4K is beautiful, but it's often overkill for social media and can be a pain to work with.
Think about where your video will live. Instagram Reels and TikTok need a vertical 9:16 aspect ratio at 1080p. A YouTube ad or website banner? Stick with the standard horizontal 16:9 at 1080p.
Why Is My AI Video So Short?
You'll notice most AI video tools, including Photo AI Studio, generate clips that are just a few seconds long, usually between 3 and 10 seconds. This isn't a bug; it's by design. The tech is fine-tuned for creating short, punchy, high-impact moments—perfect for social media ads, animated profile pictures, or a single dynamic shot in a larger video.
Generating long-form AI video is incredibly resource-intensive and it's tough for the AI to maintain coherence. The pro workflow right now is to create several short, high-quality clips and then stitch them together in a video editor. This modular approach actually gives you way more creative control and is the secret to making compelling AI videos that are longer than a few seconds.
Ready to put these tips into practice? The best way to learn is to get your hands dirty. Photo AI Studio has everything you need to start turning your images into amazing videos right now. You can also check out our AI dating profile photos.


