
Bringing an old photo back to life isn't a dark art anymore. The basic process is straightforward: get a good digital scan of your print, let some smart software clean up the scratches and tears, and then touch up the color. What used to take a professional hours of painstaking work can now be done in minutes with tools like PhotoAI Studio.
Why Modern Technology Is Your Best Bet for Photo Restoration
Old photographs are more than just paper; they're physical links to our family history, holding stories we can't get back. But time is not kind to them. Fading, scratches, and damage from years of storage can obscure those precious memories. For decades, fixing this meant finding a specialist with a steady hand and a deep knowledge of complex editing software.
That barrier is completely gone now.
The world of photo editing has changed dramatically. People have been manipulating photos since as early as 1846, but it was the release of Photoshop in 1990 that brought digital editing to the masses. Now, AI-powered platforms like PhotoAI Studio have automated the most tedious parts, using sophisticated models to analyze and rebuild damaged images with stunning accuracy.
This shift means you don't need a design degree to get professional-level results. You can now:
- Fix physical damage: Automatically mend tears, creases, and water spots without spending hours with a clone stamp tool.
- Restore faded colors: Bring back the original punch of a color photo or add surprisingly realistic color to a black-and-white shot.
- Sharpen blurry details: Use AI upscaling to boost the resolution and pull out details you thought were lost forever.
The Power of AI in Your Hands
The real advantage of today’s tools is their ability to understand what they're looking at. Instead of just tweaking pixels, AI sees context. It recognizes a face, a pattern on a dress, or a tree in the background and restores it based on a vast library of visual knowledge. This leads to fixes that feel natural and believable, not digitally painted over.
The real magic of AI photo restoration isn't just fixing what's broken; it's about uncovering the life and detail hidden within a faded print. It transforms a damaged artifact back into a living memory.
Here’s a look at the kind of intuitive interface you can expect from a tool like PhotoAI Studio. It's clean, simple, and puts the most powerful features right where you need them.
The layout is designed to be approachable, making powerful features like restoration, upscaling, and colorization feel straightforward even if you've never done this before. The growing need for AI education isn't about learning to code; it's about understanding how accessible these incredible tools have become for preserving our own history.
Comparing Photo Enhancement Methods Then and Now
It's one thing to say technology has improved, but seeing the difference side-by-side really drives it home. The painstaking, chemical-filled processes of the darkroom have been replaced by algorithms that are not only faster but often smarter.
| Enhancement Task | Traditional Method (Darkroom/Manual) | Modern AI Method (e.g., PhotoAI Studio) | Key Advantage of AI |
|---|---|---|---|
| Scratch & Dust Removal | Meticulous spotting with brushes and dyes on the negative or print. Incredibly time-consuming. | One-click automated detection and inpainting. The AI reconstructs the missing information. | Speed & Precision: What took hours now takes seconds, often with more accurate results. |
| Color Correction | Complex chemical balancing, using color filters and multiple exposures during printing. | AI analyzes the image, identifies color casts, and applies intelligent, balanced adjustments. | Consistency & Ease: Achieves perfect color balance without guesswork or specialized knowledge. |
| Sharpening Details | Limited options like using high-contrast paper or "unsharp masking" techniques in the darkroom. | AI models upscale resolution and intelligently sharpen details without adding digital noise. | Detail Recovery: Can reveal fine details that were completely lost in the original blurry print. |
| Colorizing B&W Photos | Hand-tinting with oils and dyes. A highly artistic but slow process prone to inconsistencies. | AI analyzes the scene and applies historically plausible and contextually accurate colors. | Realism & Speed: Generates lifelike color in minutes, based on vast datasets of real-world objects. |
The takeaway is clear: modern AI tools have democratized photo restoration. They've taken highly specialized, expensive skills and turned them into accessible features that anyone can use to save their family's visual legacy.
Your First Crucial Step: Digitizing Photos Correctly
Before we even touch the AI magic, we have to get our hands dirty with the most critical part of the entire process: creating a high-quality digital copy. The final restored image is only ever as good as the scan you start with. I can't stress this enough. Rushing this by snapping a quick picture with your phone will kneecap your results before you even begin.
Think of it like building a house. Your digital scan is the foundation. A strong, detailed foundation lets you build something incredible. A weak, blurry one? Well, everything you build on top will be compromised. Our goal here is to pull every last bit of data from that original print.
And speaking of the original print, it's worth making sure it's in the best possible shape before you even scan it. Learning how to preserve old photos with proper storage and handling can prevent further damage, giving you a better starting point.
Prepping Your Prints for the Scanner
Old photos are delicate survivors, often coated in decades of dust. Always handle them gently by the edges—your fingerprints can permanently damage the emulsion. Please, never use water, Windex, or any other liquid to clean them.
Instead, a soft, clean, anti-static brush or a quick blast from a can of compressed air is your best friend. A gentle dusting is all it takes to remove loose particles. This simple step prevents the scanner from mistaking a tiny piece of lint for a permanent scratch, which gives our restoration AI a much cleaner slate to work from.
Dialing in the Right Scanner Settings
For digitizing old prints, a flatbed scanner is the way to go. While dedicated photo scanners are the gold standard, a decent all-in-one printer/scanner can do a fantastic job if you know which settings to tweak. Don't just hit the default "Scan" button; you need to dive into the advanced settings.
Here are the three settings that matter most:
- Resolution (DPI): This is all about detail. For a standard 4x6 or 5x7 print, you want a minimum of 600 DPI (dots per inch). If you’re working with a tiny image, like a wallet-sized portrait you dream of enlarging, crank it up. I’d go with 1200 DPI just to be safe.
- File Format: Always, always choose TIFF if it’s an option. TIFF is a lossless format, which is a fancy way of saying it saves every single pixel of data from your scan without squishing it down. A JPEG, on the other hand, is lossy—it throws away data to make the file smaller, which is the last thing we want at this stage.
- Color Depth: Select the highest color depth your scanner offers, usually 24-bit or 48-bit color. Yes, even for black-and-white photos. Scanning in color captures subtle tonal shifts and aging effects (like sepia tones), giving the AI more information to analyze and work with.
The core idea is simple: give the AI as much raw information as you possibly can. A high-resolution, uncompressed TIFF file is the perfect raw material for any restoration project. You can always create smaller JPEGs later, but you can never get back the detail that wasn't captured in the first scan.
This whole process—from digitizing to final enhancement—is a clear, linear workflow. Get the first step right, and the rest becomes so much easier.
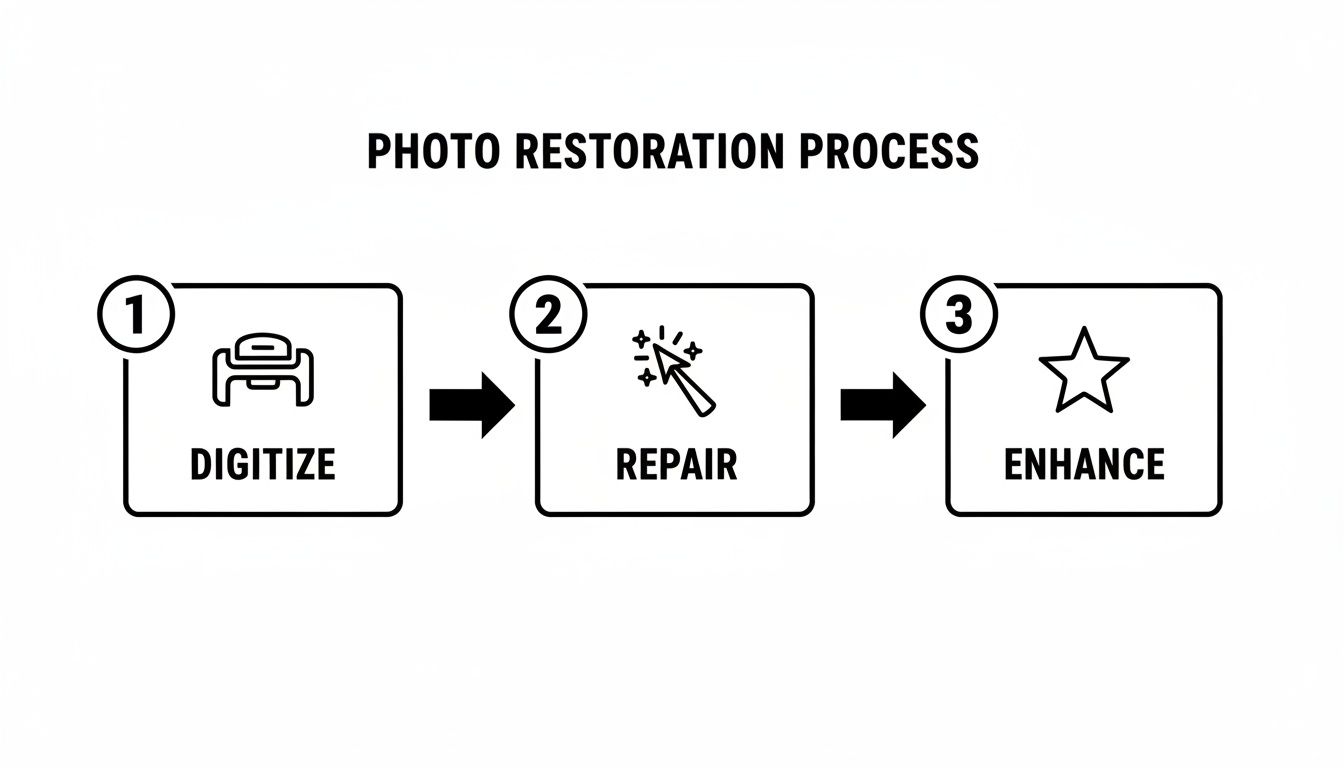
As you can see, a successful restoration depends on each step building on the last. That initial scan is the bedrock of everything that follows.
Why Scanning Beats Photographing, Every Time
I get it. It’s tempting to just lay a print on the table and take a picture with your new smartphone. It’s fast. But it introduces a ton of problems: glare from overhead lights, weird distortions from the lens, and shadows from you leaning over it.
A scanner is a controlled environment. It provides perfectly flat, even light across the entire photo. No glare, no shadows, no distortion.
This controlled lighting is essential. It guarantees that every corner of your image is captured with the same sharpness and color accuracy, eliminating variables that can throw off the restoration software. By investing a few extra minutes in a proper scan, you’re setting yourself up for a much smoother, and far more impressive, result down the line.
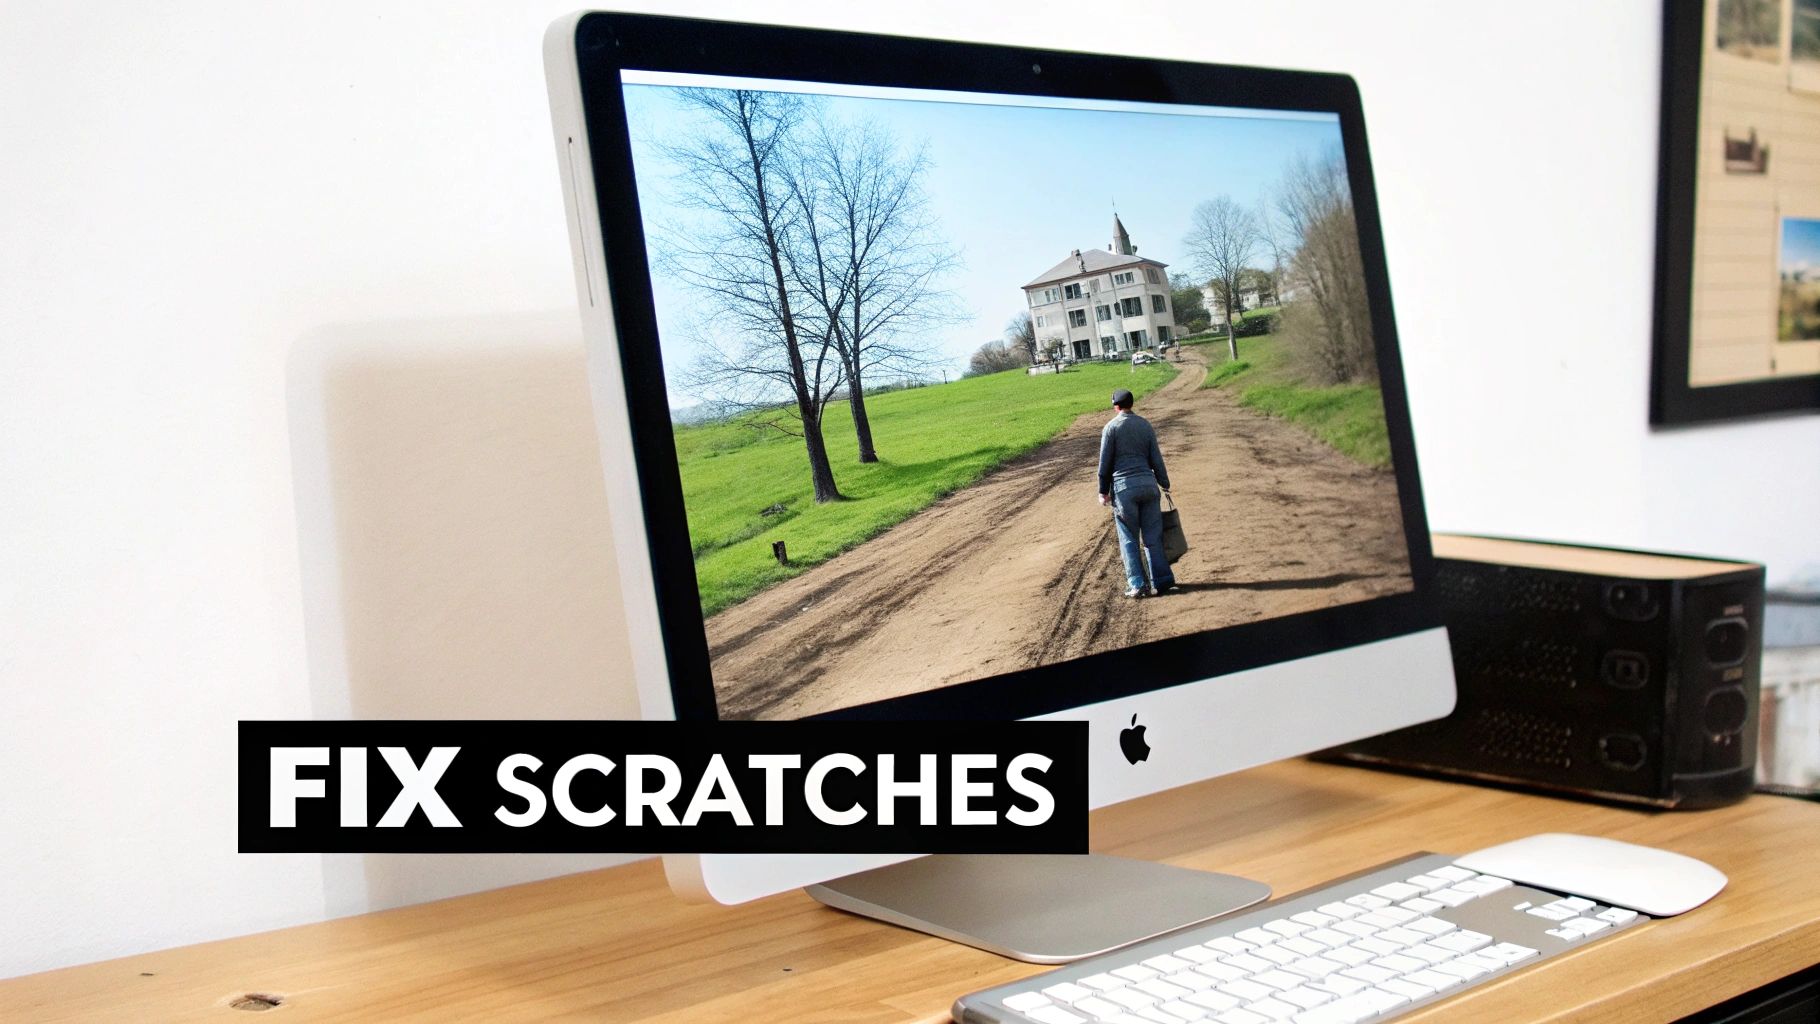
Using AI to Fix Scratches, Tears, and Blemishes
Now that your photos are digitized, we get to the fun part. This is where you'll see the most jaw-dropping transformations, as modern AI tools tackle the kind of physical damage that used to require a professional’s steady hand and hours of tedious work.
Scratches, tears, water stains, and heavy creases might seem like permanent scars, but they are exactly what AI photo restoration was designed to fix.
Forget the old way of doing things. Manual editing tools force you to painstakingly clone, patch, and blend pixels, hoping you get it right. AI takes a much smarter approach. It analyzes the entire image, identifies what’s damaged, and actually understands the context of the surrounding areas.
When the AI sees a scratch running through someone’s jacket, it doesn’t just smudge the pixels together. It uses its training from millions of other photos to intelligently reconstruct the fabric's original texture and pattern. This process is often called inpainting, and it’s where the real magic happens.
How the AI Restoration Workflow Actually Works
The whole point of a tool like PhotoAI Studio is to make this complex process simple. You upload your high-resolution scan, head over to the restoration feature, and with a single click, the AI is off to the races. It’s a world away from the complicated filters and adjustment layers you’d find in traditional software.
But a one-click fix doesn't mean you have no say in the matter. Good AI restoration tools, including PhotoAI Studio, give you options to fine-tune the intensity of the repair.
- For minor damage: Think light scratches, a few dust specks, or minor blemishes. These usually only need a low-intensity setting. This ensures the AI fixes the flaws without over-processing the original image's texture.
- For significant damage: A photo with a torn corner, deep creases, or extensive water damage is going to need a higher intensity setting. This tells the AI to be more aggressive in rebuilding larger missing sections.
Here’s a look at how a powerful AI tool presents these options in a clean, straightforward interface, turning what was once a complex repair into a simple task.
The before-and-after slider is your best friend here. It lets you instantly compare the repaired image to the original, making sure the AI's changes are both accurate and what you actually want. This immediate visual feedback is crucial for getting a natural-looking restoration.
Checking the Results and Making Adjustments
After the AI has done its thing, take a moment to be your own quality control. Zoom in. Inspect the important areas—especially faces, any text in the photo, and intricate patterns like clothing or wallpaper. While today’s AI is incredibly good, it’s not perfect.
Sometimes, an AI might misinterpret a detail, leading to a slightly odd-looking eye or a strange texture where a crease used to be. If the first attempt isn't quite right, don't give up. Just try running the restoration again on a different intensity setting, or layer on other enhancement tools to refine the result. The goal is to find that perfect balance where the damage is gone, but the photo’s original soul is still there.
The best restoration is one you don't even notice. The AI's work should feel invisible, leaving behind a clean, clear image that looks like it was perfectly preserved from day one.
The tech behind this has come a long way. While image restoration isn't new, modern AI models have blown past the old methods. Inpainting large, damaged areas now succeeds around 85% of the time, a massive jump from the 50% success rate of older techniques. This is why AI can now help restore over 1 million historical images in archives every year. If you're curious about the science, you can explore more about the evolution of image inpainting.
From Damaged Heirloom to Digital Masterpiece
Let's walk through a real-world scenario. You have a cherished family portrait from the 1960s that someone folded and kept in a wallet for decades. Now, it has a deep crease running right through the middle, plus a ton of smaller scratches and faded spots.
Fixing this by hand would be a nightmare. You’d be stuck with the clone stamp tool, trying to meticulously copy pixels from undamaged areas to cover the crease—a process that’s both painfully slow and incredibly hard to get right.
With an AI tool like PhotoAI Studio, the process is completely different:
- Upload: Start by uploading your 600 DPI scan of the portrait.
- Restore: Select the "Photo Restoration" feature and let the AI do its analysis.
- Evaluate: In seconds, the AI detects and repairs the crease, scratches, and fading. The deep crease just… disappears. The tiny scratches are gone. The faded areas look vibrant again.
What would have been a full day of frustrating work is now done in less time than it takes to make a cup of coffee. That efficiency is what makes these tools so revolutionary, giving anyone the power to rescue precious memories that were once considered lost to time.
Reviving Color and Correcting Faded Photos
Once you’ve healed the physical scars on a photo—the rips, scratches, and folds—it's time to tackle the more subtle damage done by time itself: faded, washed-out color.
Old color prints have a nasty habit of shifting toward a single hue, usually a sickly yellow or a dull red, as their chemical dyes break down. Black-and-white photos, while more stable, can feel emotionally distant. Luckily, today's AI tools can fix both problems with a level of precision that used to take hours of painstaking manual work.
For those faded color prints, the goal is to gently coax the original tones back to life. This is way more nuanced than just sliding up the saturation. Think of it less like a sledgehammer and more like a skilled negotiation. You're trying to counteract the specific color cast that has taken over the image.
It's a lot like tuning an old radio. You aren't just cranking up the volume; you’re meticulously turning the dial to filter out the static and find that crystal-clear signal. For a photo, this means identifying that dominant, unwanted color and dialing it back while gently boosting its opposite to bring the image back into balance.
Breathing Life into Faded Color
When you drop a faded photo into a tool like PhotoAI Studio, the first thing its AI does is scan the image for color imbalances. It’s looking for pixels that should be neutral—whites, blacks, and grays—and uses them as an anchor point to recalibrate the entire photo. This automated step is incredibly powerful and often gets you 90% of the way to a perfect restoration in a single click.
But if you need to jump in and make some fine-tuning adjustments yourself, here’s where to focus:
- White Balance: This is your primary tool. Look for sliders labeled "Temperature" or "Tint." If your photo has a strong yellow cast, nudge the temperature slider toward the blue side. If it's leaning too far into magenta, slide the tint toward green. Small moves make a big difference.
- Levels or Curves: These are your secret weapons for adding punch. Faded photos often lack true blacks and bright whites, making them look flat. By adjusting the levels, you can stretch the tonal range back out, instantly restoring depth and contrast.
The Magic of AI Colorization
With black-and-white photos, we're not just restoring color—we're creating it from scratch. This is where AI truly feels like magic, breathing plausible, vibrant life into a monochrome world.
Modern AI colorization isn't just throwing random colors at a picture. The models are trained on millions of diverse color images, where they learn the contextual relationships between shades of gray and their likely colors. They learn the typical hues of everything from skin and hair to 1950s fabrics and grassy hillsides.
When the AI analyzes your photo, it uses the grayscale information—the subtle differences between a light gray and a dark gray—to make highly educated predictions. A light gray patch at the top of an image becomes a soft blue sky, a dark gray suit becomes charcoal or navy, and the complex tones of a human face are rendered into believable skin.
The technology has gotten scarily good. In fact, studies have shown that today’s AI models produce colorizations that people find more realistic than those done by human artists 70% of the time. The AI can respect the original lighting and shading with a consistency that is incredibly difficult to achieve by hand.
Getting Natural and Believable Results
As amazing as AI colorization is, it isn't foolproof. A little human oversight goes a long way. The AI has no historical context, so it might color a Model T a shade of electric blue that didn't exist or get the color of a military uniform completely wrong.
When you get your colorized image back, take a moment to be a critical observer. Ask yourself:
- Do the skin tones look human? This is the hardest thing for AI to nail. If people look a bit jaundiced or too flushed, you may need to go in and make tiny manual tweaks to the red and orange color channels.
- Are the colors historically plausible? A quick Google search for fashion or car colors from that specific decade can help you spot any glaring errors.
- Does the scene feel balanced? Sometimes the AI will over-saturate a single object, like a bright red car, making it distract from the main subject. A small, targeted adjustment to that one color can restore harmony to the whole image.
By pairing the incredible speed of AI with your own common sense and creative eye, you can restore an authentic and deeply moving sense of reality to your most cherished memories. These same principles of color balance and harmony can also be used to make modern pictures stand out, as we cover in our guide to elevate your Instagram photos with AI.
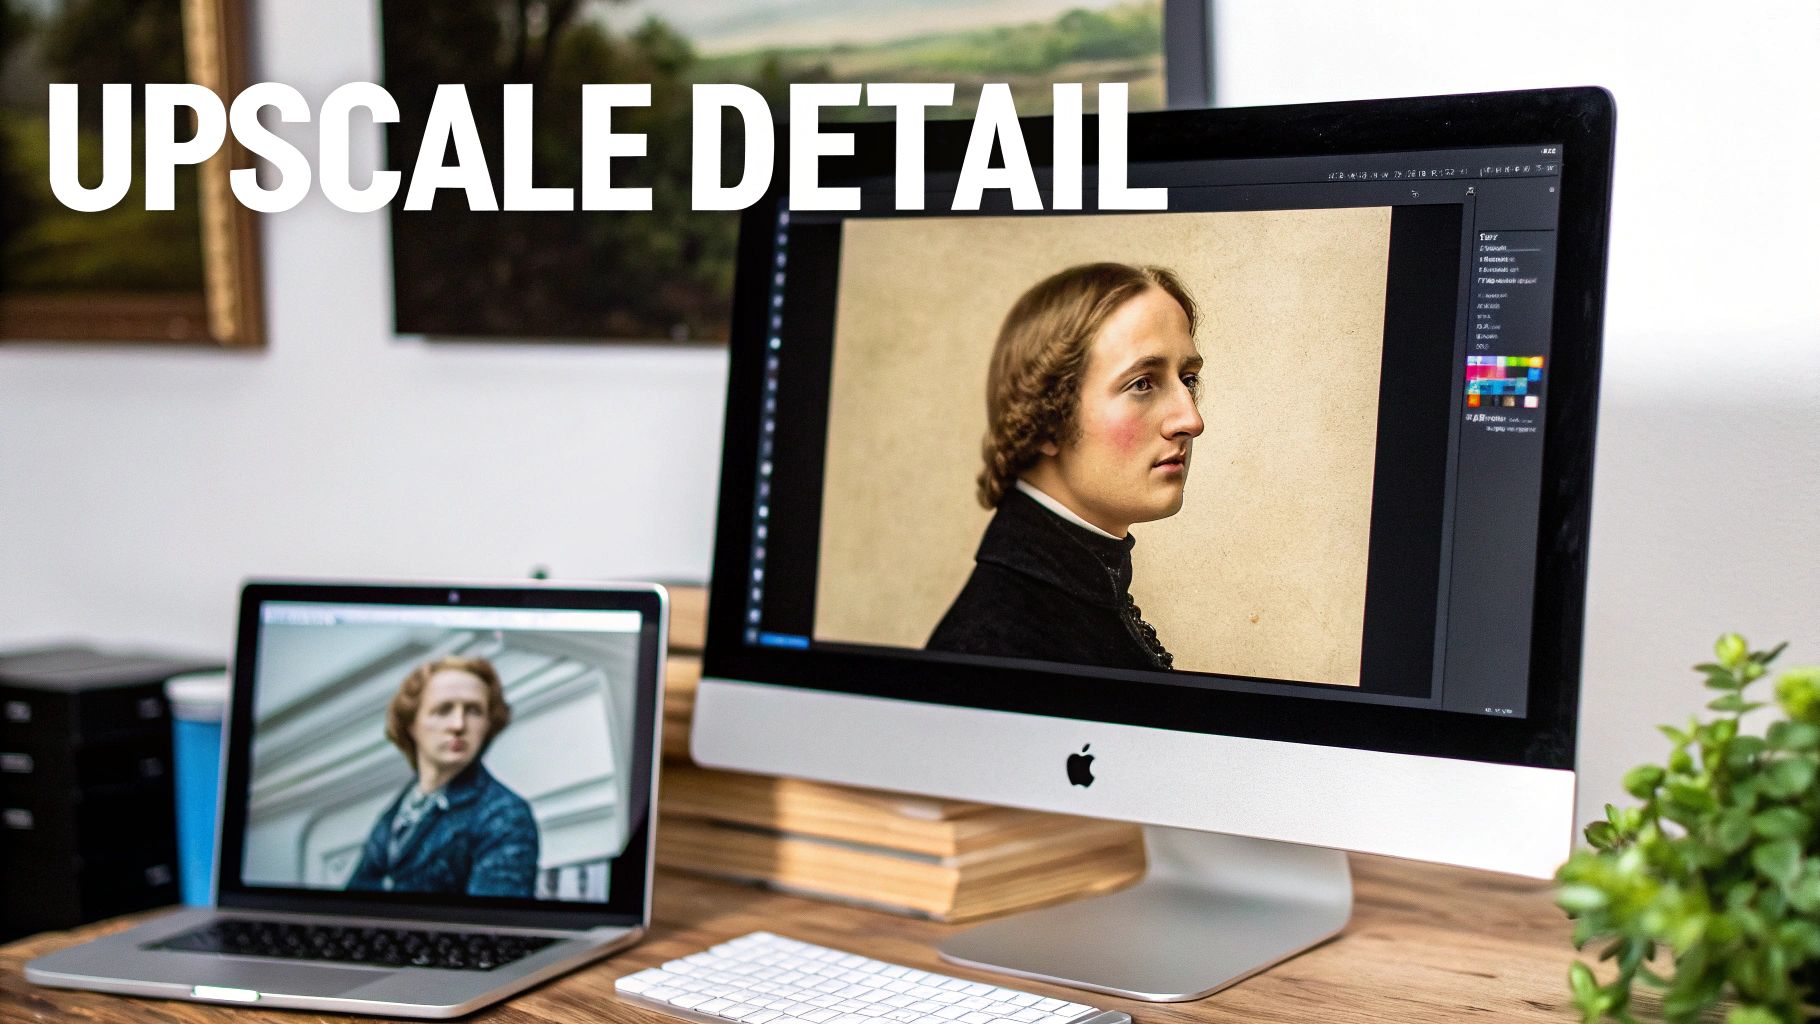
Upscaling Photos to Uncover Hidden Details
Once you've cleaned up the physical damage and brought the colors back to life, it's time to tackle a classic problem with vintage photos: they're often tiny and a bit soft. Old cameras just couldn't capture the sheer amount of detail we're used to today. This means a small print that looked fine in a wallet can seem blurry or pixelated on a modern high-resolution screen.
This is where AI upscaling works its magic. Think of it as a digital magnifying glass that doesn't just enlarge the photo, but actually reveals details that were hidden in the original.
It’s crucial to understand this isn't the same as just resizing an image in a basic photo editor. Traditional resizing simply stretches the existing pixels, which is why blowing up a small photo almost always results in a blocky, blurry mess.
AI, on the other hand, performs something called super-resolution. Instead of just making pixels bigger, the AI analyzes the entire image, recognizes objects and textures, and then intelligently generates brand new pixels to fill in the gaps. It’s not just guessing; it’s making incredibly educated predictions based on its training, effectively recreating the details the old camera was too low-resolution to capture in the first place.
When AI Upscaling Really Shines
The real-world uses for this are fantastic, especially when you're digging through old family archives.
Maybe you’ve found a tiny, wallet-sized portrait of your grandmother and you'd love to turn it into a large canvas print for the living room. Or perhaps you have a group photo where a loved one’s face is just a little too blurry to make out clearly. These are the moments where upscaling is a game-changer.
By increasing the resolution, you can:
- Prepare small photos for large prints: Turn a tiny, postage-stamp-sized image into something sharp enough to be printed as an 8x10 or even larger.
- Sharpen soft details: Bring focus to blurry faces, clarify the text on a sign in the background, or reveal the intricate pattern on an old piece of clothing.
- Improve overall digital quality: Create a cleaner, crisper version of your photo that looks great on any modern device, from a smartphone to a 4K monitor.
Choosing the Right Upscale Factor for Your Photo
When you fire up a tool like PhotoAI Studio, you’ll usually see options like 2x, 4x, or even 8x upscaling. The setting you choose really depends on two things: the quality of your original scan and what you plan to do with the final image. There isn't a single "best" setting—it's about finding the sweet spot between adding detail and keeping the photo looking natural.
To make it easier, here’s a quick guide to help you pick the right upscale factor.
| Original Photo Condition | Intended Use | Recommended Upscale Factor (PhotoAI Studio) | Expected Outcome |
|---|---|---|---|
| Good Quality, Decent Size | Standard digital viewing, sharing online | 2x Upscale | A cleaner, crisper version of the original with noticeably sharper details. |
| Small Print or Low-Res Scan | Creating a standard 4x6 or 5x7 print | 4x Upscale | A significant increase in resolution and clarity, making the image suitable for printing. |
| Very Small or Blurry Photo | Large prints (8x10+), detailed inspection | 8x Upscale | A dramatic transformation that uncovers fine details, but may require checking for AI artifacts. |
My go-to advice is to start small. Try the 2x upscale first and see how it looks. If the image is still too soft for what you need, then bump it up to 4x. The higher you go, the more the AI has to "invent" new details. Sometimes this can lead to overly smoothed skin or slightly unnatural-looking textures, especially in faces. If you're curious about what modern AI can do with faces, our breakdown of the best AI headshot generators is a fascinating read.
The real goal of upscaling isn't just to make a photo bigger; it's to make it clearer. A great upscale brings hidden textures and features to the forefront without making the image look artificial or overly "processed."
After you've brought out all that amazing detail, there's one last piece to the puzzle: making sure it looks just as good on paper. Knowing the best photo resolution for printing is crucial. Upscaling gives you the pixel density you need, and understanding print standards ensures that density translates into a beautiful physical product you can actually hold or hang on your wall.
Common Questions About Restoring Old Photos
When you start bringing old photos back to life, you're bound to run into a few tricky situations. The process itself is pretty straightforward, but every photo has its own story and its own problems. Let's tackle some of the most common questions I hear from people diving into photo restoration.
Getting a handle on these key issues—from saving your work properly to knowing what AI can really do—will make the whole experience smoother and give you much better results.
What Is the Best File Format for Archiving Restored Photos?
After you've spent all that time and effort restoring a precious photo, the last thing you want is to lose quality when you save it. For your final, master copy, the answer is always TIFF (Tagged Image File Format). No contest.
Think of a TIFF as your digital negative. It’s a lossless format, which is a fancy way of saying it doesn't throw away any data to make the file smaller. Every tiny scratch you removed and every subtle color tweak you made is preserved exactly as you intended.
Yes, TIFF files are big, but storage is cheap these days. It’s a tiny price to pay for peace of mind. From that one master TIFF file, you can create smaller copies for any other purpose you need.
- JPEG (Joint Photographic Experts Group): This is what you’ll use for sharing online. JPEGs are lossy, meaning they compress the image by permanently discarding some information to create a much smaller file. Perfect for email or social media, but never for your master archive.
- PNG (Portable Network Graphics): Another lossless format, PNGs are great for web graphics, especially with text or sharp lines. But for pure photographic detail and print quality, TIFF is still king.
My workflow is always the same: save the final restoration as a TIFF. Then, "Save As" or "Export" a JPEG copy from that master file whenever I need one.
Can AI Really Fix Extremely Blurry or Out-of-Focus Photos?
This is the big one, and the honest answer is a hopeful "sometimes." Modern AI can work absolute miracles on certain types of blur, but it isn’t a magic wand and it does have its limits. The final result really depends on how blurry the photo is and what kind of information is left for the AI to work with.
AI is fantastic at fixing images with soft focus or a bit of motion blur. It’s smart enough to analyze the fuzzy patterns, sharpen the edges, and pull out details you thought were gone forever. I’ve seen it turn a slightly blurry face in a group shot into something remarkably clear.
But here’s the reality check: if a photo is so out-of-focus that a face is just an indistinct blob, the AI has almost nothing to go on. It's forced to guess and essentially invent features. The result might look like a person from far away, but up close it won't be an accurate recreation of your loved one. It can even introduce strange distortions.
The rule of thumb is this: AI is a master at clarifying and enhancing details that are already there, just hidden. It’s a restorer, not a mind reader.
How Should I Approach Unique Damage Like Water Stains or Mold?
Damage from water, mold, or old chemical spills is a whole different beast. These don't just leave a mark on top of the photo; they often eat away at the actual image emulsion underneath. It’s a tough problem, but a combination of AI and a little manual work can often save the day.
Your first move should be to run the damaged photo through an AI tool like PhotoAI Studio. Its restoration feature is surprisingly good at tackling this kind of thing. Start with a moderate or high intensity setting and just see what it can do. More often than not, the AI can intelligently reconstruct the missing parts and make the stain vanish. You can also check out our AI Instagram photos.
If you still see faint remnants of the damage, you’ll need to do some light manual cleanup. The good news is the AI has done 90% of the heavy lifting. Open the restored image in an editor with a clone stamp or healing brush and use the AI's work as your base. Just focus on blending those last few imperfections. For photos with really severe damage, sometimes the best strategy is to focus on saving the most important elements, like the faces, even if parts of the background can’t be perfectly recovered. You can also check out our AI professional headshots.
Ready to bring your own family history back to life? With PhotoAI Studio, you have all the tools you need to fix scratches, restore color, and uncover hidden details in your old photos. Start your free trial and see the magic for yourself.