

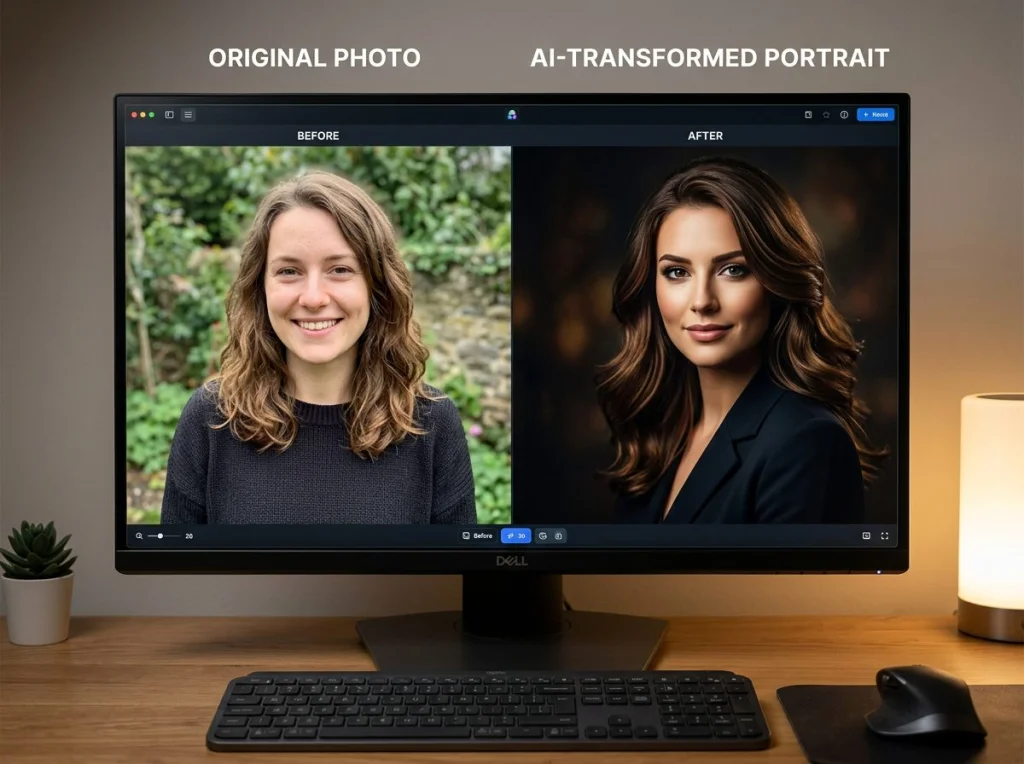
You have the perfect reference photo but need it in a completely different style. Maybe your product shot needs a luxury feel, or that portrait requires a vintage makeover. AI image to image generation solves this exact problem — and it's getting scary good.
I've spent weeks testing every major tool, burning through hundreds of generations to find workflows that actually deliver professional results. Most tutorials show you cherry-picked examples. This guide shows you the real process, including the failures.
How AI Image to Image Actually Works
Think of it as having a digital artist who never gets tired. You feed the AI your reference image plus a text description of what you want. The AI analyzes your photo's composition, lighting, and structure, then rebuilds it according to your prompt.
The magic happens in the "strength" setting. Set it too low (0.1-0.3) and you get minor tweaks. Crank it up (0.8-1.0) and the AI goes wild, sometimes losing your original completely. The sweet spot lives between 0.4-0.7 for most workflows.
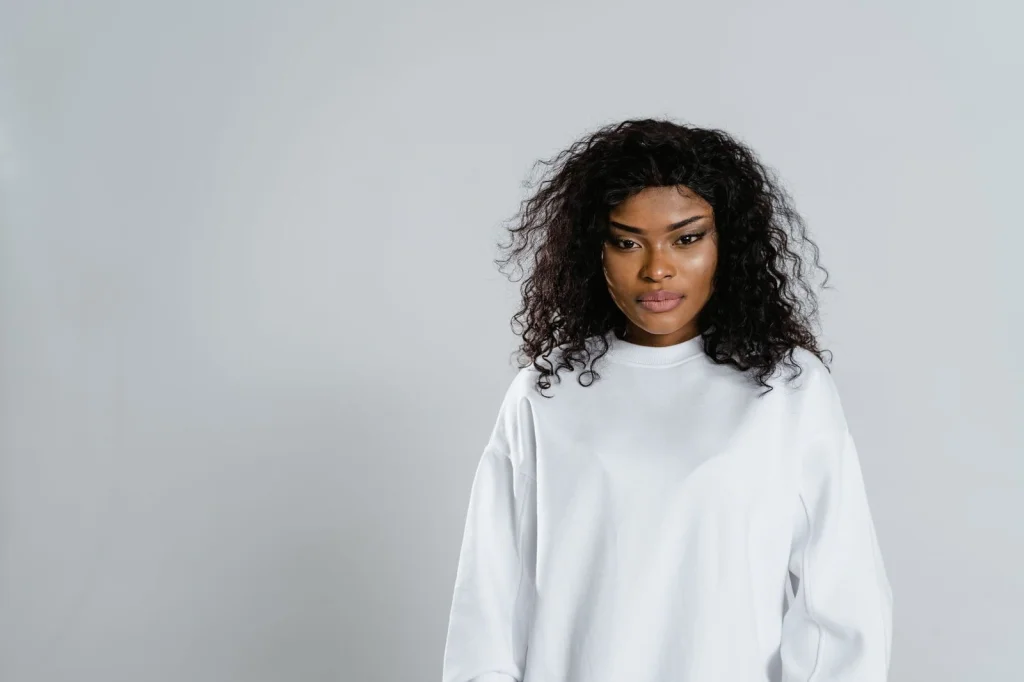
Workflow 1: Product Photo Style Transfer
This workflow transforms basic product shots into premium marketing images. I use it constantly for e-commerce clients who can't afford luxury studio time.
What You'll Need
- Clean product photo with neutral background
- AI image to image tool (I recommend starting with our free AI headshot generator to test the concept)
- Specific style reference or detailed prompt
Step-by-Step Process
- Start with a clean slate: Remove distracting backgrounds using our background removal tool first
- Set your strength to 0.5: This preserves the product shape while allowing style changes
- Write a detailed prompt: "Luxury jewelry photography, white marble surface, soft box lighting, editorial style, high-end fashion magazine quality"
- Generate 4-6 variations: The first attempt rarely nails it
- Refine the winner: Adjust lighting or details with a second pass at 0.3 strength
I tested this on a basic watch photo. The original looked like a garage sale listing. After transformation: luxury catalog material. The AI added premium lighting, marble textures, and that expensive "feel" that drives sales.
Workflow 2: Portrait Style Conversion
Turn smartphone selfies into professional portraits. This workflow saves hundreds on photographer fees.
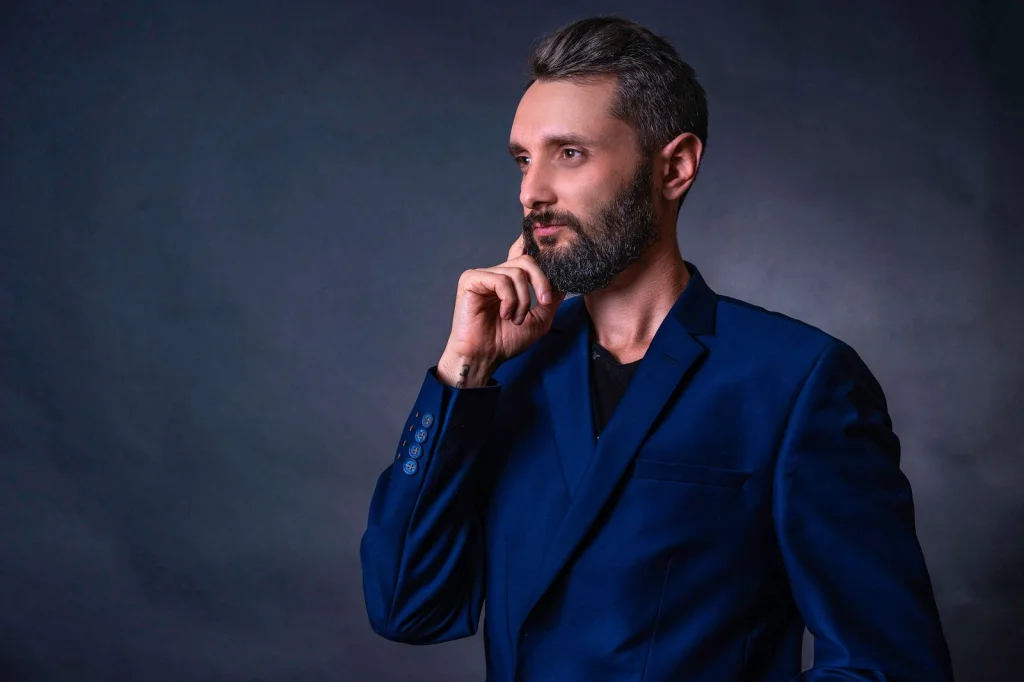
The trick is understanding facial preservation. Too much strength destroys facial features. Too little barely changes anything. I've found 0.45 strength works perfectly for most faces.
Pro Tips for Portrait Conversion
- Always mention "preserve facial features" in your prompt
- Include lighting direction: "soft window light from the left"
- Specify the mood: "confident professional expression"
- Add technical details: "shot with 85mm lens, shallow depth of field"
For professional headshots specifically, try our professional headshot style which handles the technical stuff automatically.
Workflow 3: Scene Transformation
Change entire environments while keeping your subject intact. I use this for travel bloggers who want their photos in different seasons or locations.
This video demonstrates some core concepts behind local AI image generation that apply to these workflows:
The Process
- Mask your subject: Use selection tools to protect the person/object you want to keep
- Higher strength for backgrounds: 0.7-0.8 works since you're replacing everything
- Be specific about weather and time: "Golden hour autumn forest, warm sunlight filtering through orange leaves, misty atmosphere"
- Match the original lighting direction: If your subject has left-side lighting, mention this in the new scene
Workflow 4: Vintage and Era Conversion
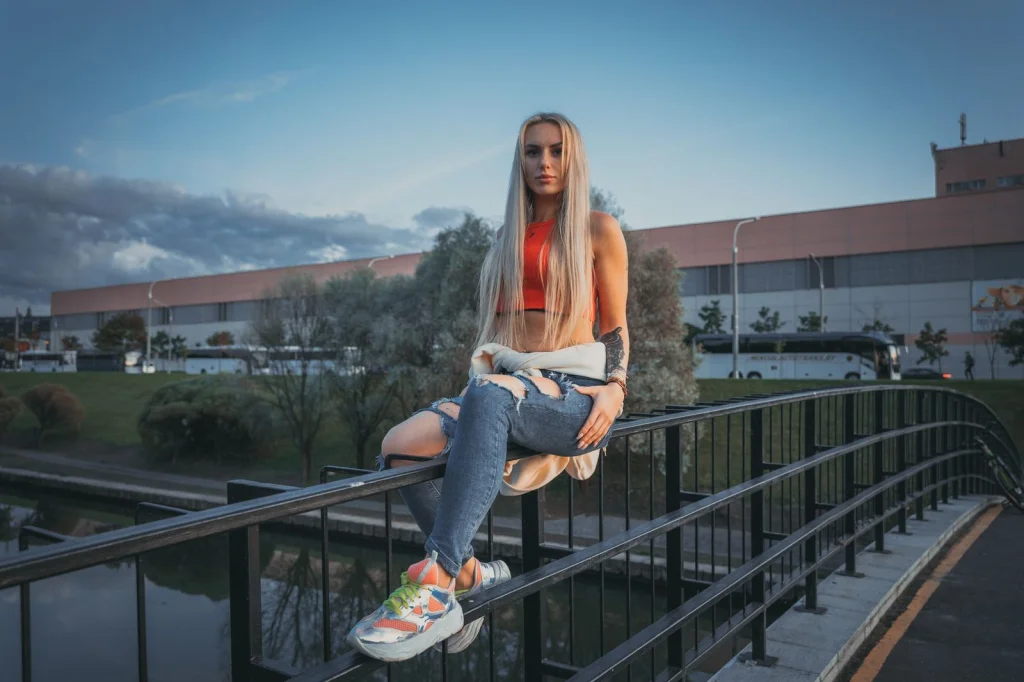
Transform modern photos into specific time periods. Perfect for themed content or artistic projects.
Each era has signature elements. The 1920s means sepia tones, film grain, and specific poses. The 1980s demands bright colors, specific hairstyles, and that distinct film stock look.
Era-Specific Prompts That Work
- 1920s: "Black and white vintage photography, art deco styling, dramatic shadows, film grain, classic portrait lighting"
- 1950s: "Kodachrome film photography, bright saturated colors, classic American styling, studio lighting, vintage fashion"
- 1980s: "80s film photography, bright neon colors, high contrast, film grain, retro styling, polaroid aesthetic"
Check out our 90s trend photoshoot style for automatic era conversion that handles the technical details.
Workflow 5: Artistic Style Transfer
Convert photographs into paintings, drawings, or specific art movements. This workflow works magic for creative projects.
The secret is mentioning specific artists or techniques. "In the style of Van Gogh" produces different results than "impressionist painting." Be specific about the medium too: oil painting, watercolor, charcoal sketch.
Art Style Prompts That Deliver
- "Oil painting in the style of John Singer Sargent, loose brushstrokes, warm color palette"
- "Charcoal sketch, high contrast, dramatic lighting, classical drawing technique"
- "Watercolor painting, soft washes, transparent layers, delicate color bleeding"
Common Mistakes That Kill Results
After testing hundreds of generations, these errors show up constantly:
- Vague prompts: "Make it look good" tells the AI nothing useful
- Wrong strength settings: 0.9 strength rarely preserves what you want to keep
- Ignoring aspect ratios: The AI struggles when input and output ratios don't match
- Forgetting lighting consistency: Your subject's lighting should match the new environment
- Not iterating: The first generation is rarely the best. Generate multiple versions
Tools That Actually Work
I tested 15 different platforms. Most produce amateur results or charge premium prices for basic features.
For reliable results without subscriptions, start with our free image upscaler to improve your source images first. Quality input dramatically improves output.
Professional users should explore our 150+ AI photo styles for one-click transformations that handle the technical complexity.
Before You Start: Quality Control Tips
Your source image determines everything. Blurry, dark, or cluttered photos produce disappointing results regardless of your prompt.
- Use high-resolution images (at least 1024px on the shortest side)
- Ensure good lighting in your original
- Remove distractions from the background
- Choose images with clear subject separation
For face-focused work, our skin enhancer tool cleans up source images before transformation.
Advanced Techniques for Power Users
Once you master the basics, these techniques unlock professional-grade results:
Prompt Layering
Instead of one long prompt, layer your instructions: "Portrait of [subject description], [lighting setup], [camera settings], [artistic style], [mood and atmosphere]."
Negative Prompting
Tell the AI what to avoid: "No blurry features, no distorted hands, no over-saturation, no artificial lighting."
Batch Processing
Process multiple variations simultaneously. Generate 6-8 versions, then refine the best 2-3 with additional passes.
Ready to transform your images? Start with our AI influencer generator to practice these workflows on generated subjects before working with your actual photos. The techniques transfer perfectly to real photography.


